This is a derelict battlestation, one of three models built for a web-based film.
Think Death Star, but way smaller and instead of a planet-buster dish there's a hole blown through the hull on purpose, revealing decks and a couple of hangars.
I postulated that, like the stations in John Ringo's series
Troy Rising,
it started as a huge ball of molten metal that got an explosive detonated just off-center,
expanding the ball into a globe with a hole in the side.
The builders then kitted-out the inside and strung defensive batteries in an equatorial ring.
Sadly, the builder's enemies still managed to overrun the station and then abandon it.
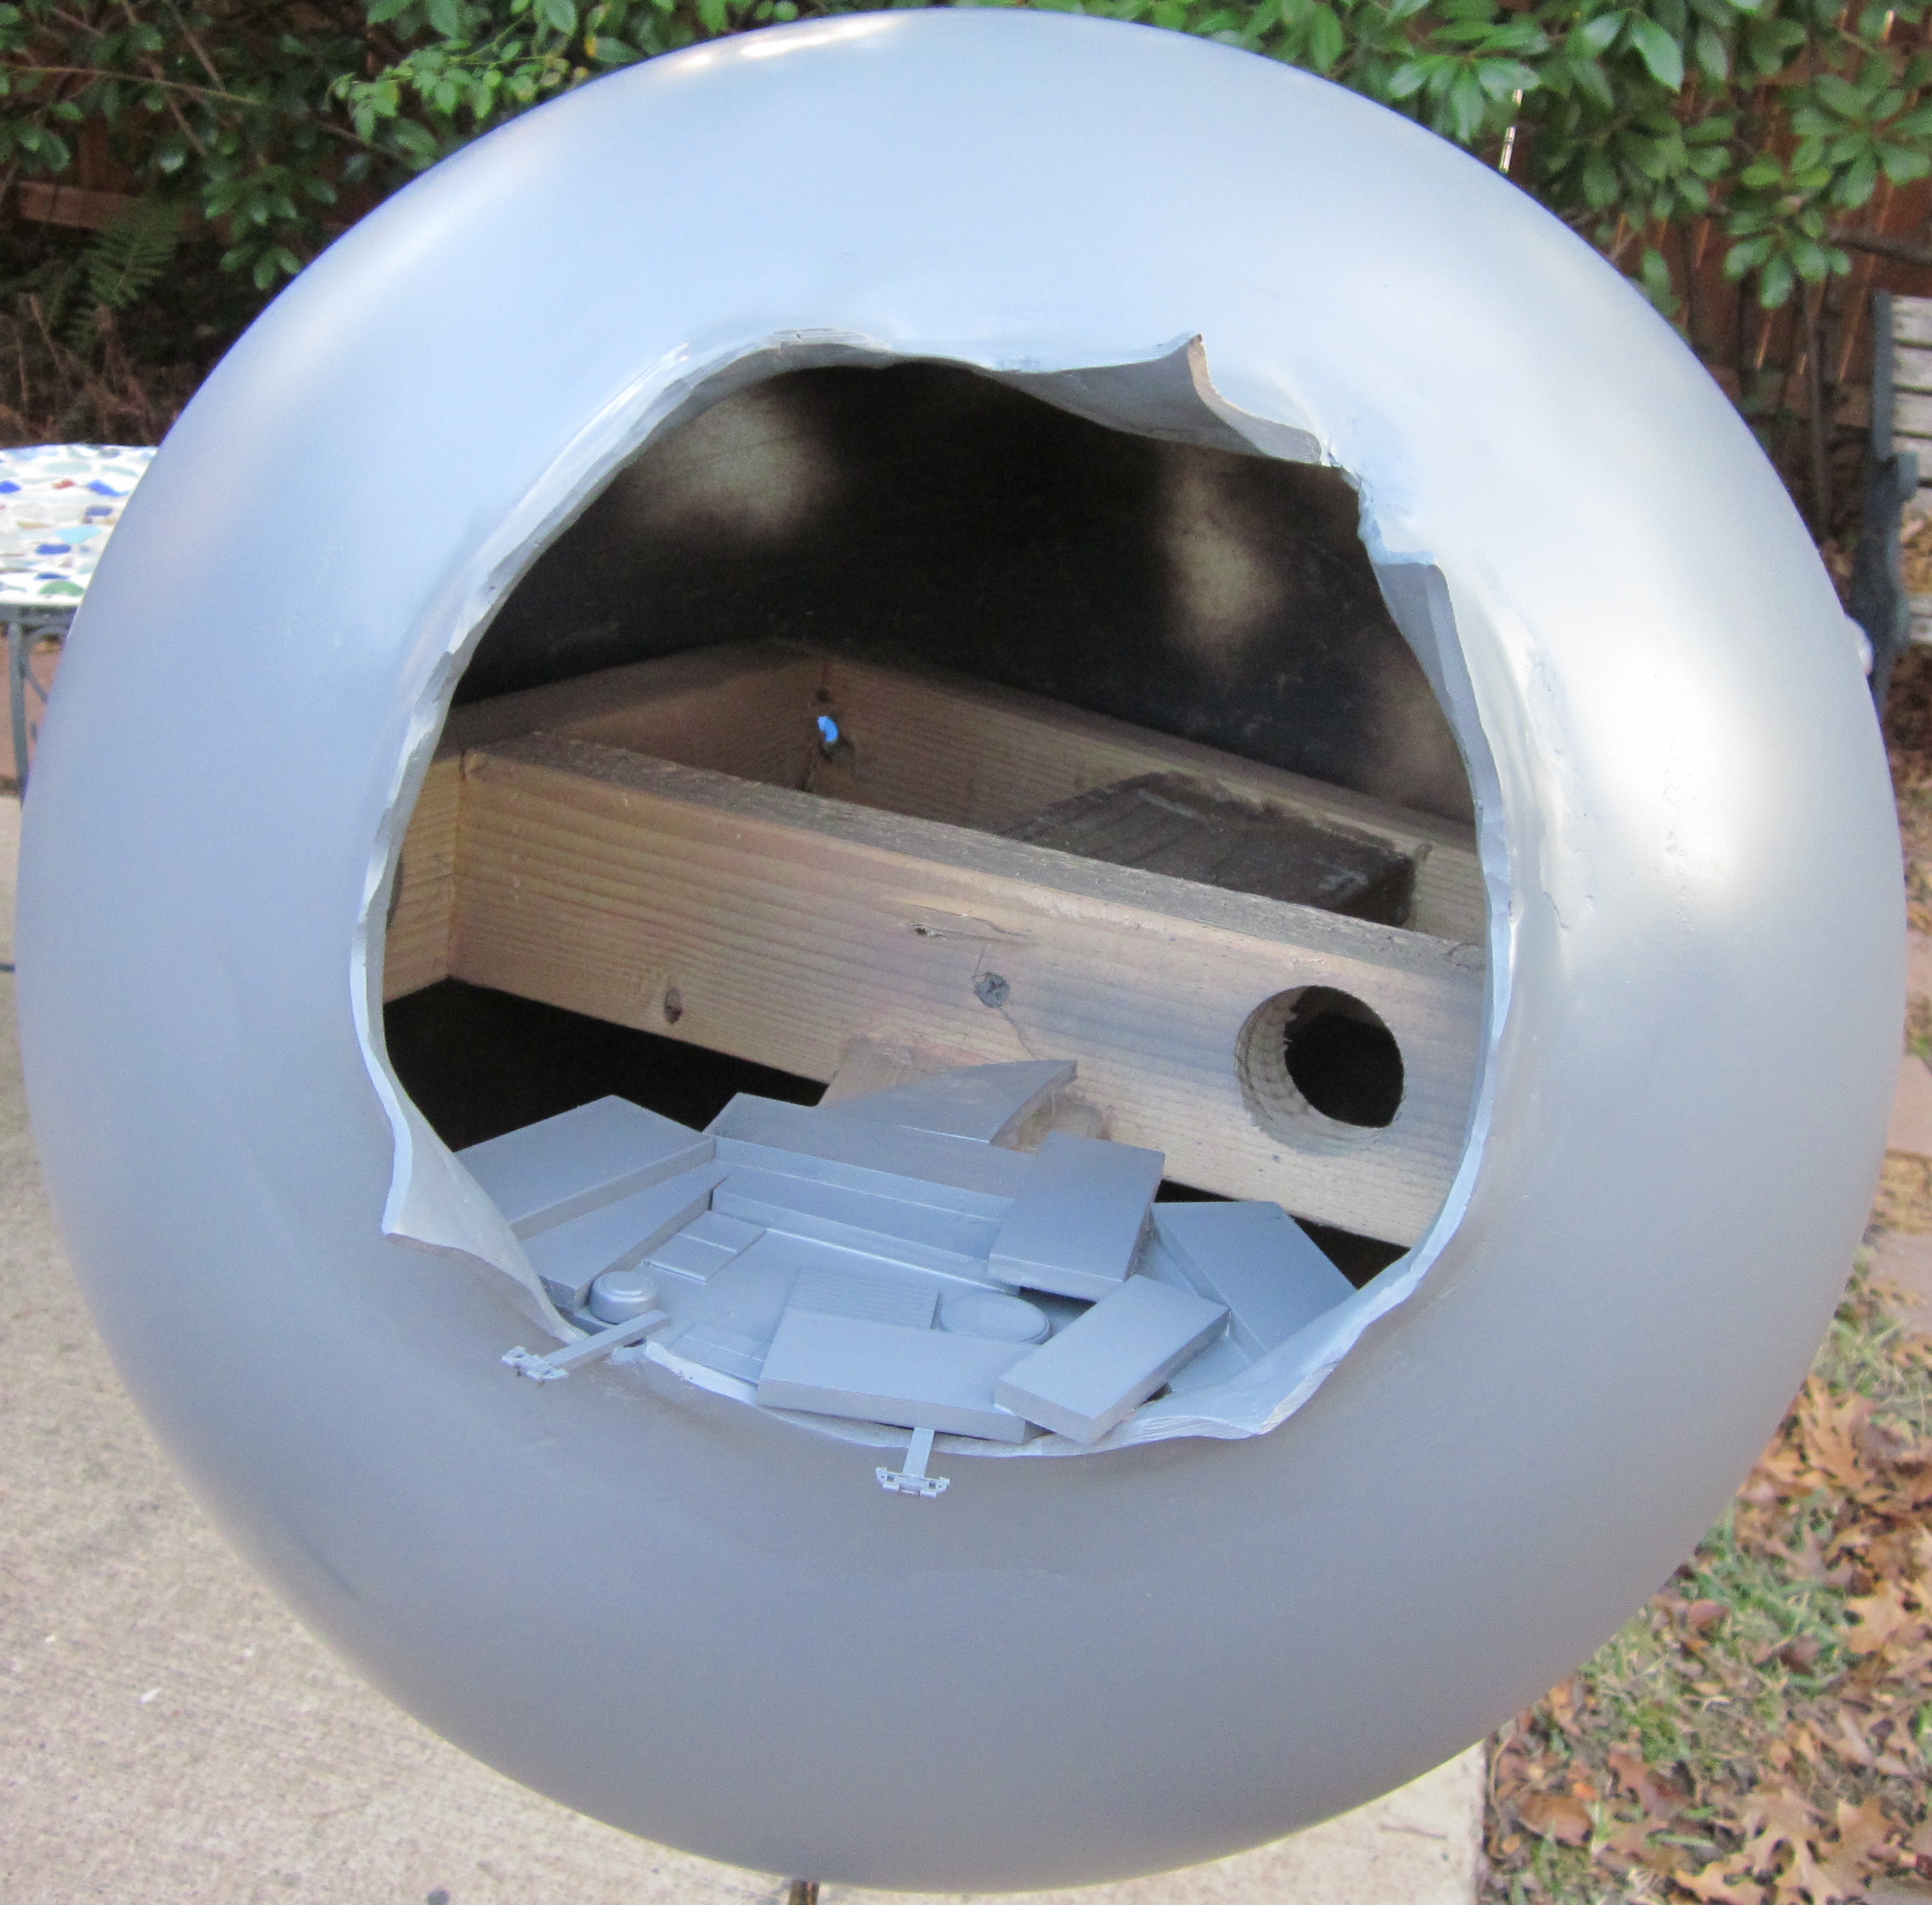
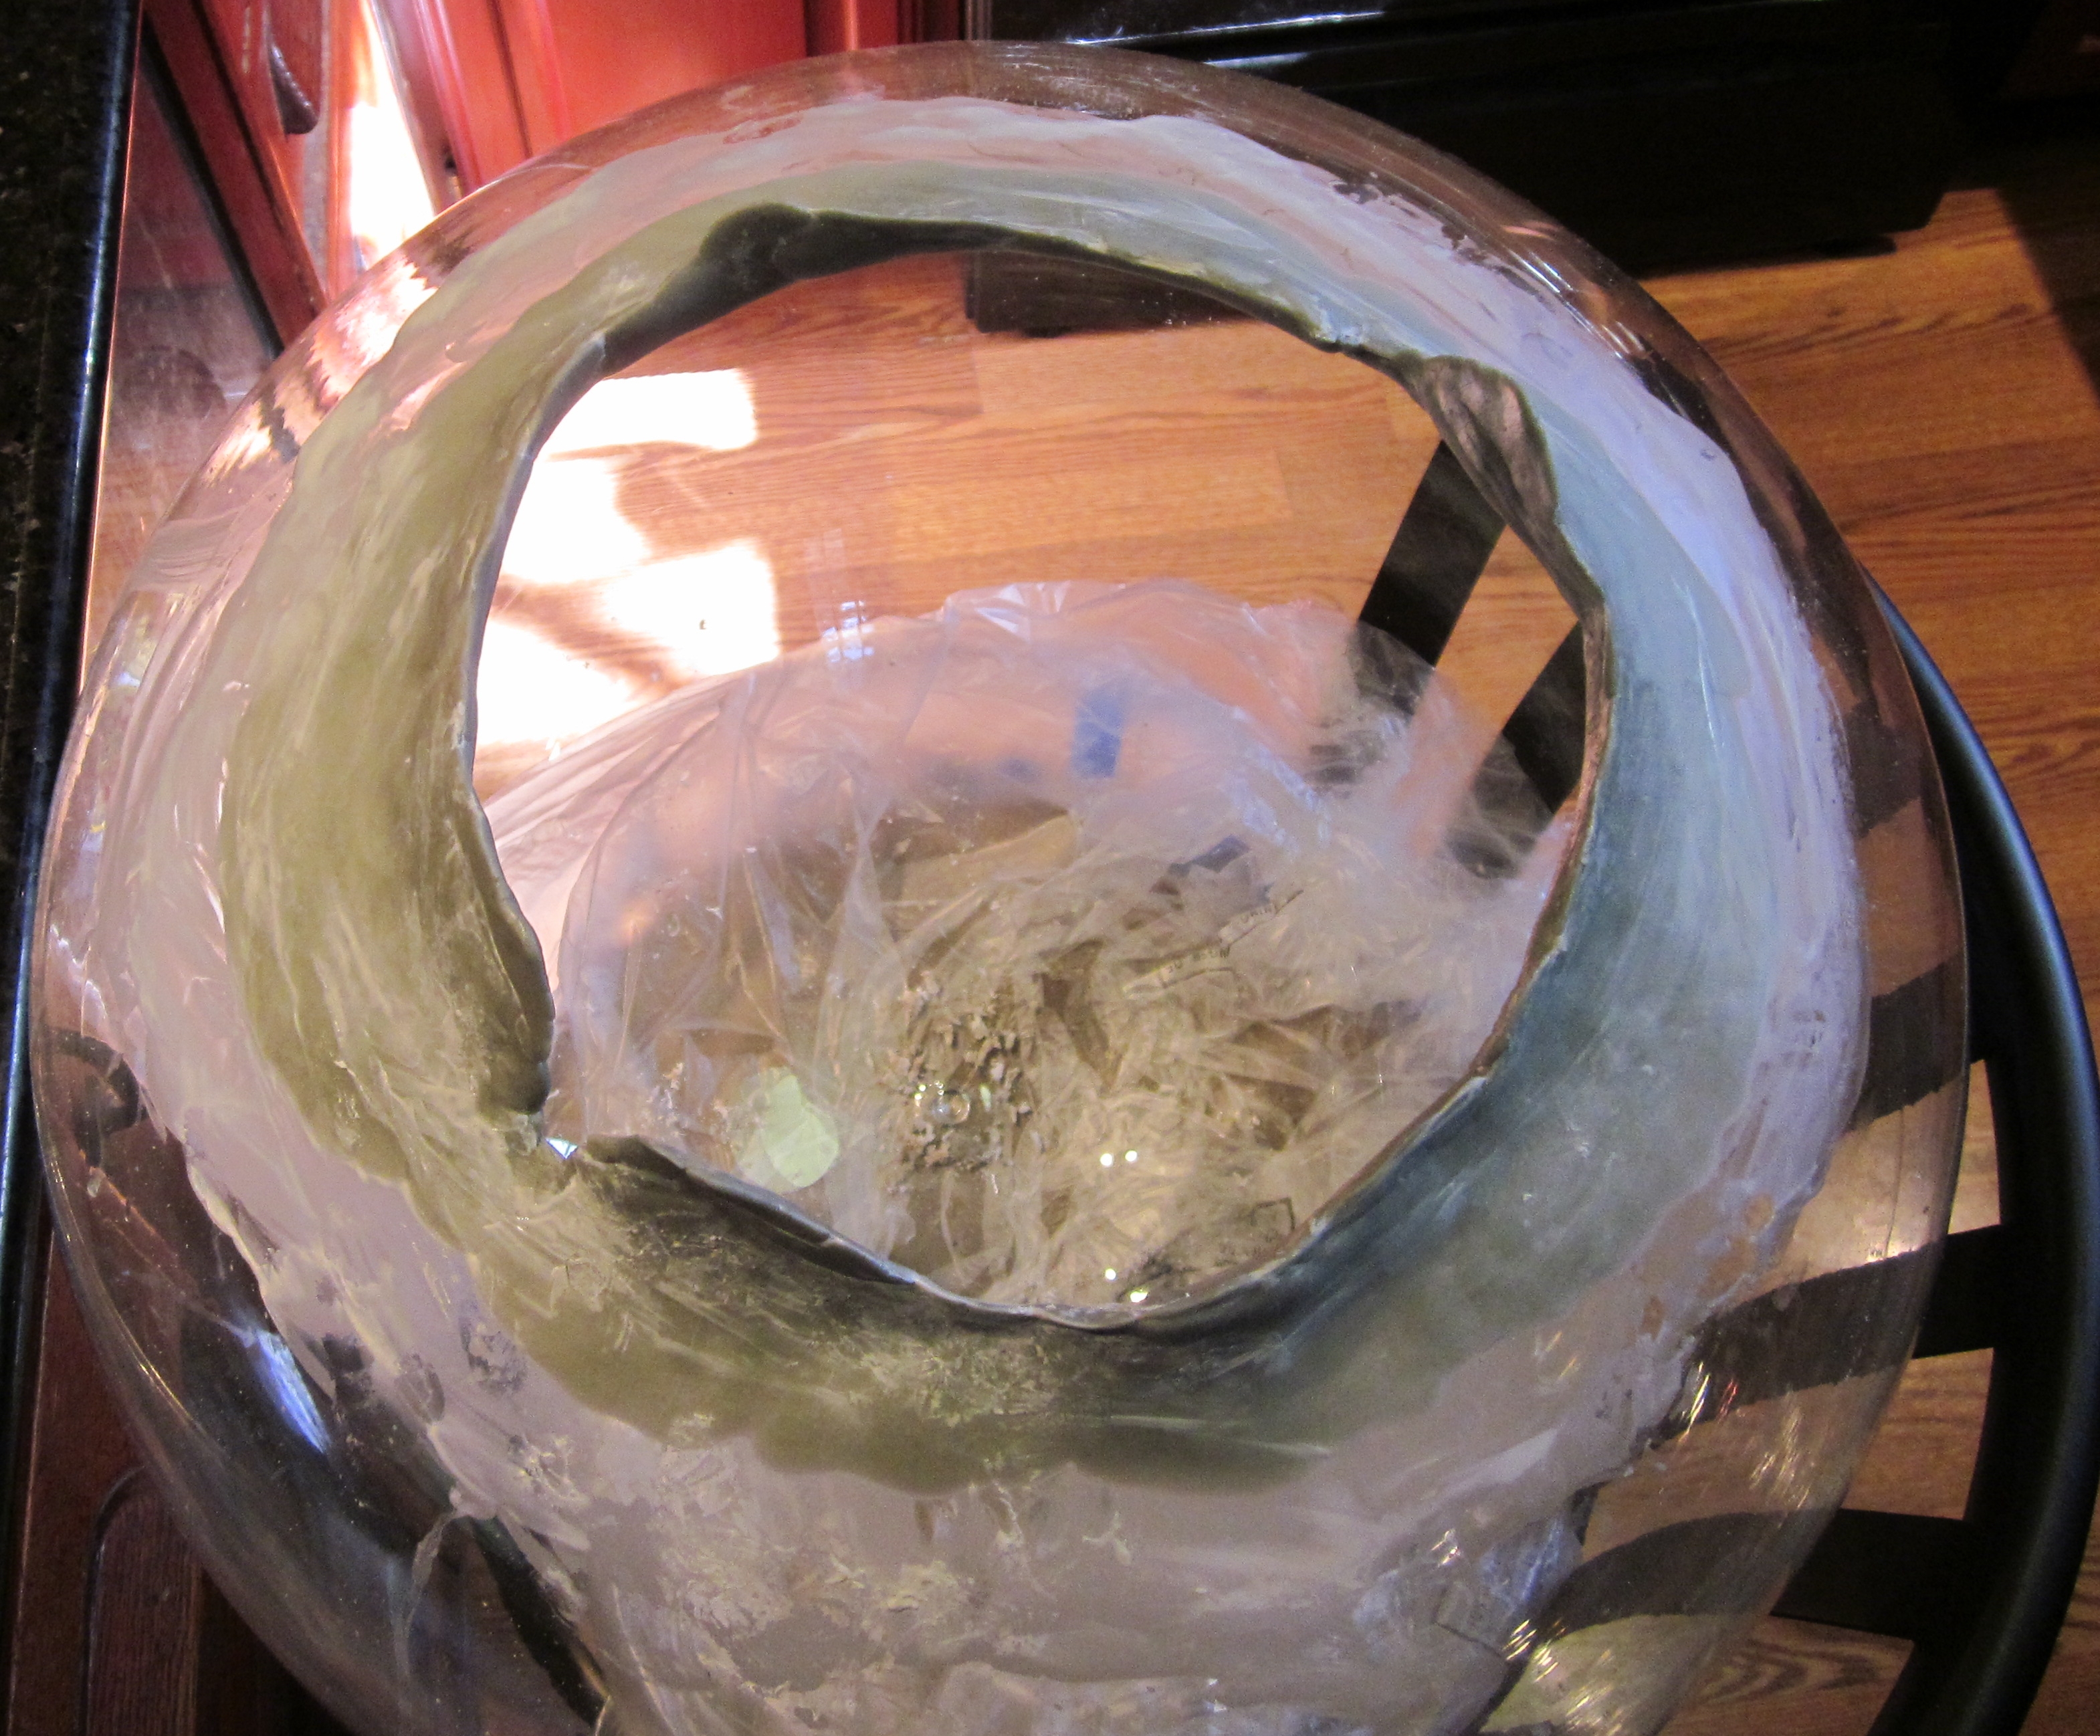
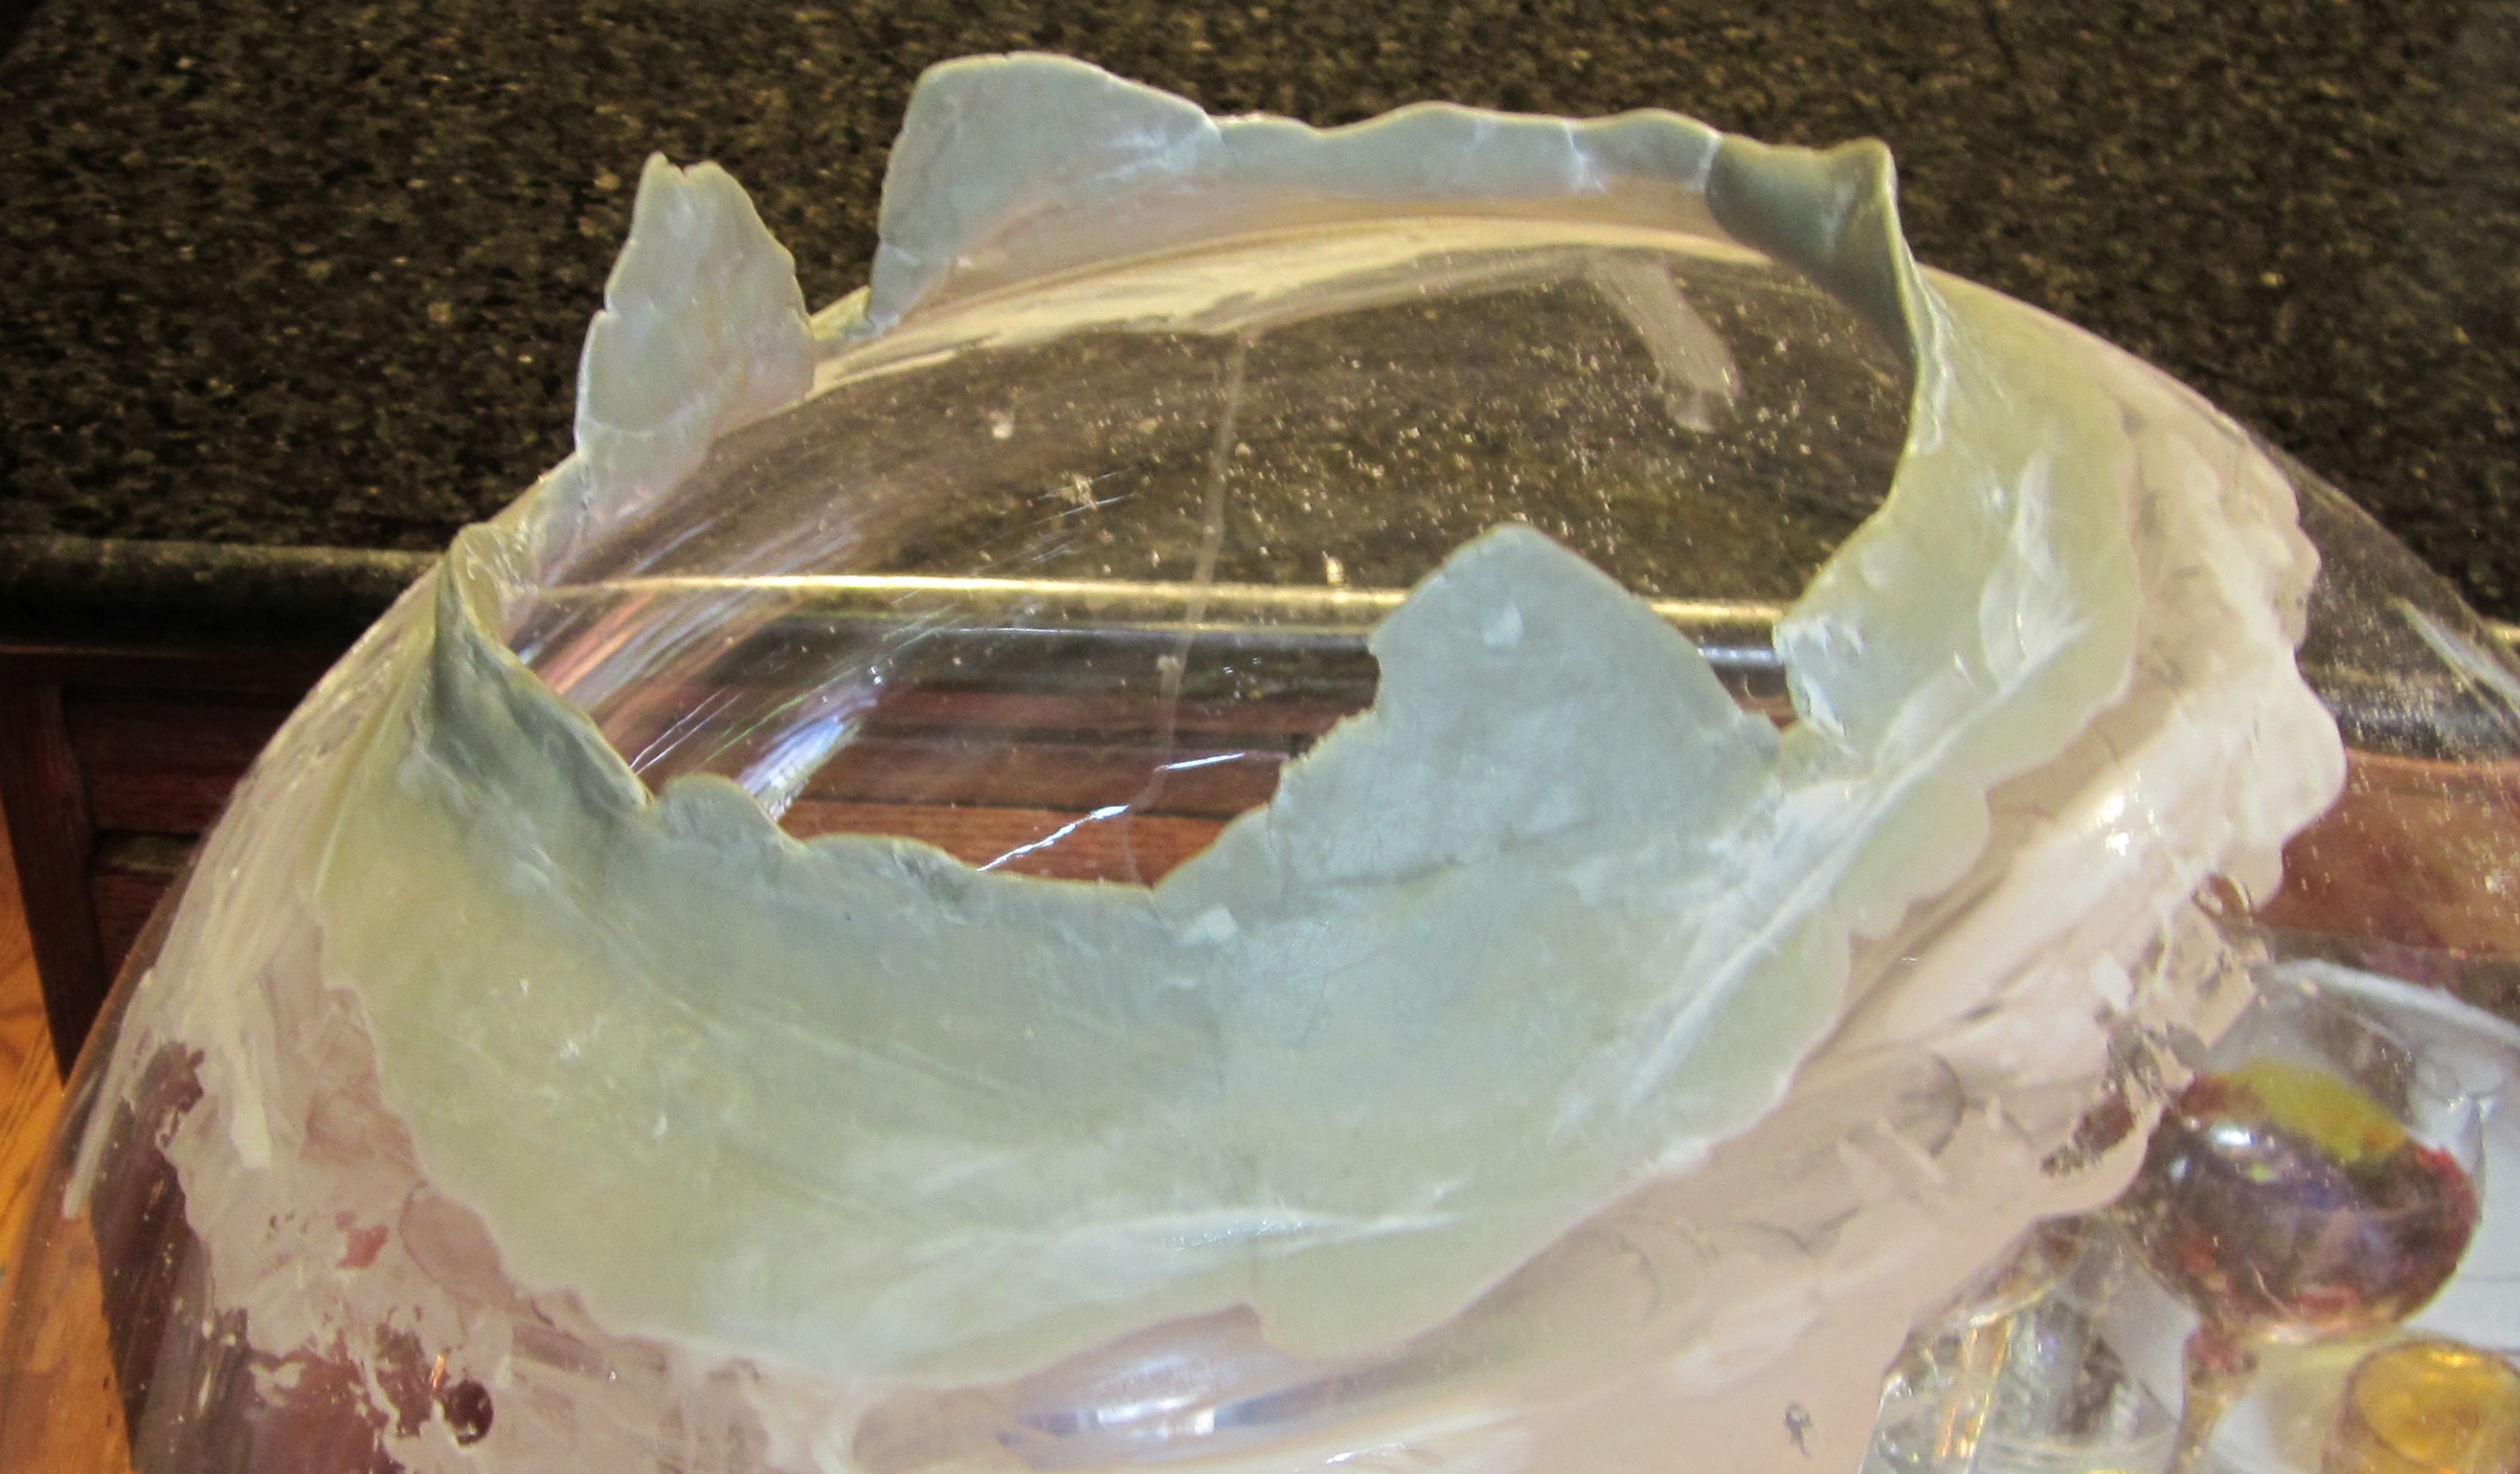
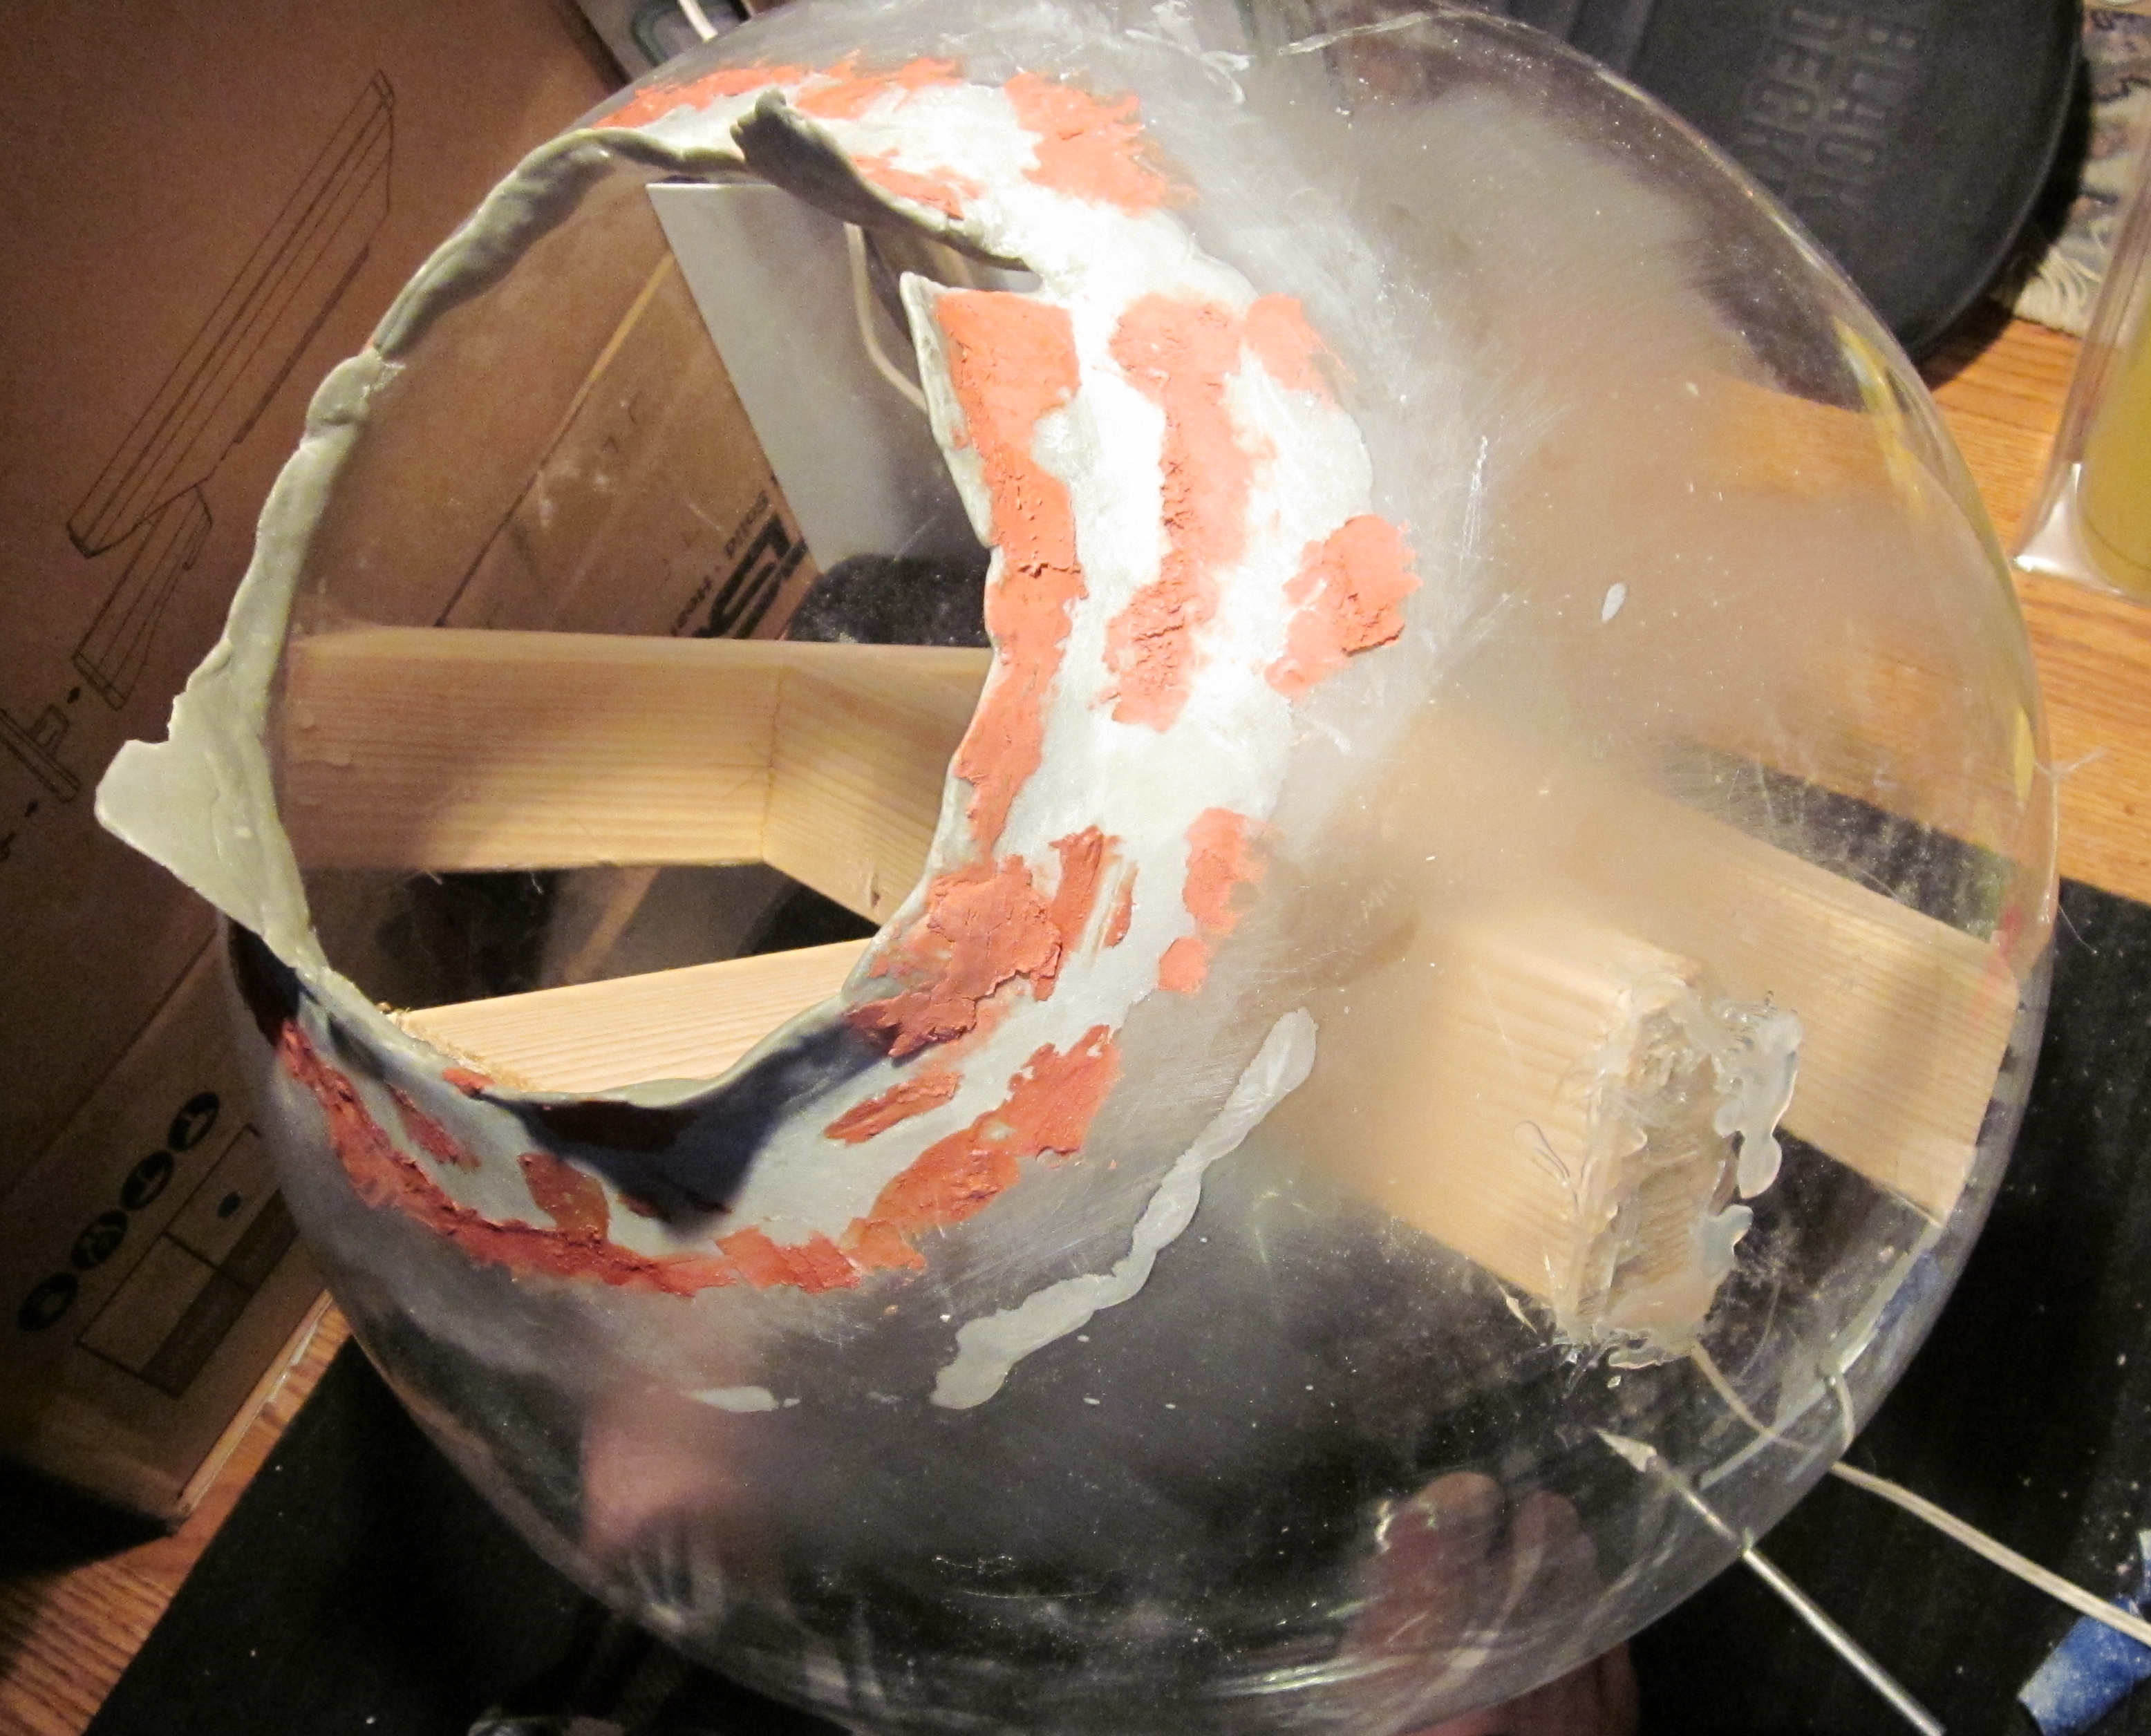
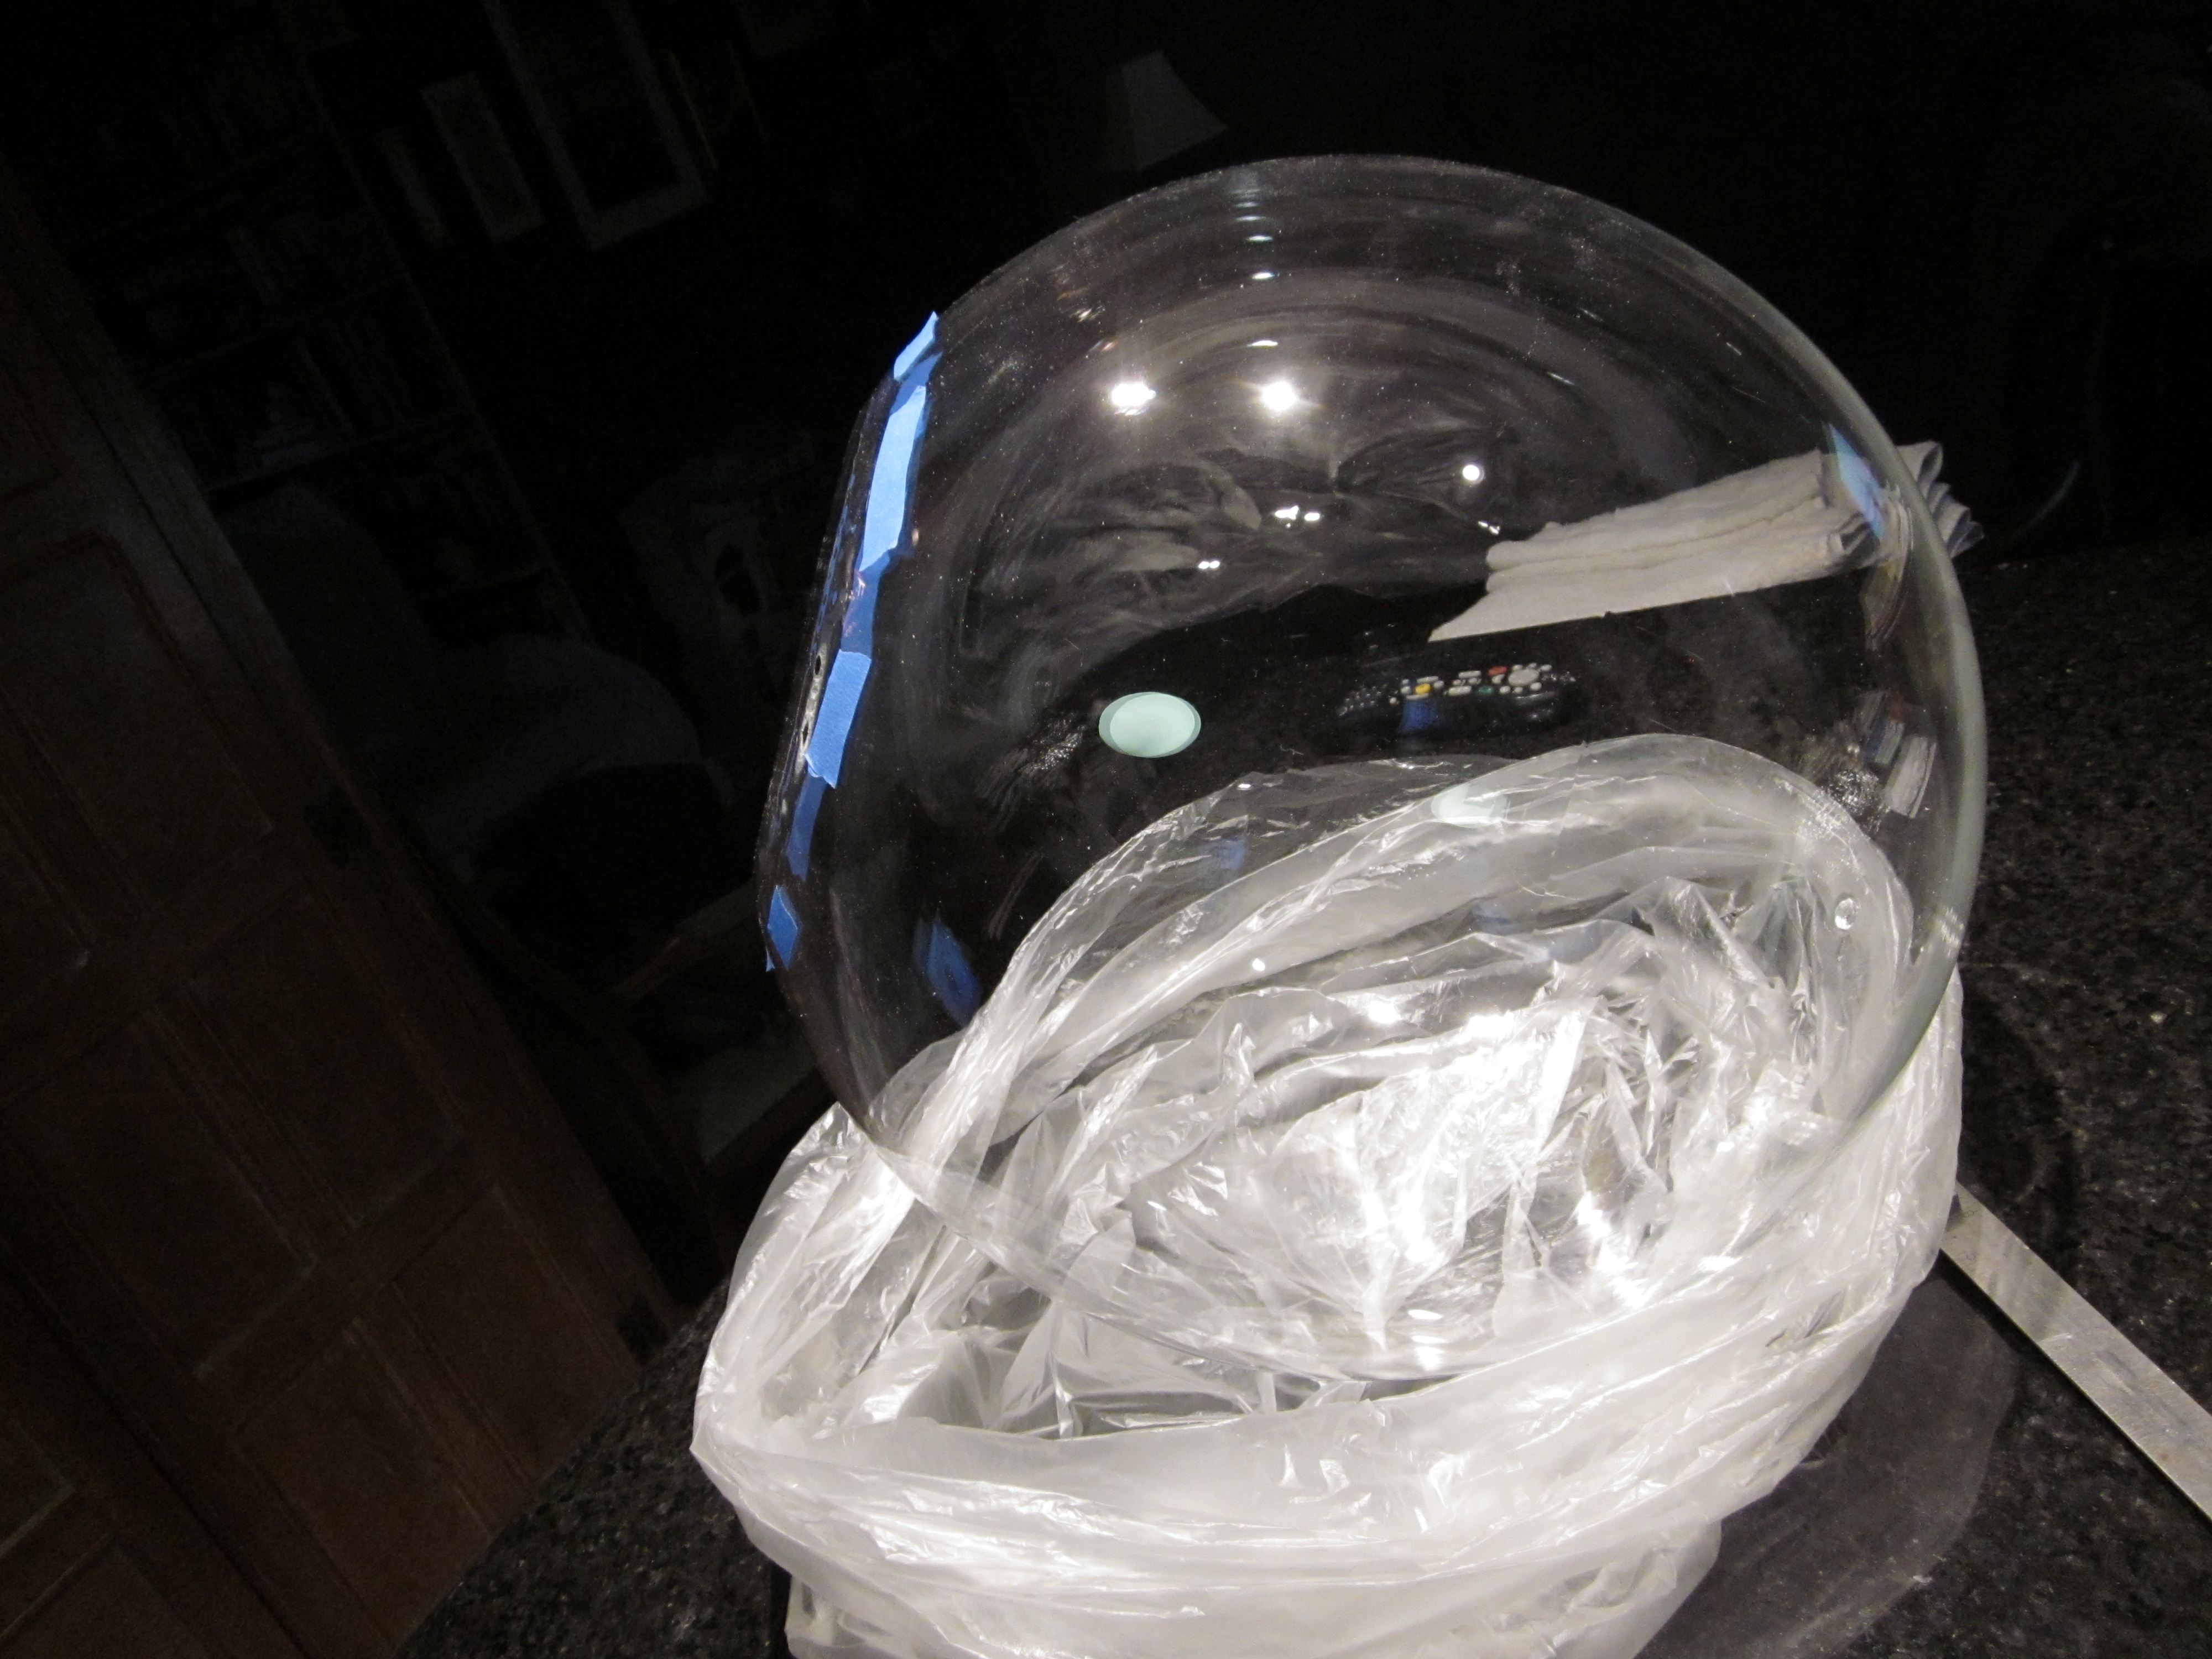
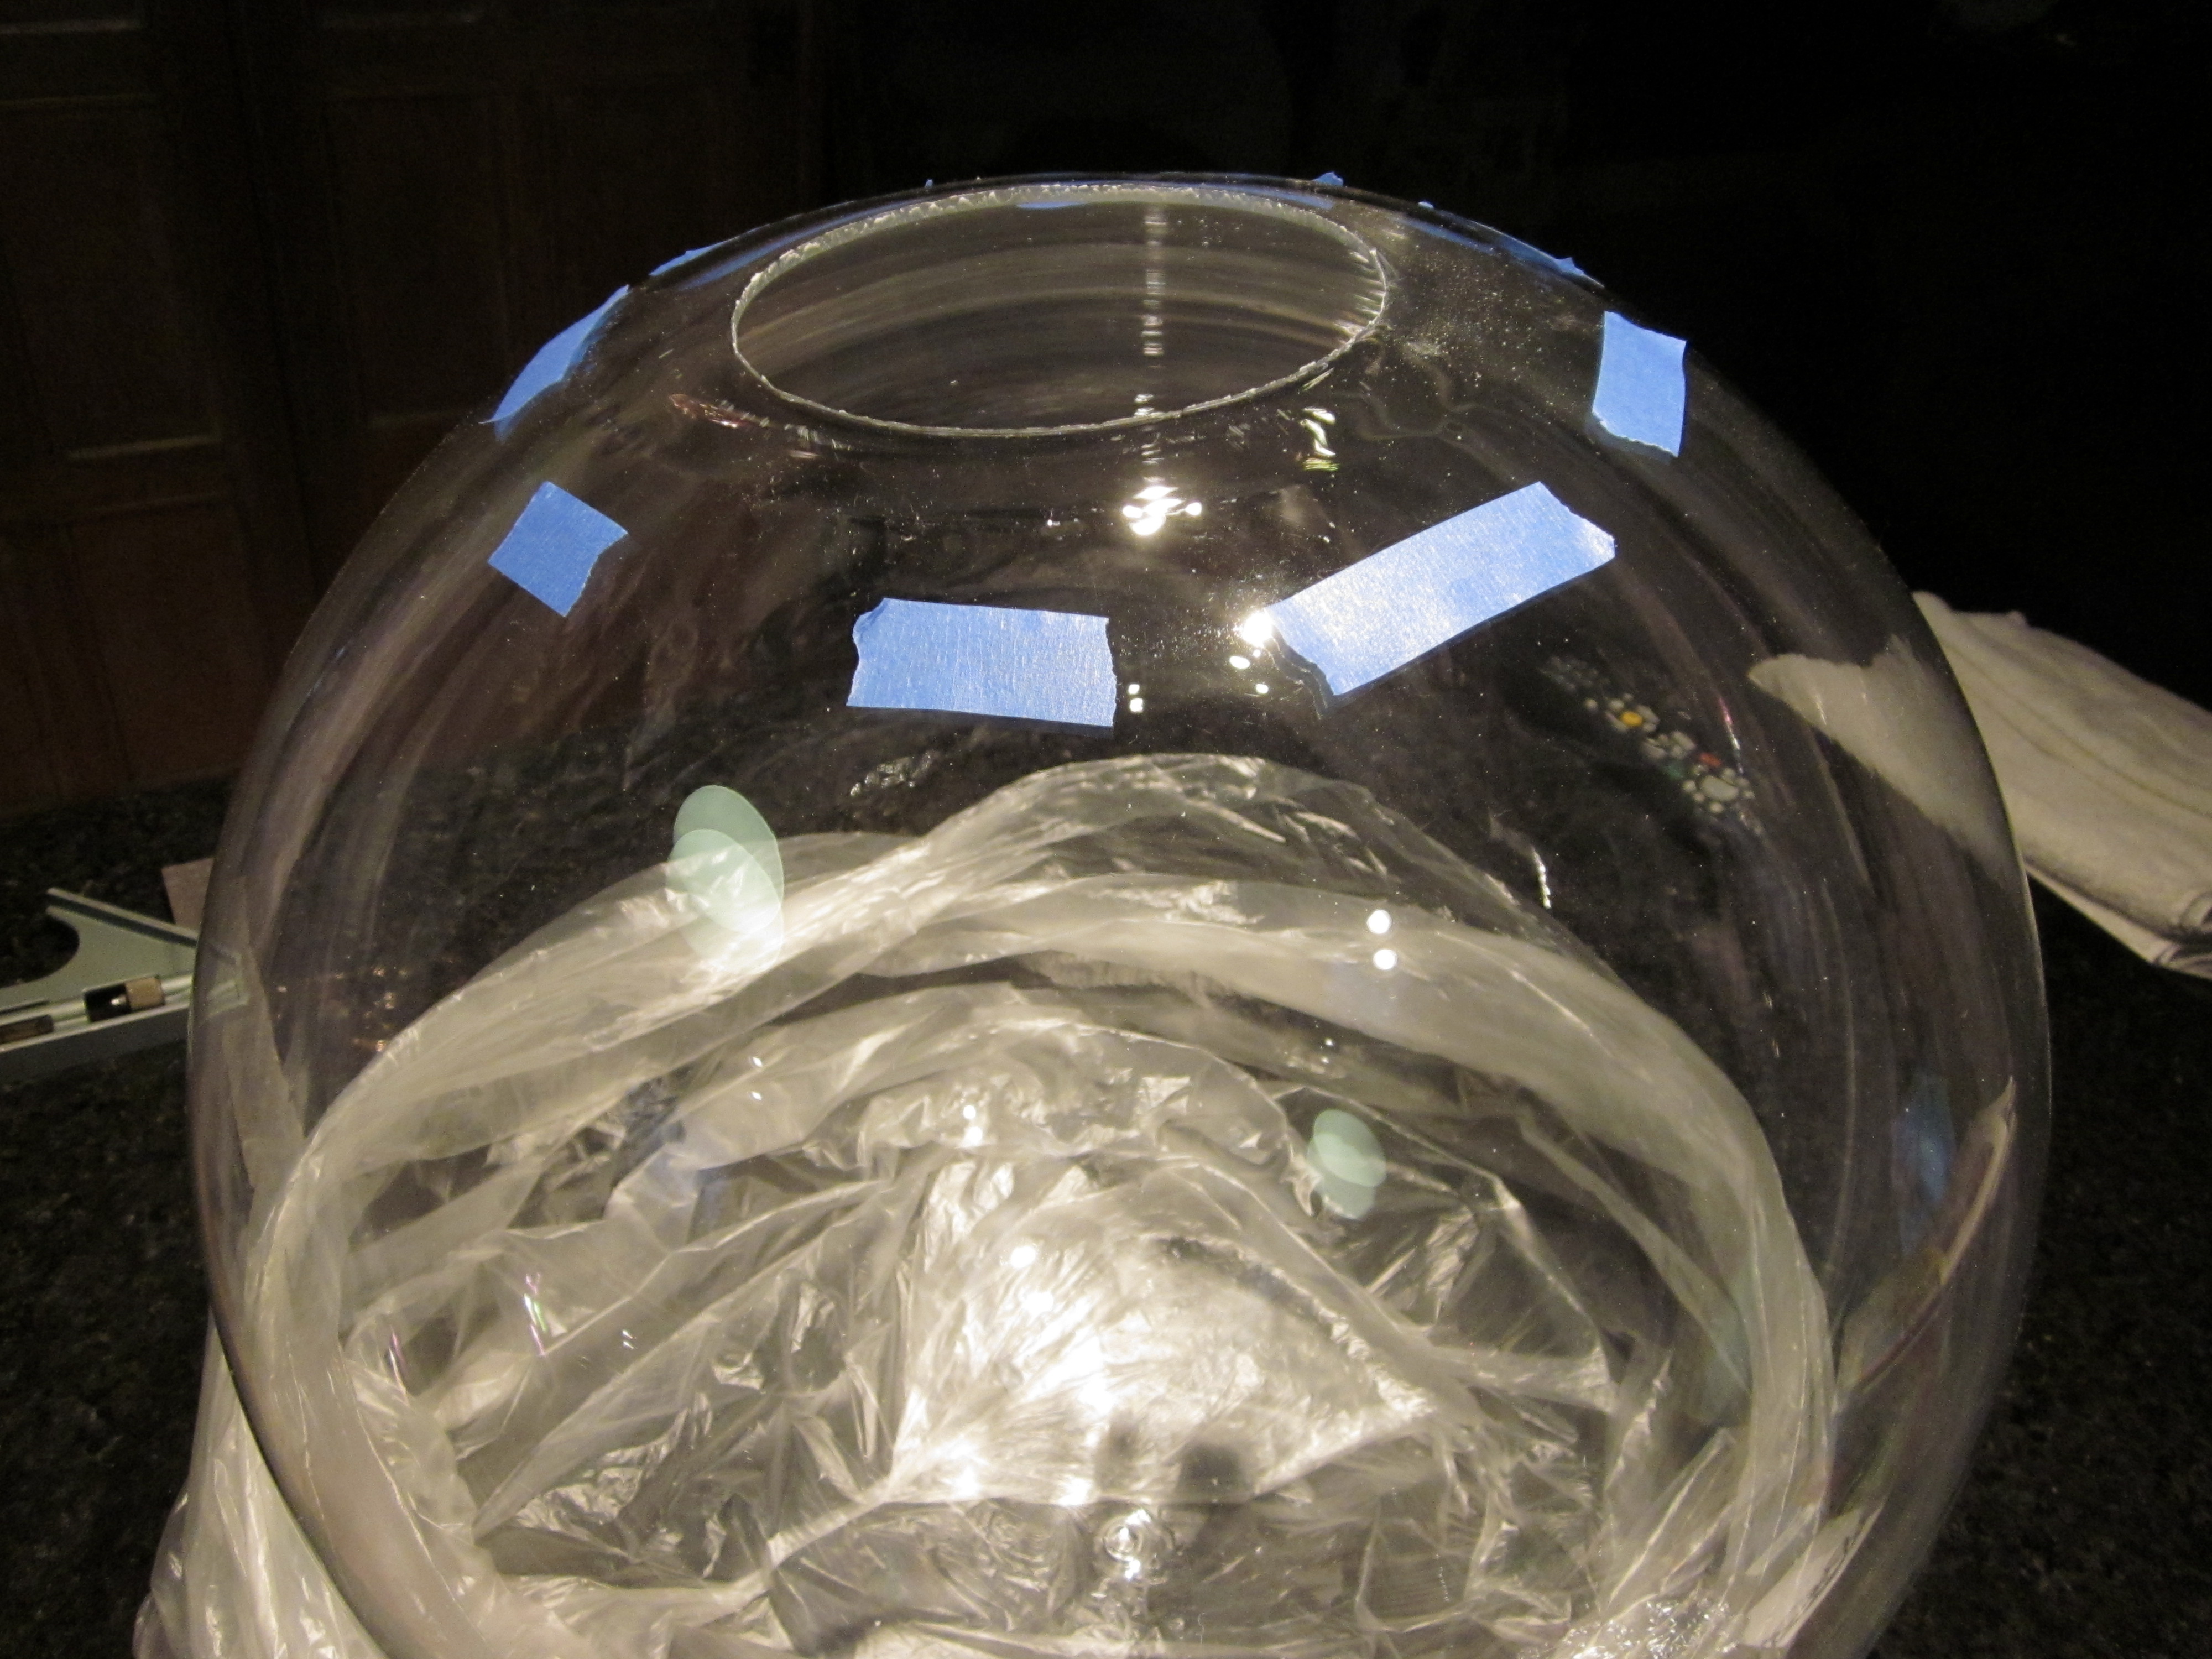
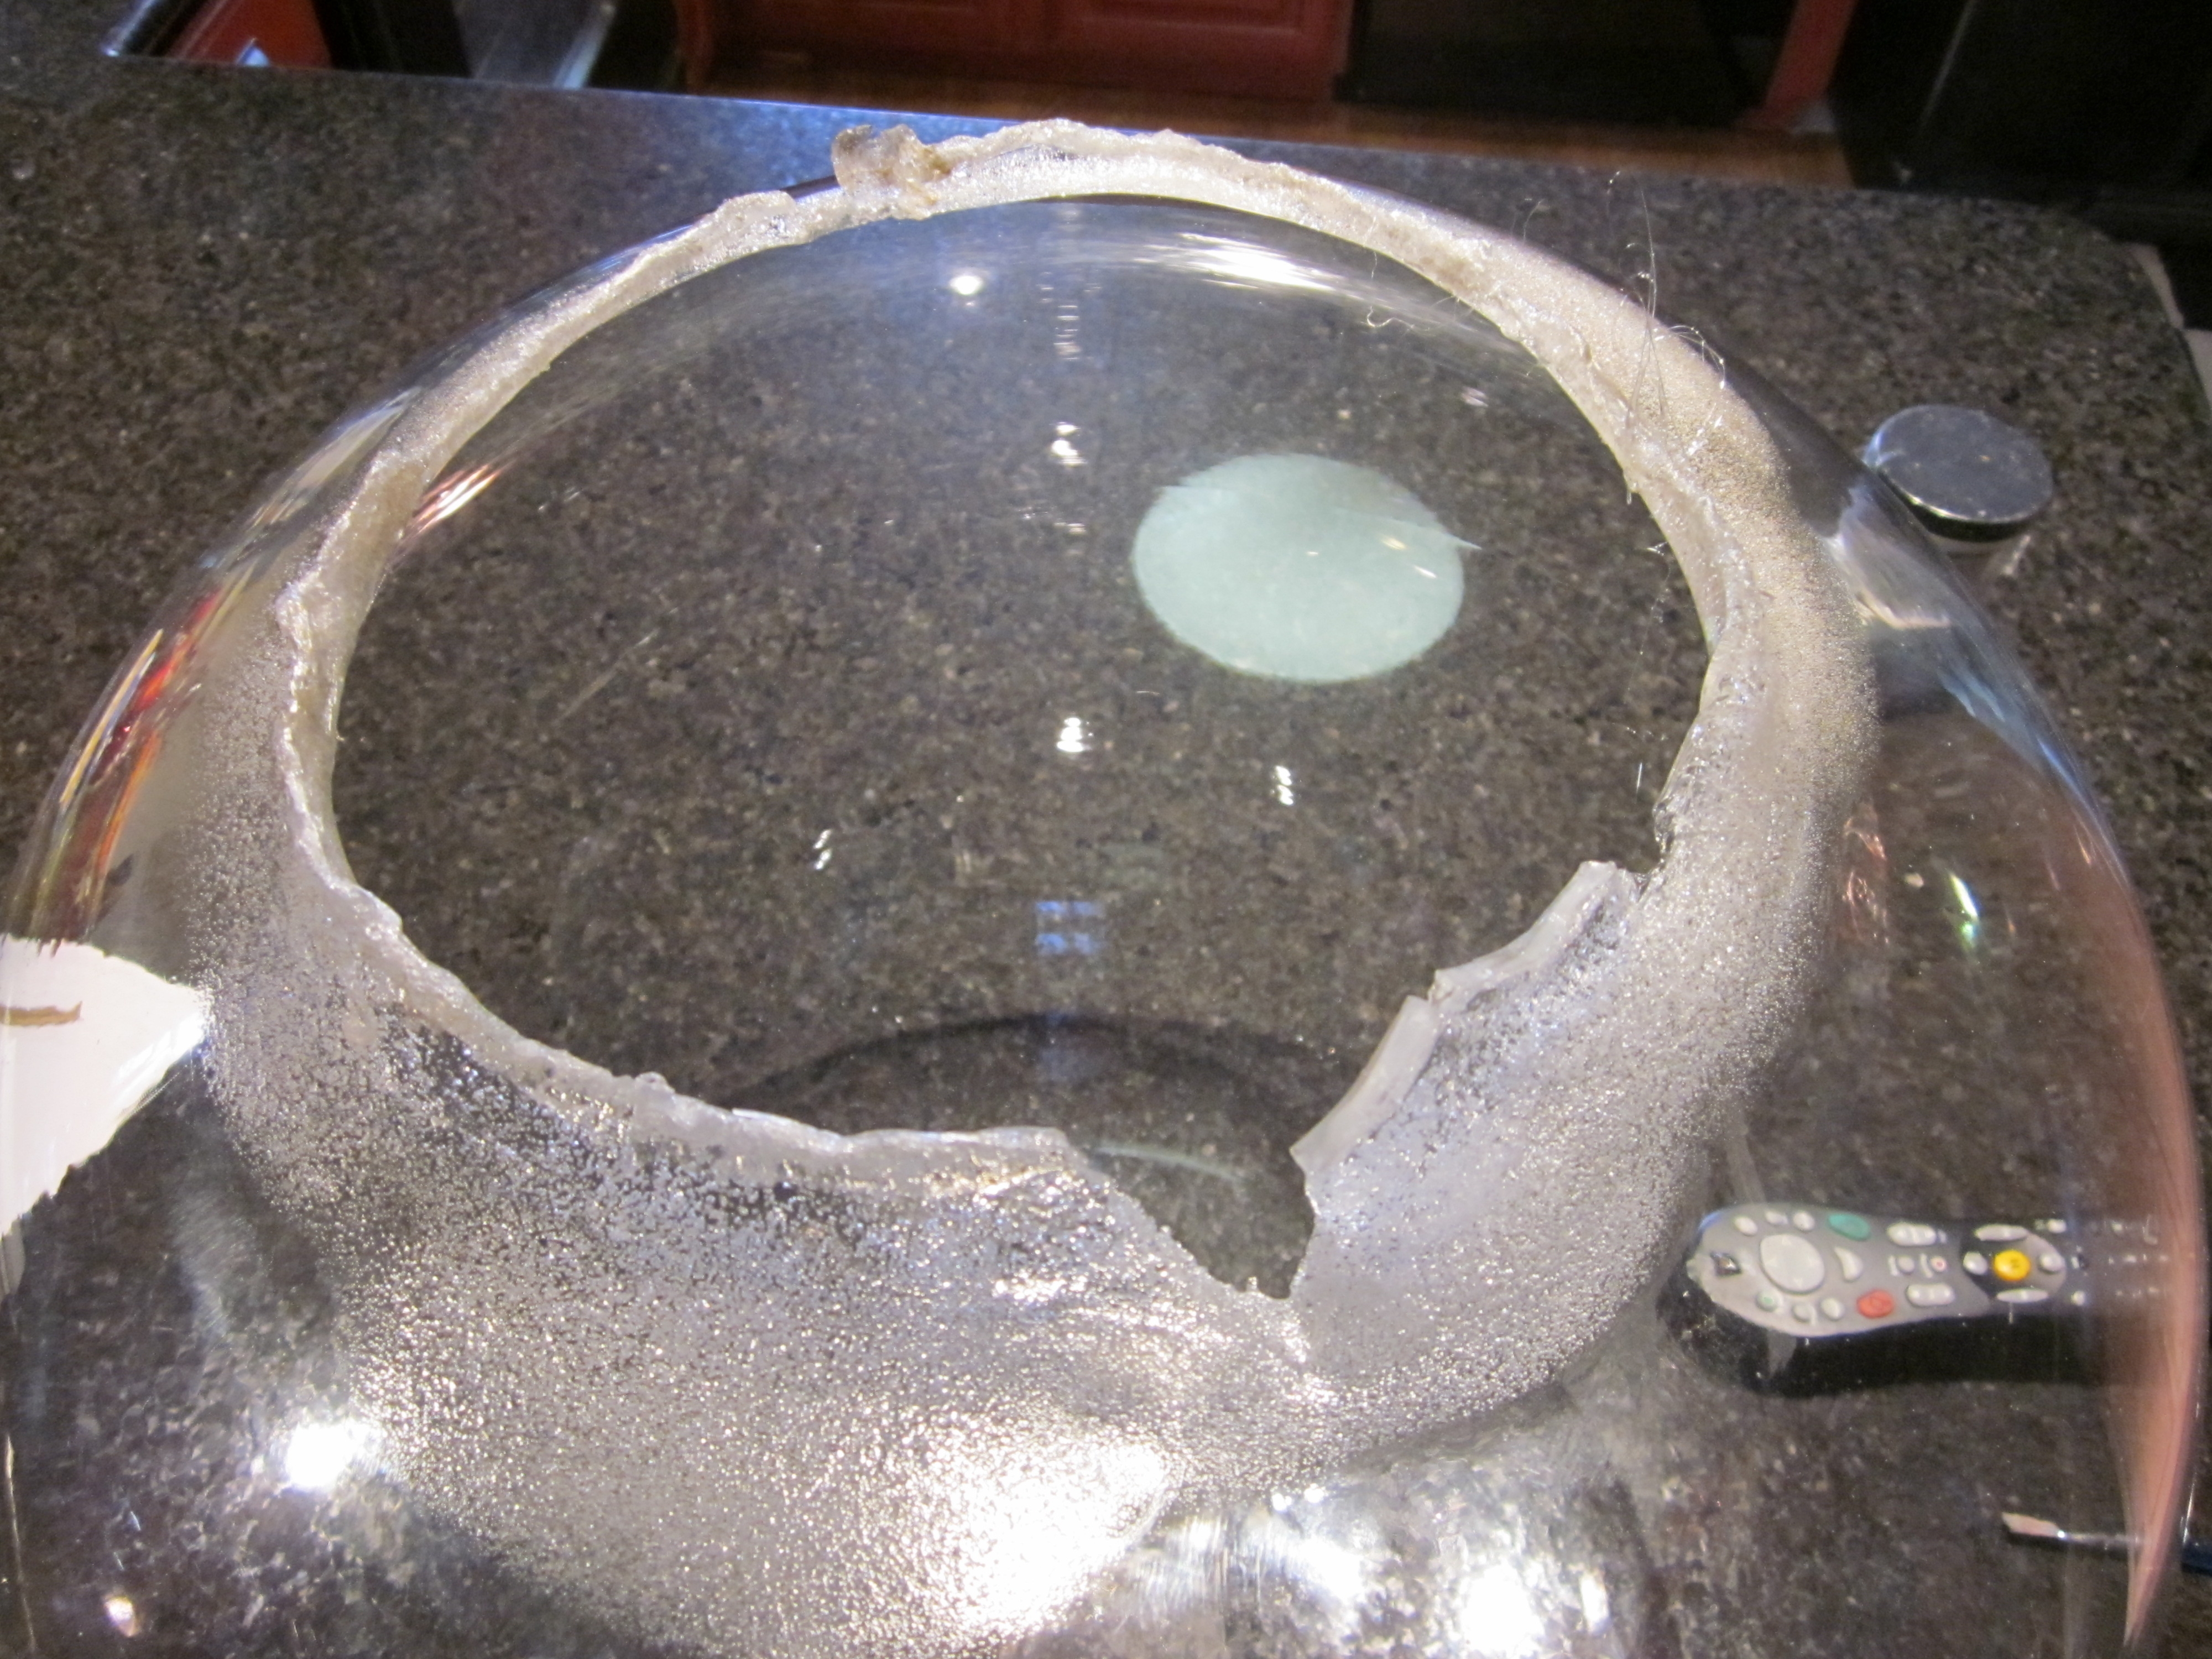
I started with an 18-inch diameter
plexiglas globe
and used a propane torch to heat the edge and
fold it out.
Used a lot of Aves ApoxySculpt
and Bondo to cleanup the resulting bubbly surfaces.
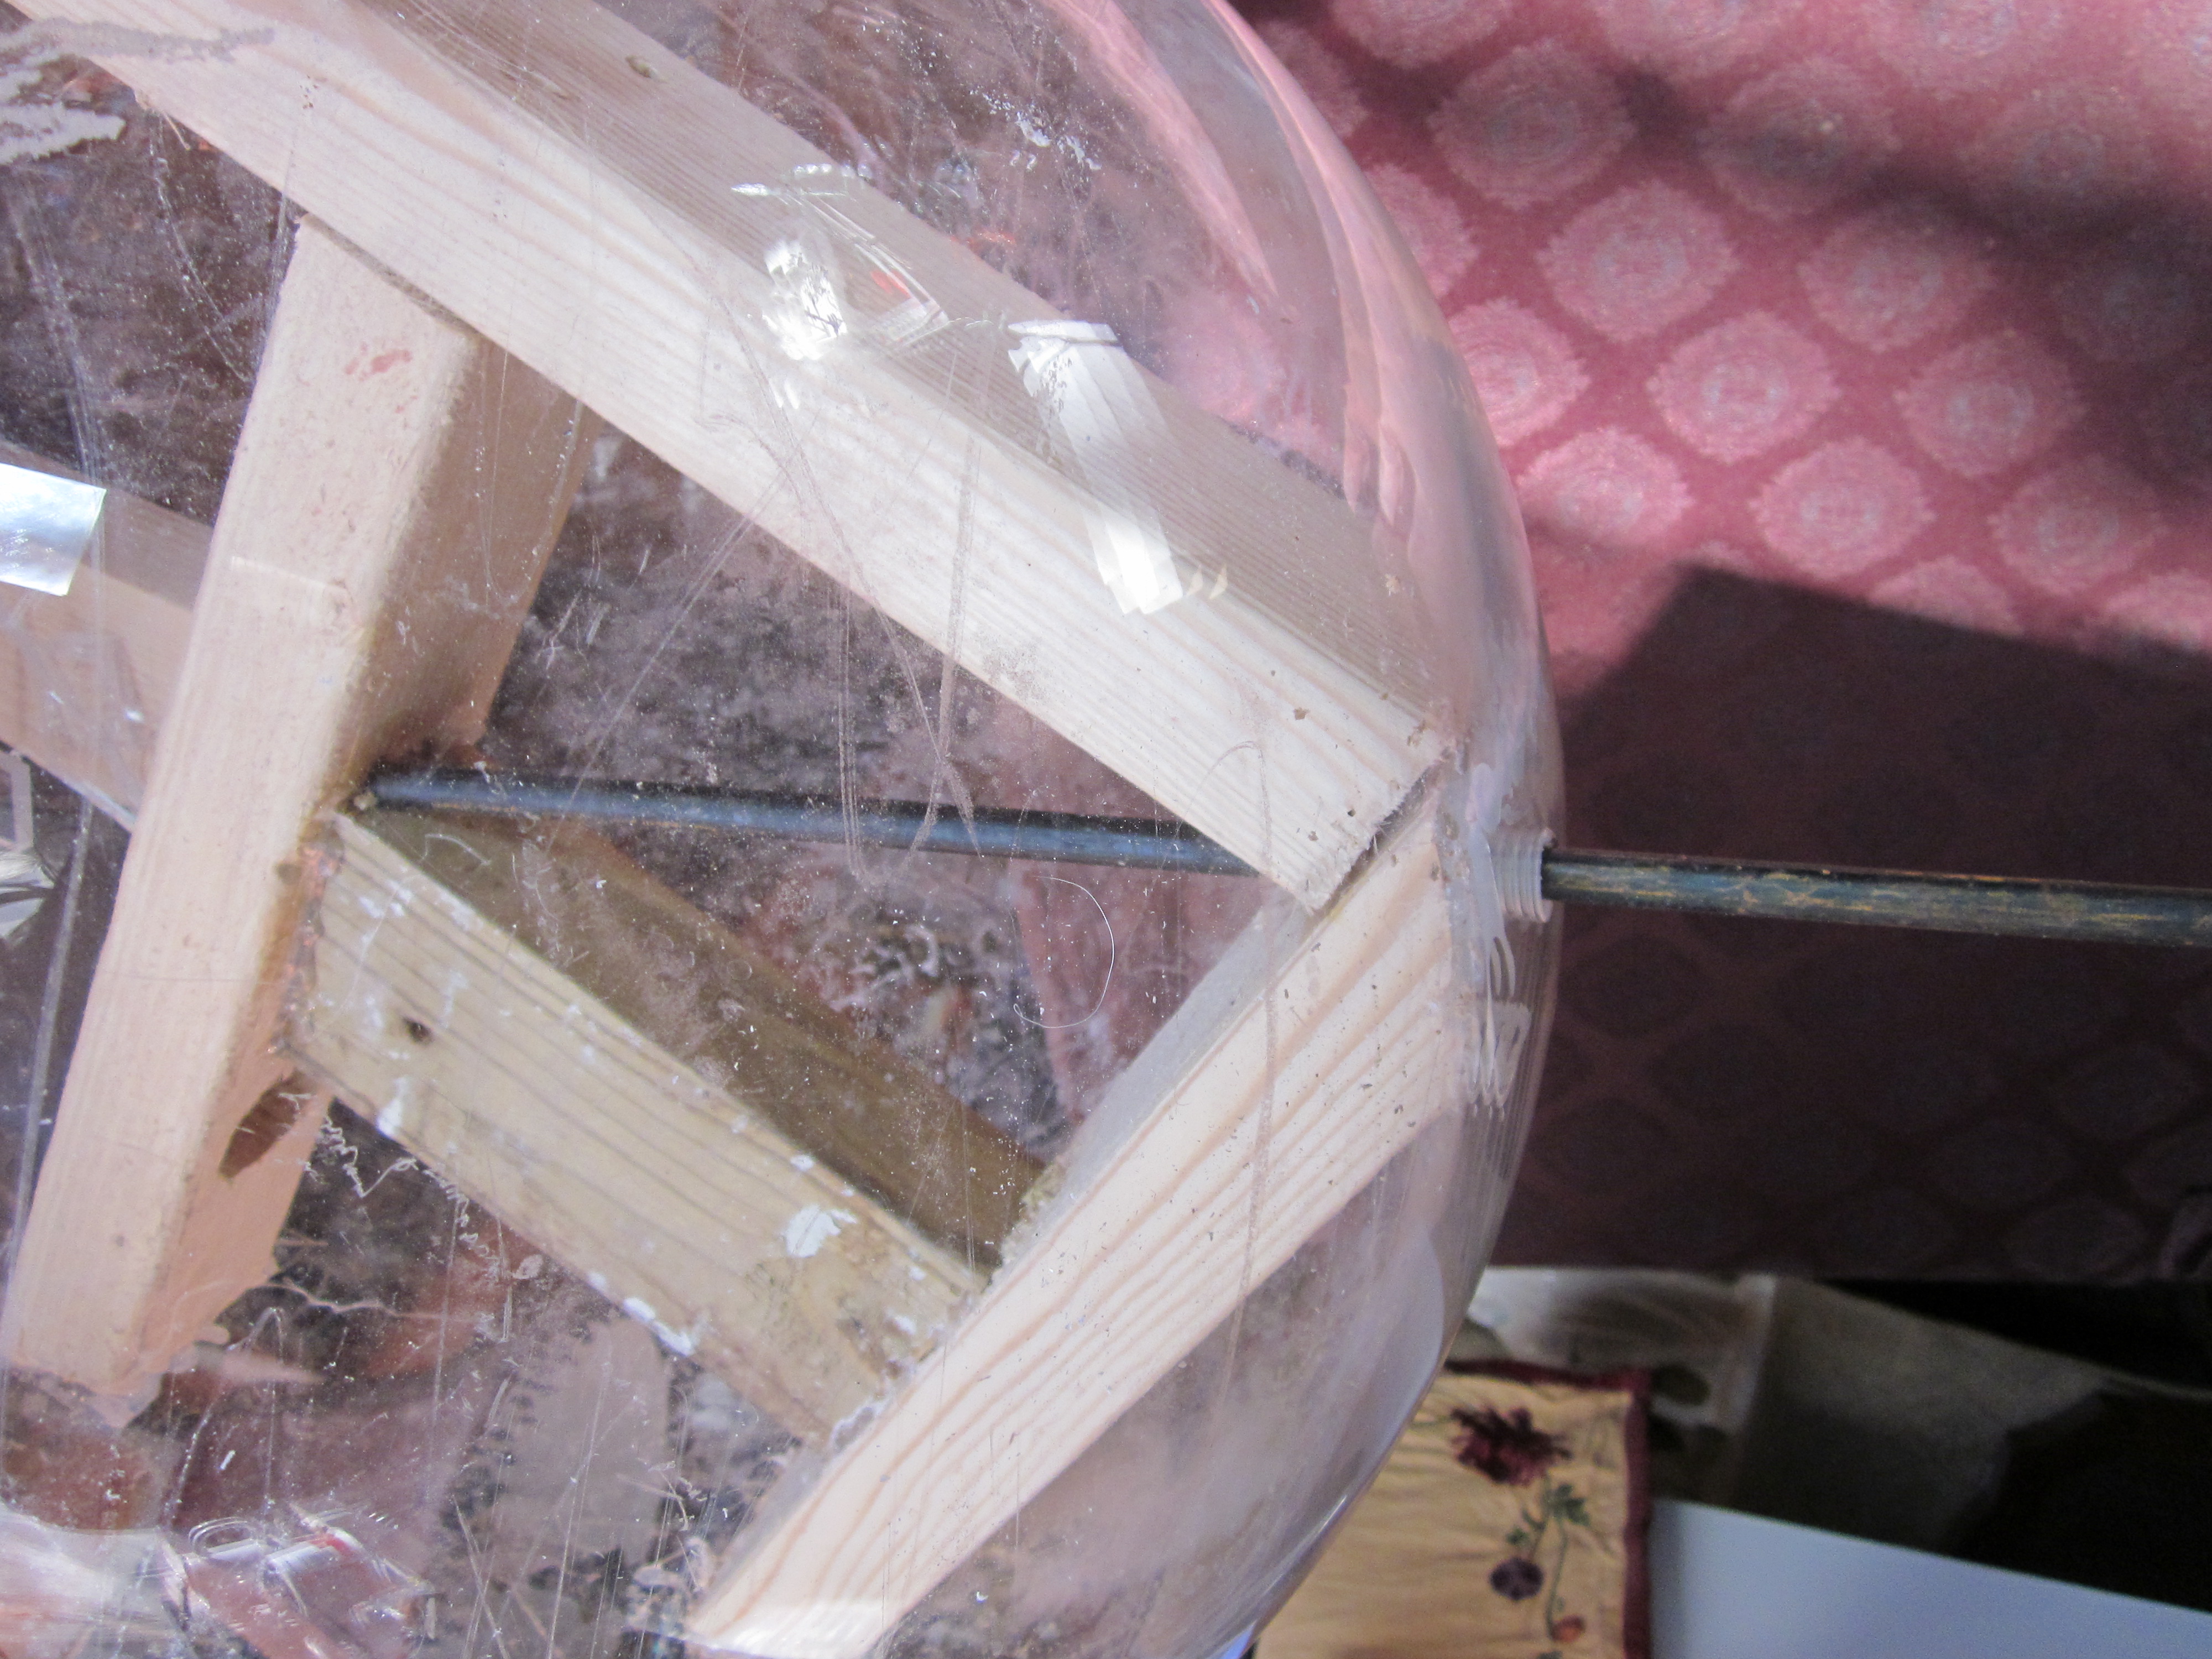
I built a 2x3 wood frame
inside, mostly a box with one arm extending from the box and glued to the bottom edge of the hole.
On it I glued a slab of quarter-inch plexiglas to be the
floor
(basecoated) of the station.
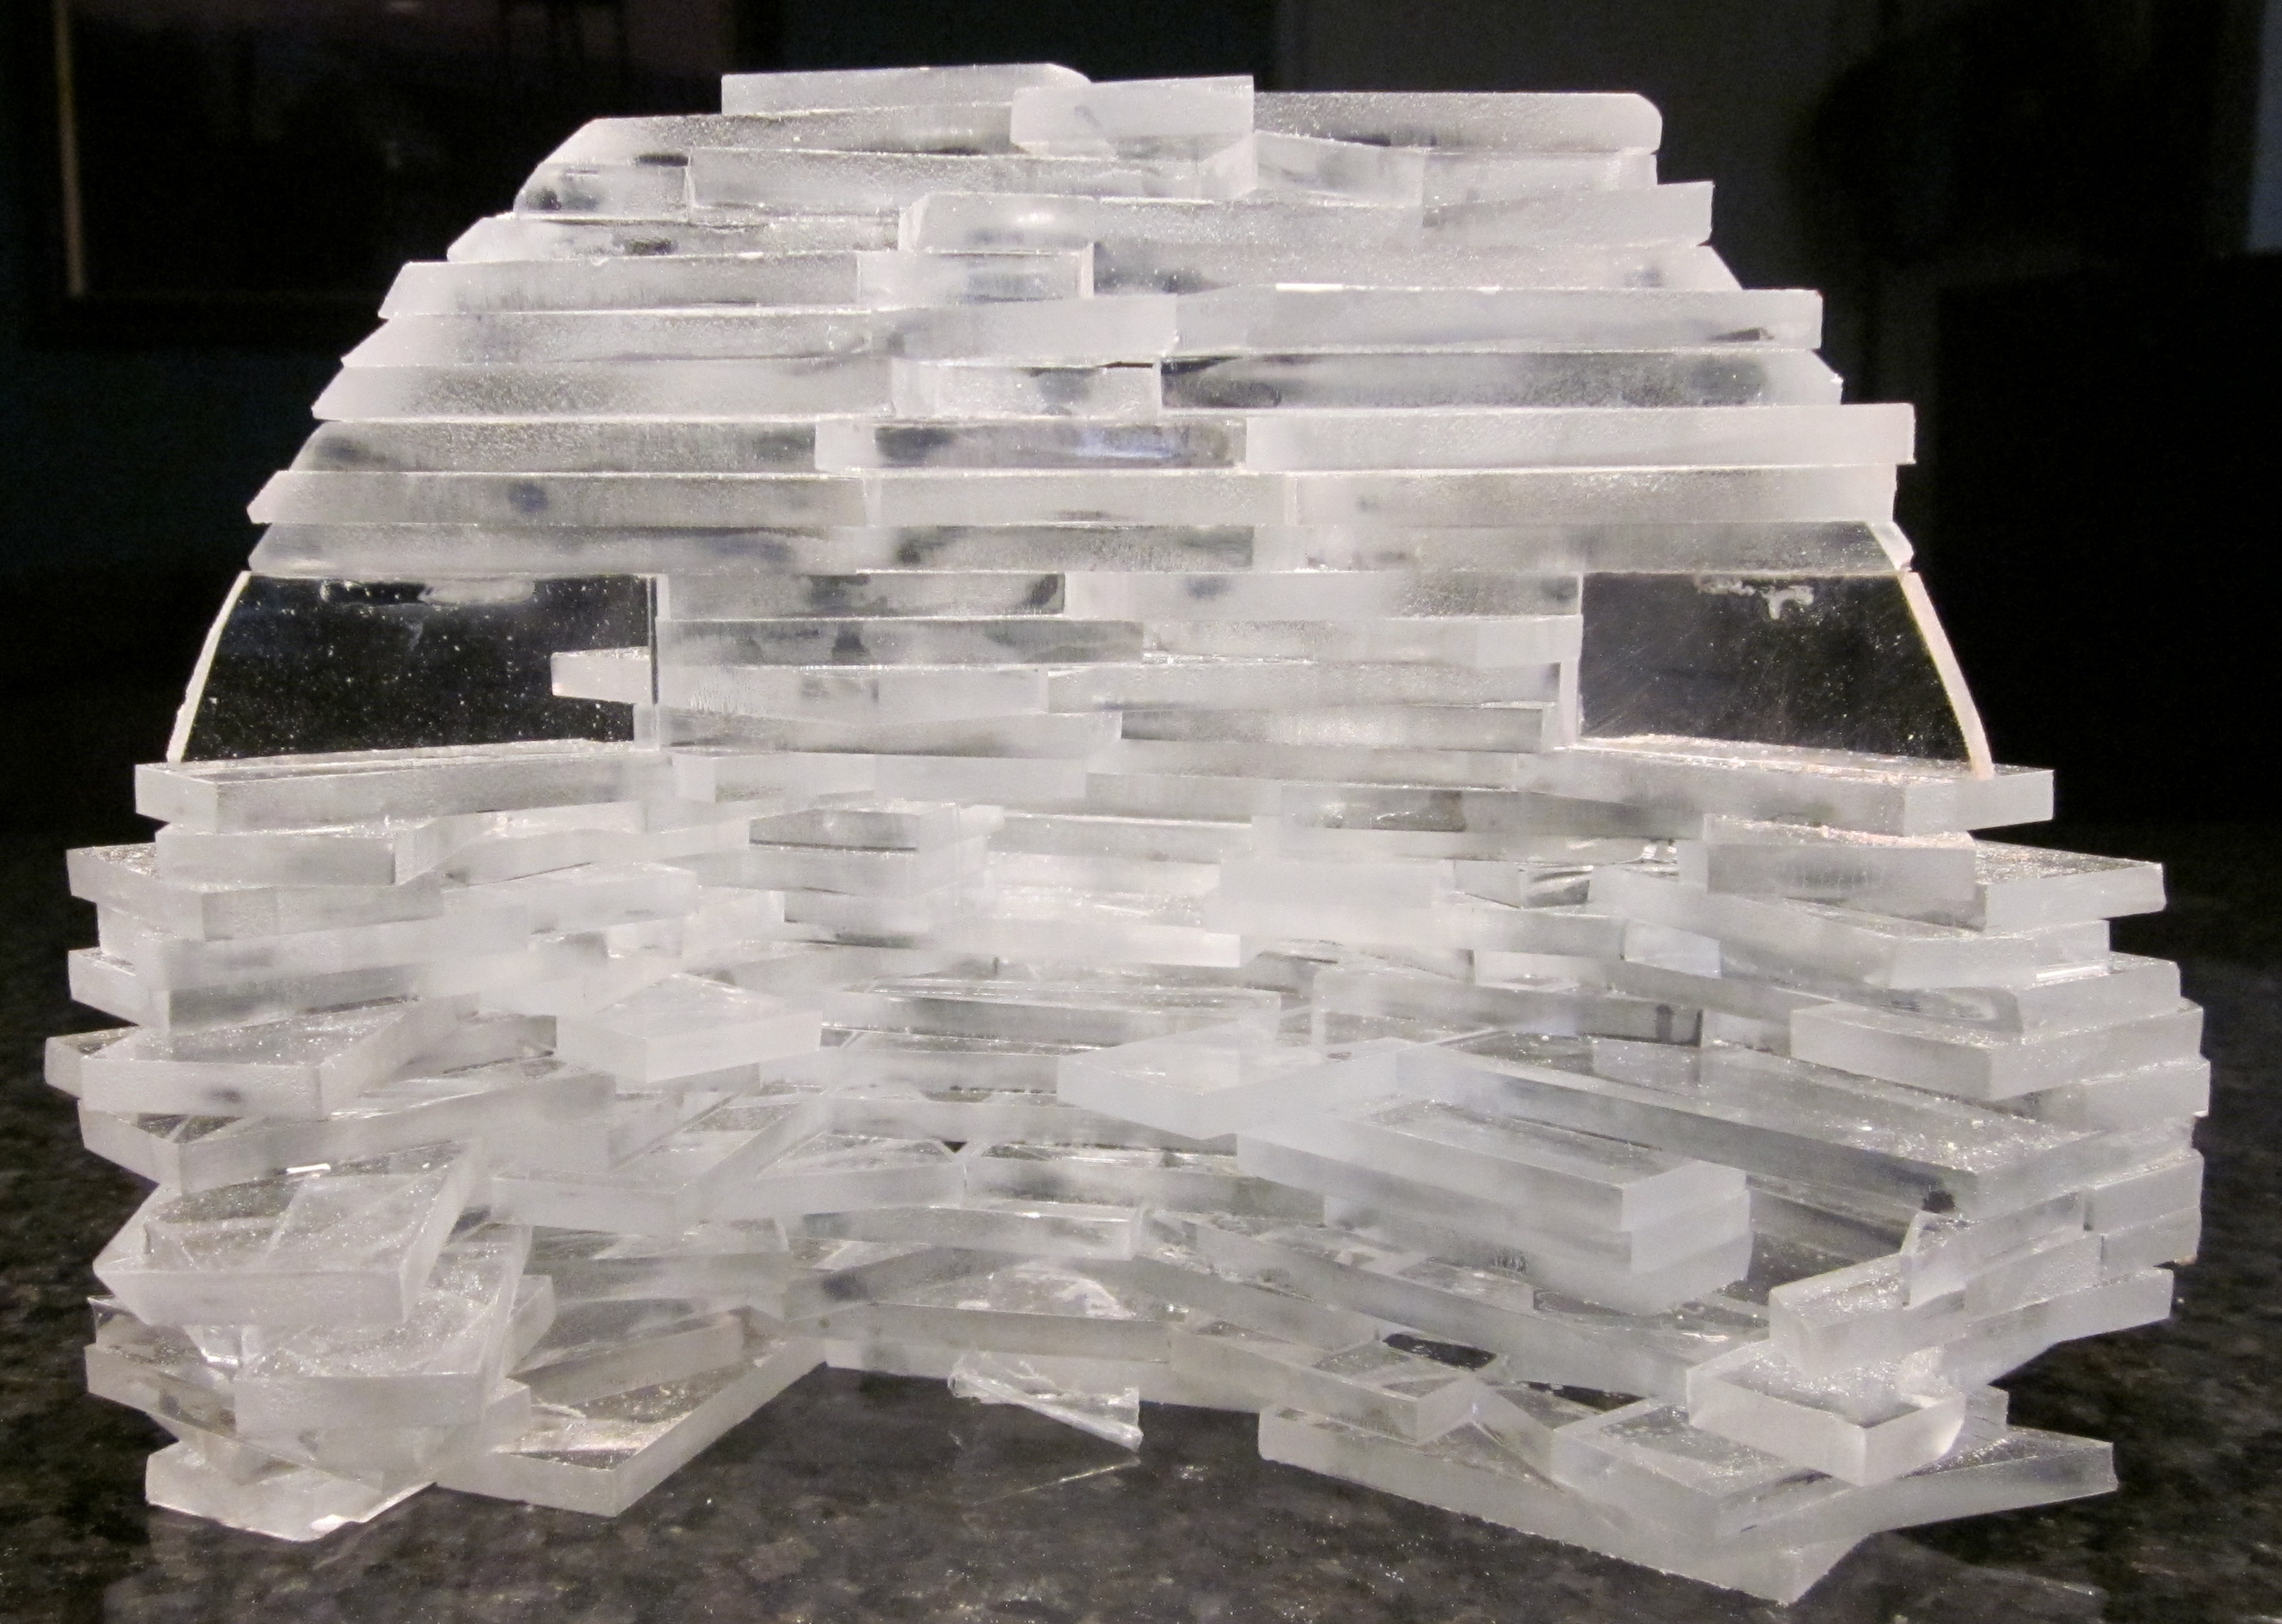
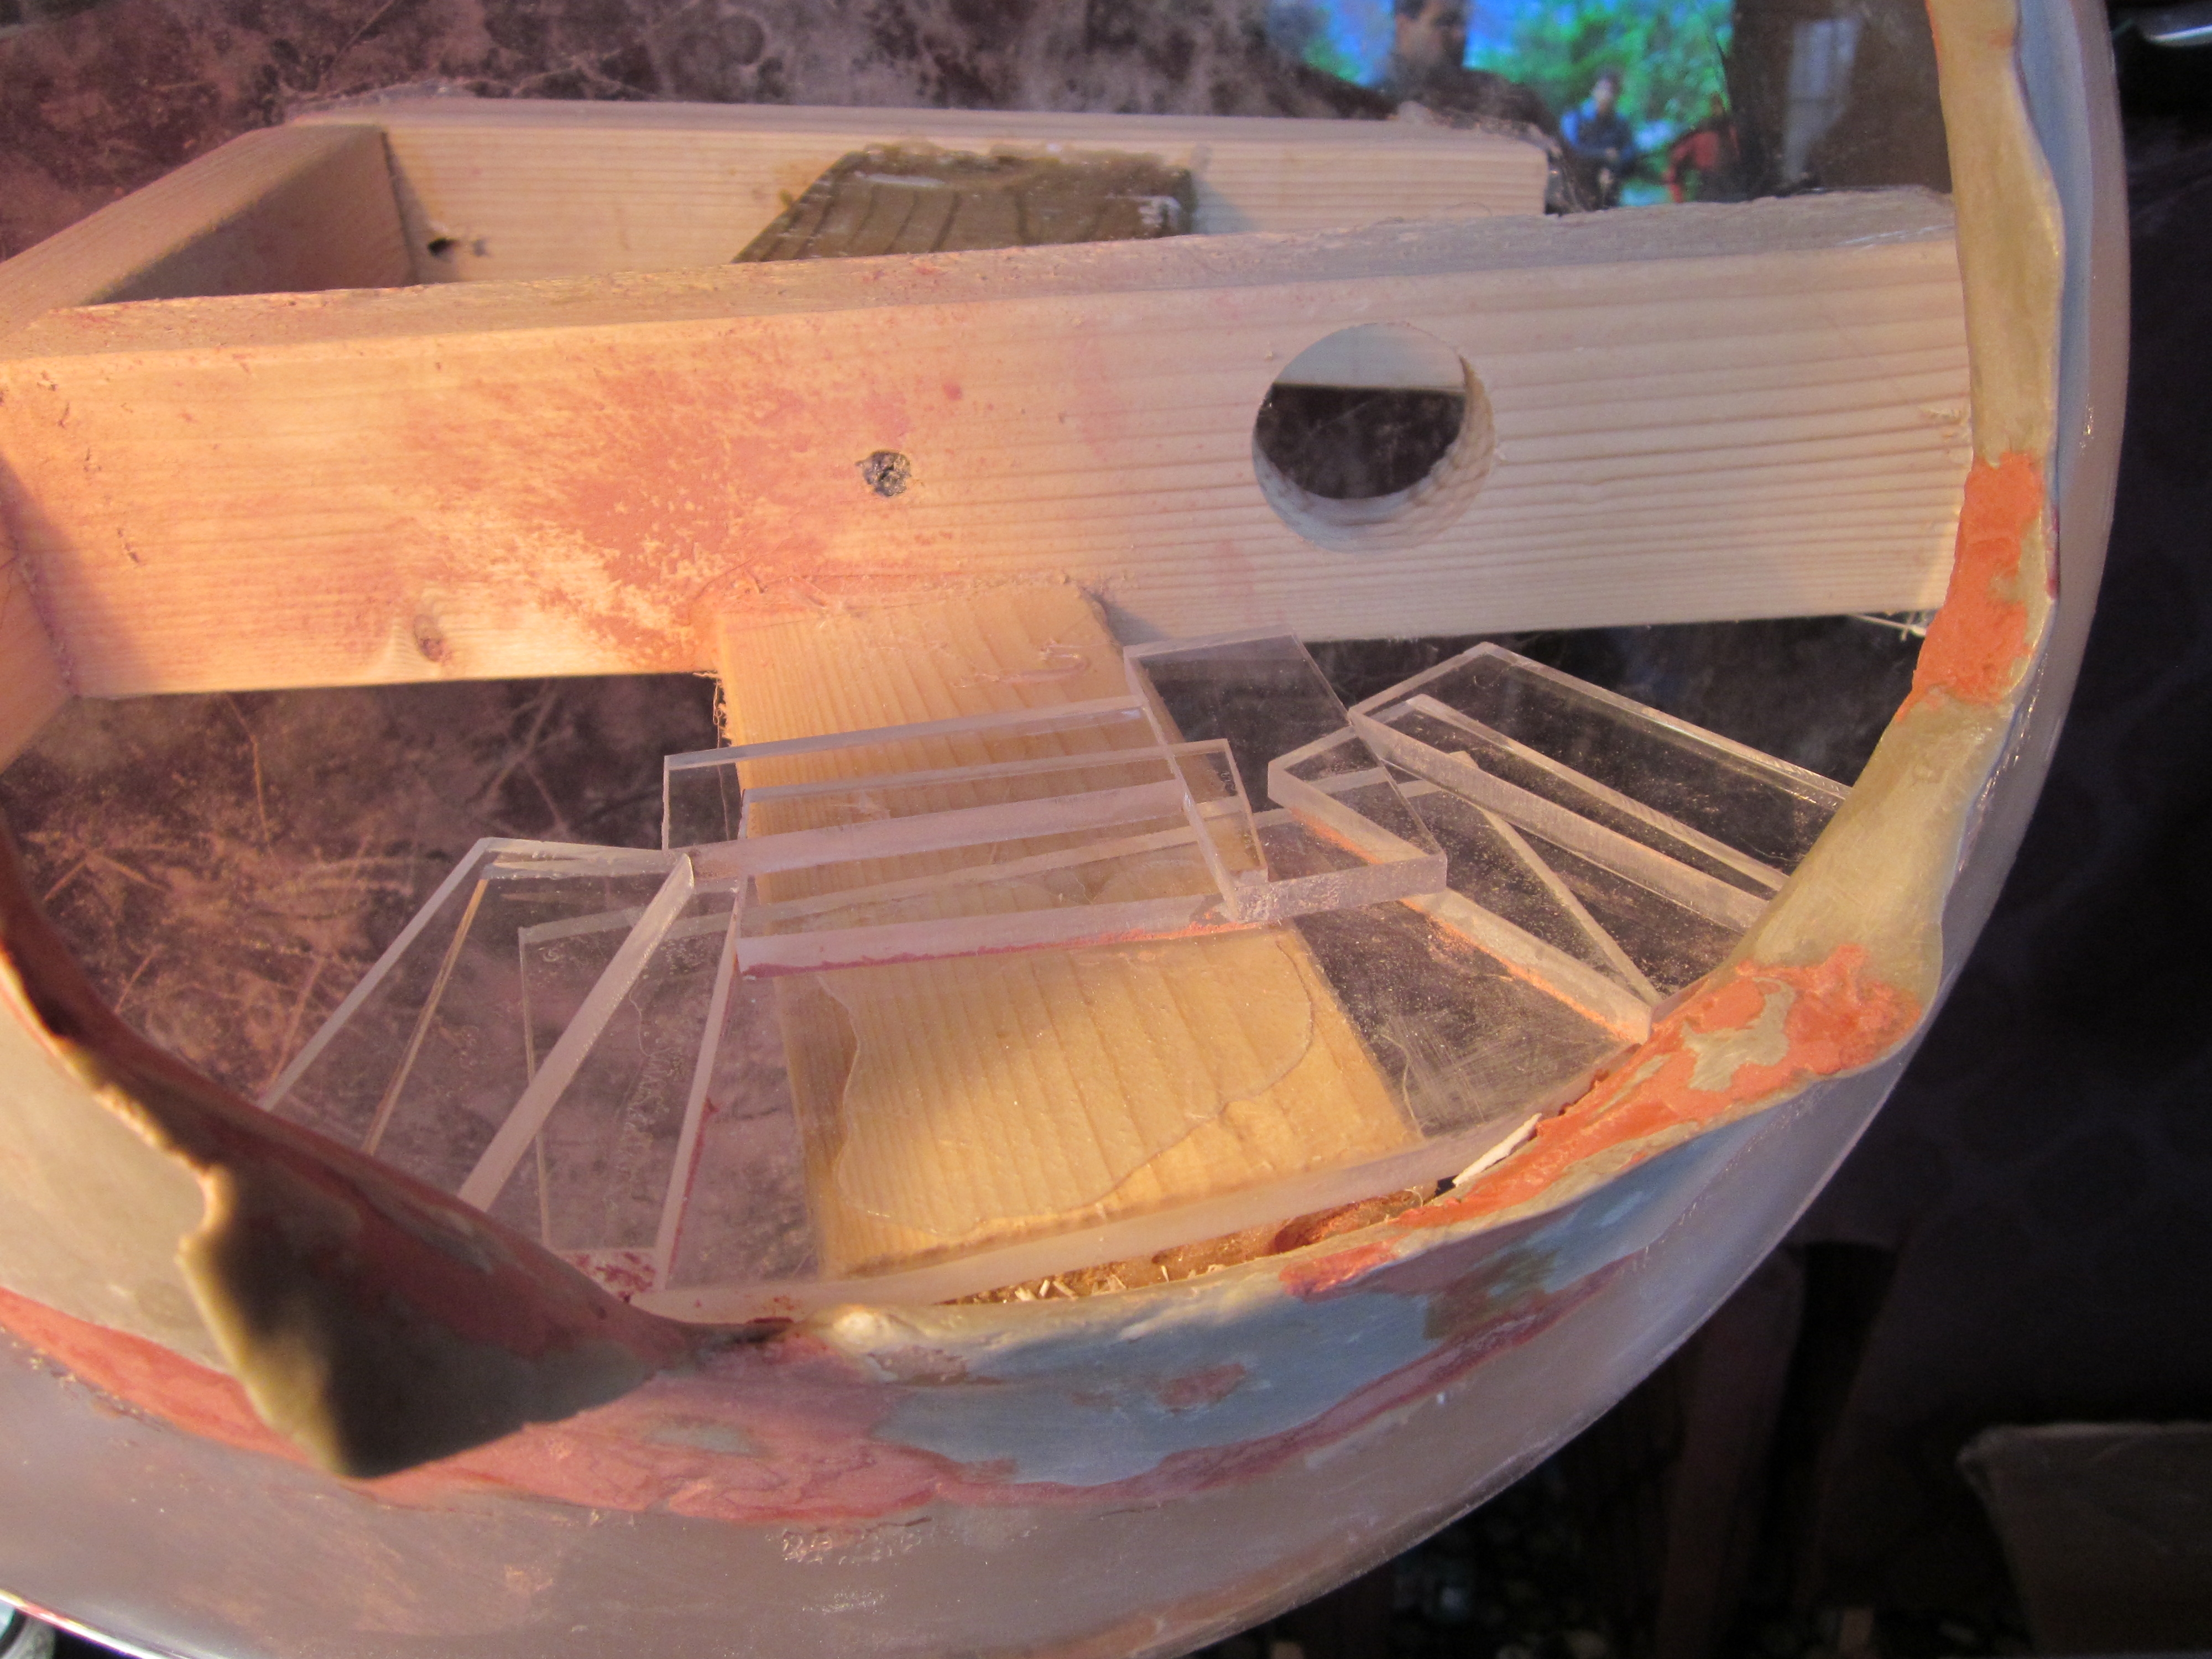
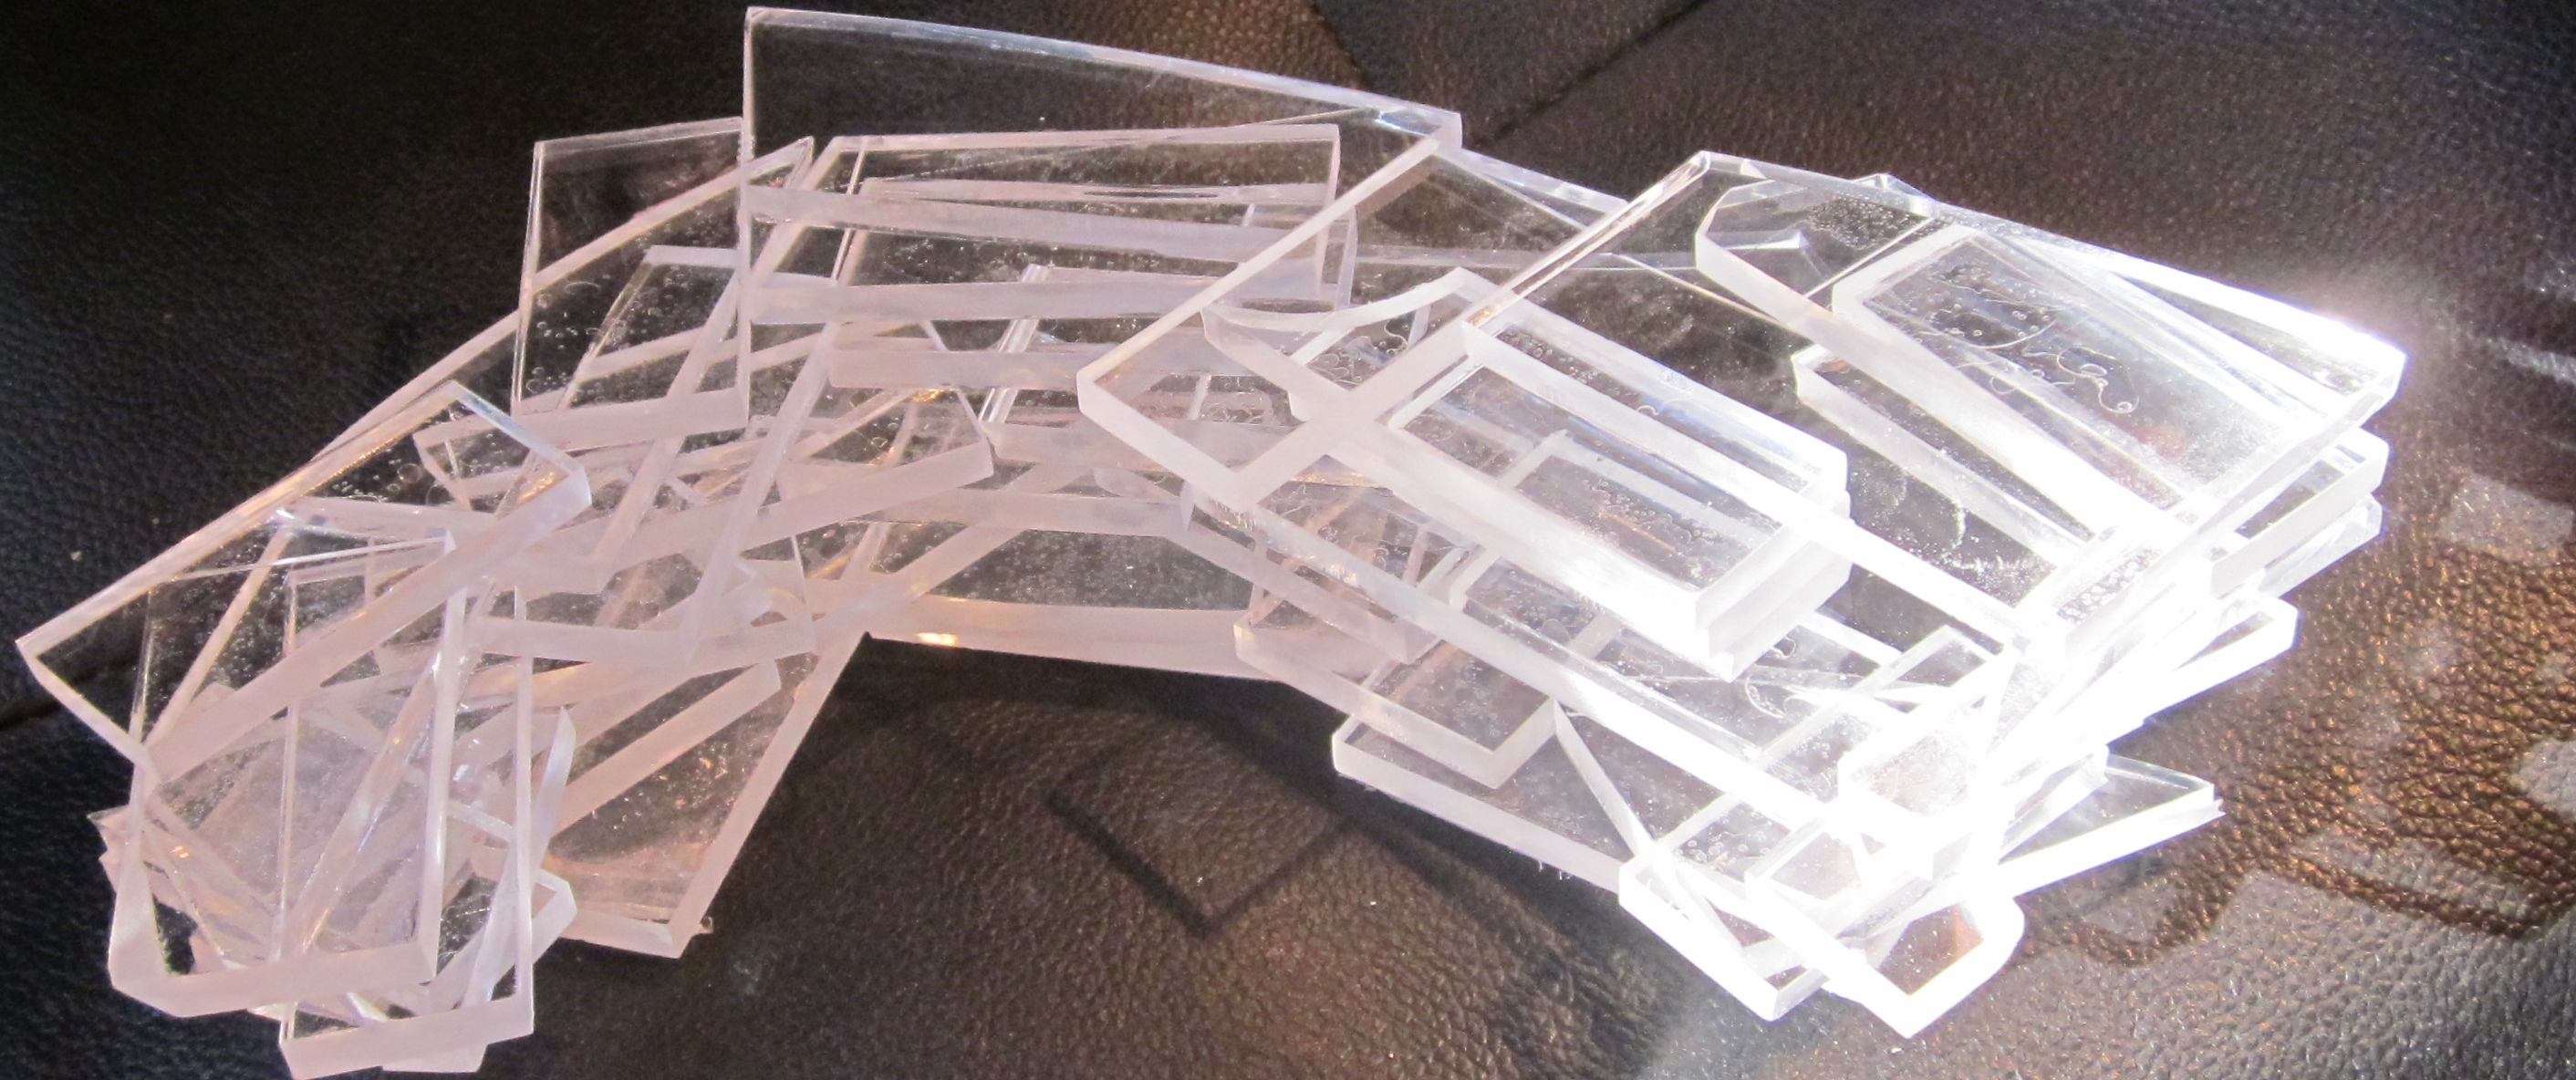
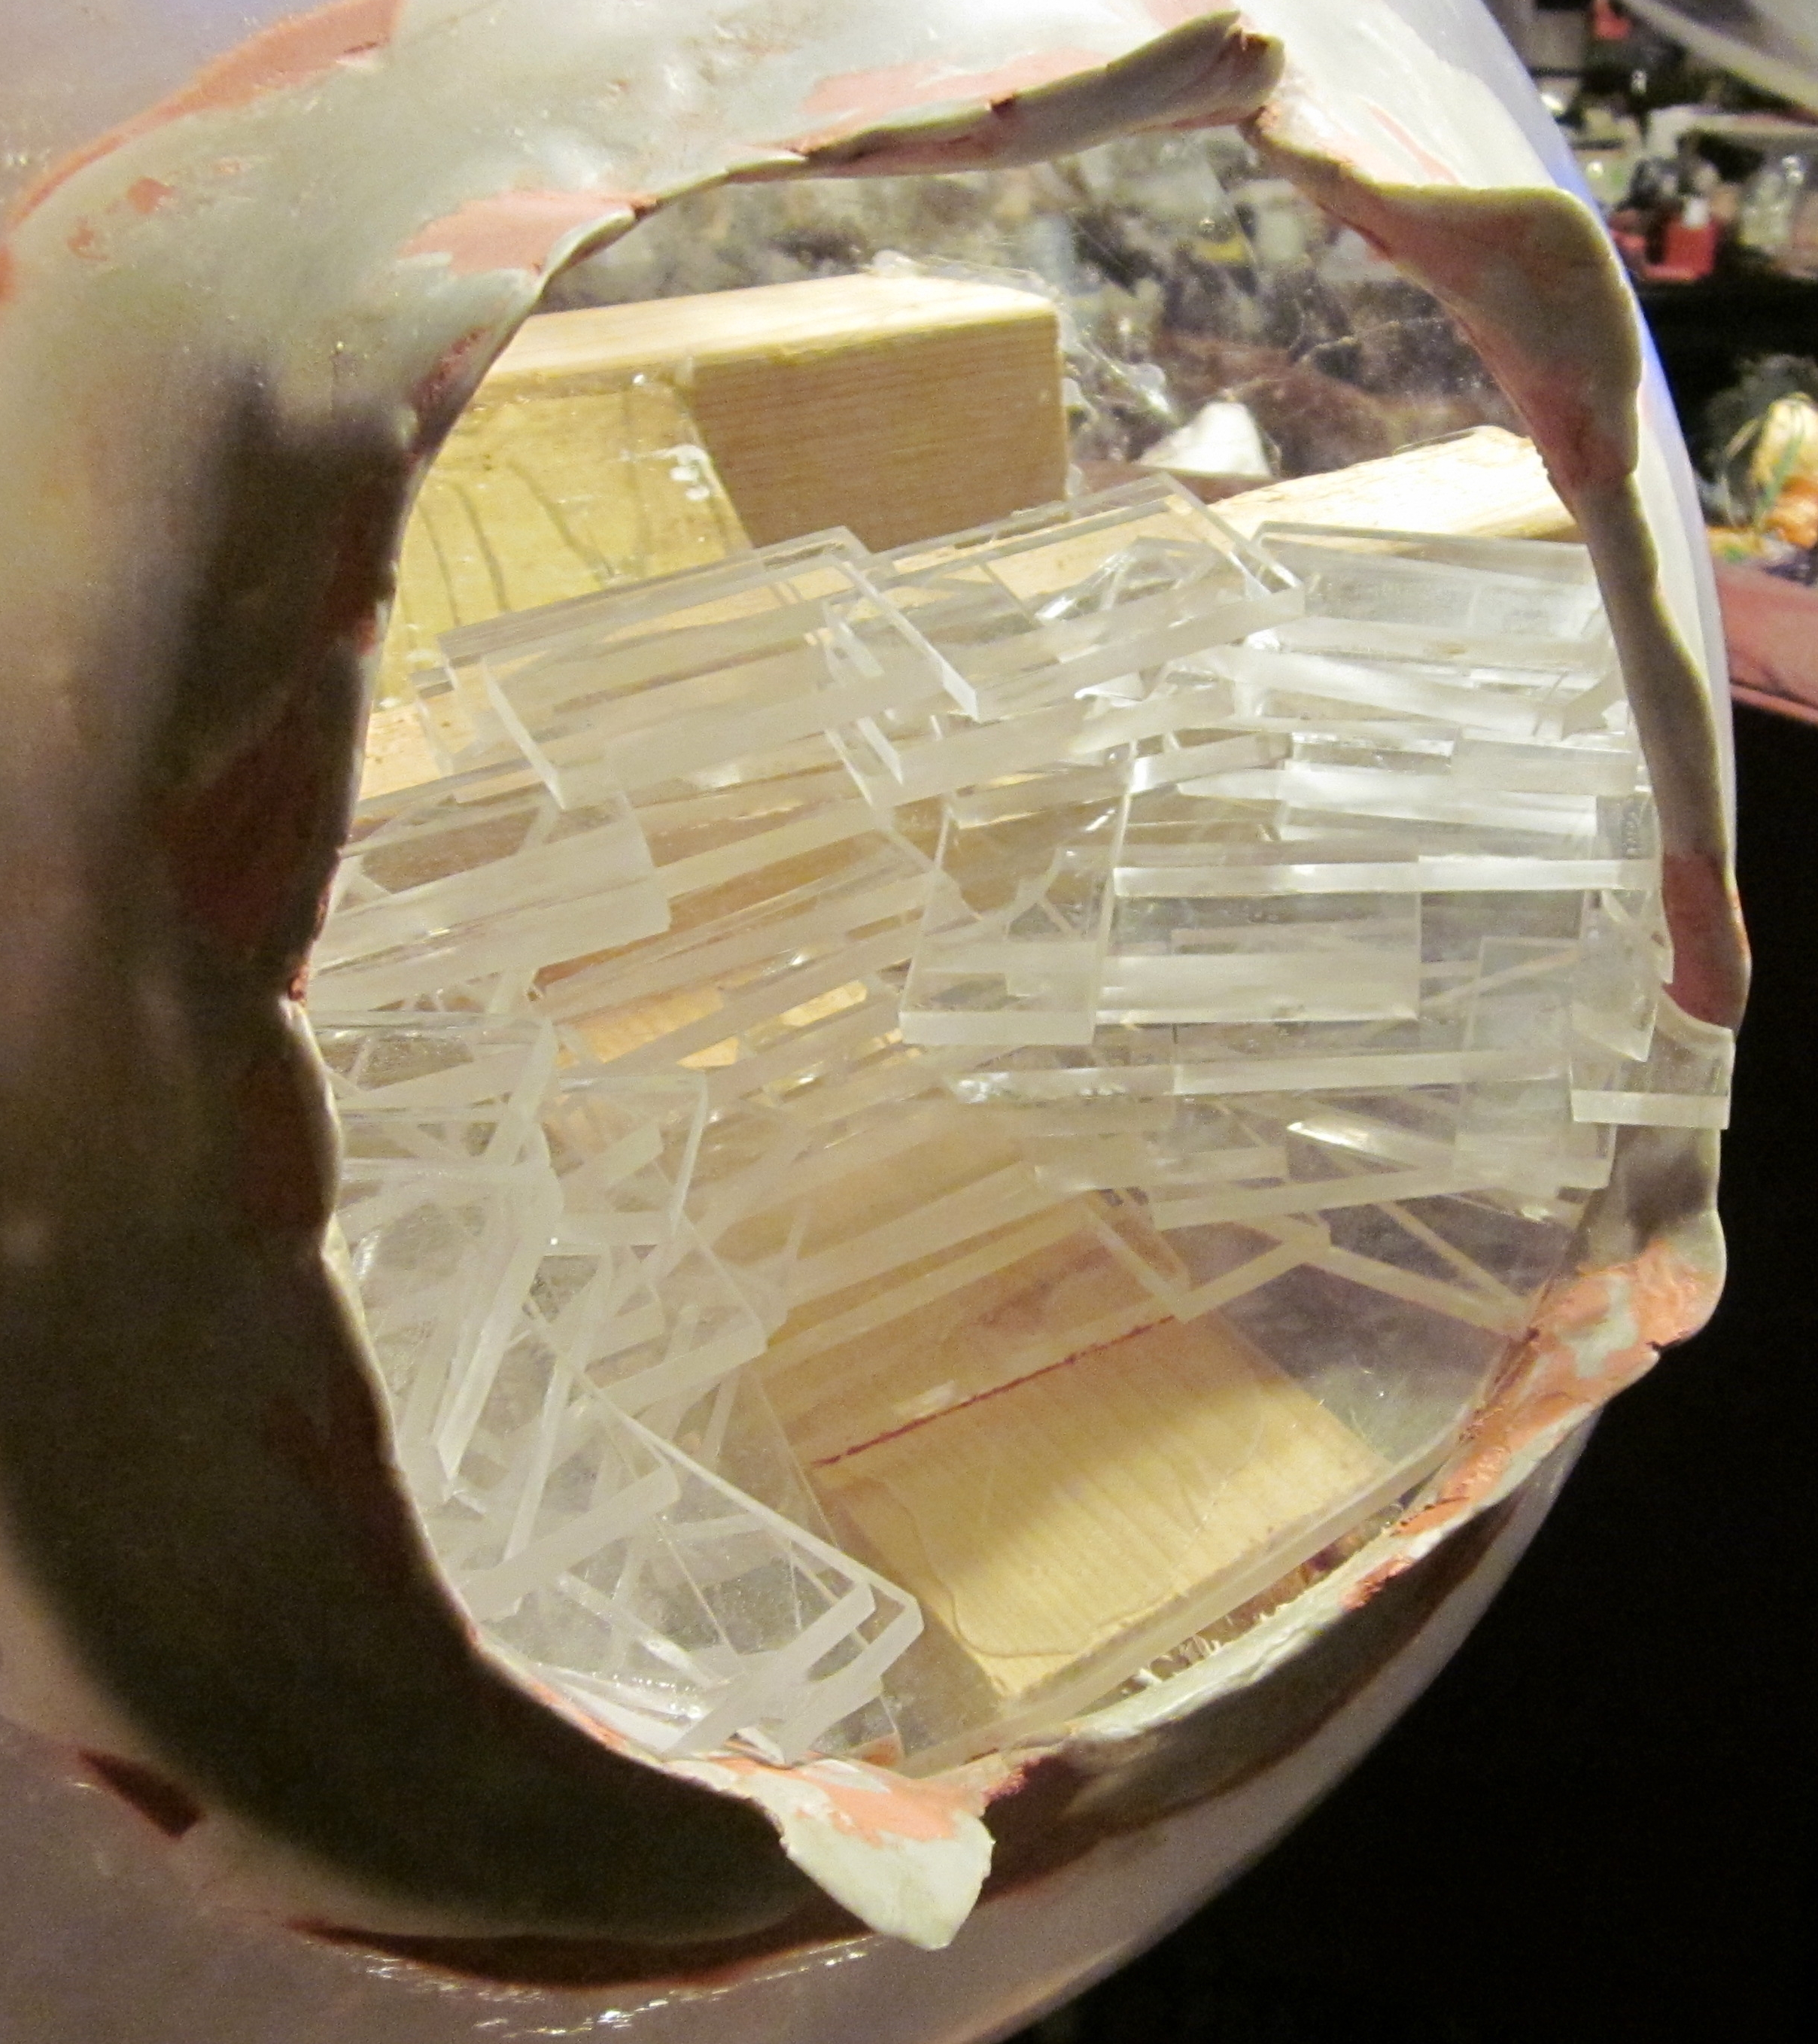
I cut over a hundred 1x2-inch blocks of quarter-inch plexiglas - It was easy: Score a strip, use Running Pliers
(like these) to snap along the score line,
then sand the edge mostly smooth.
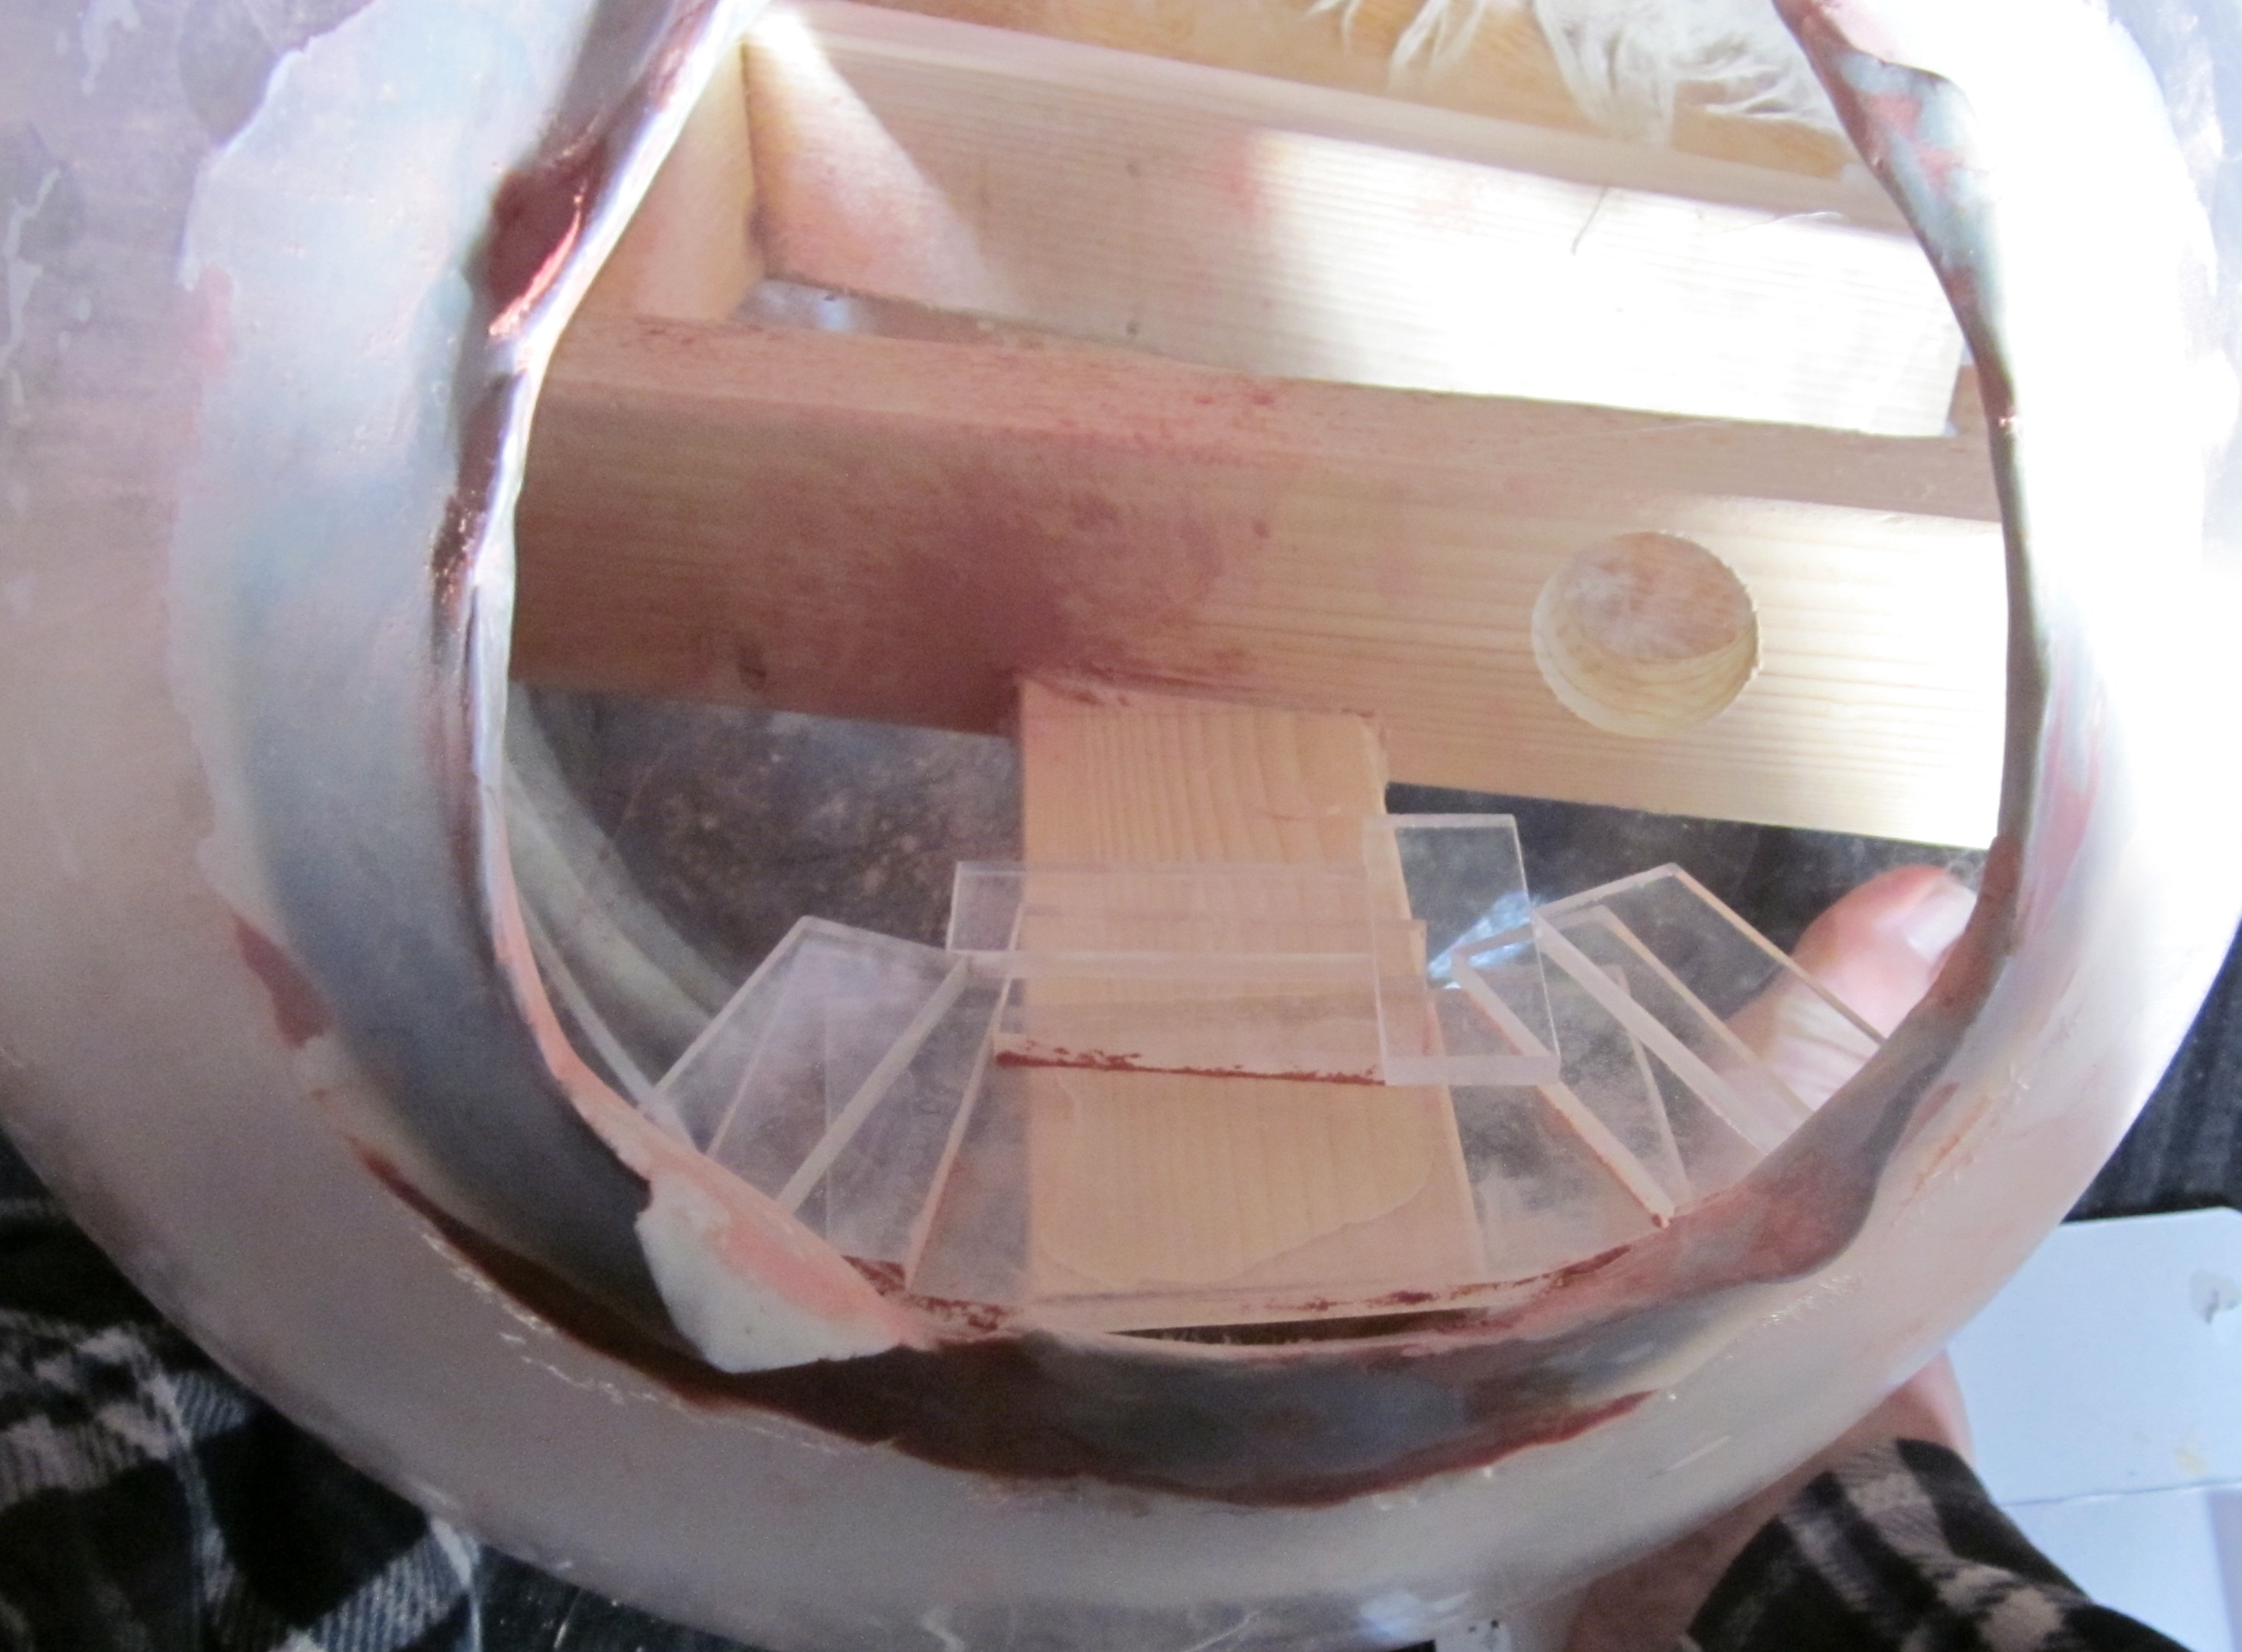
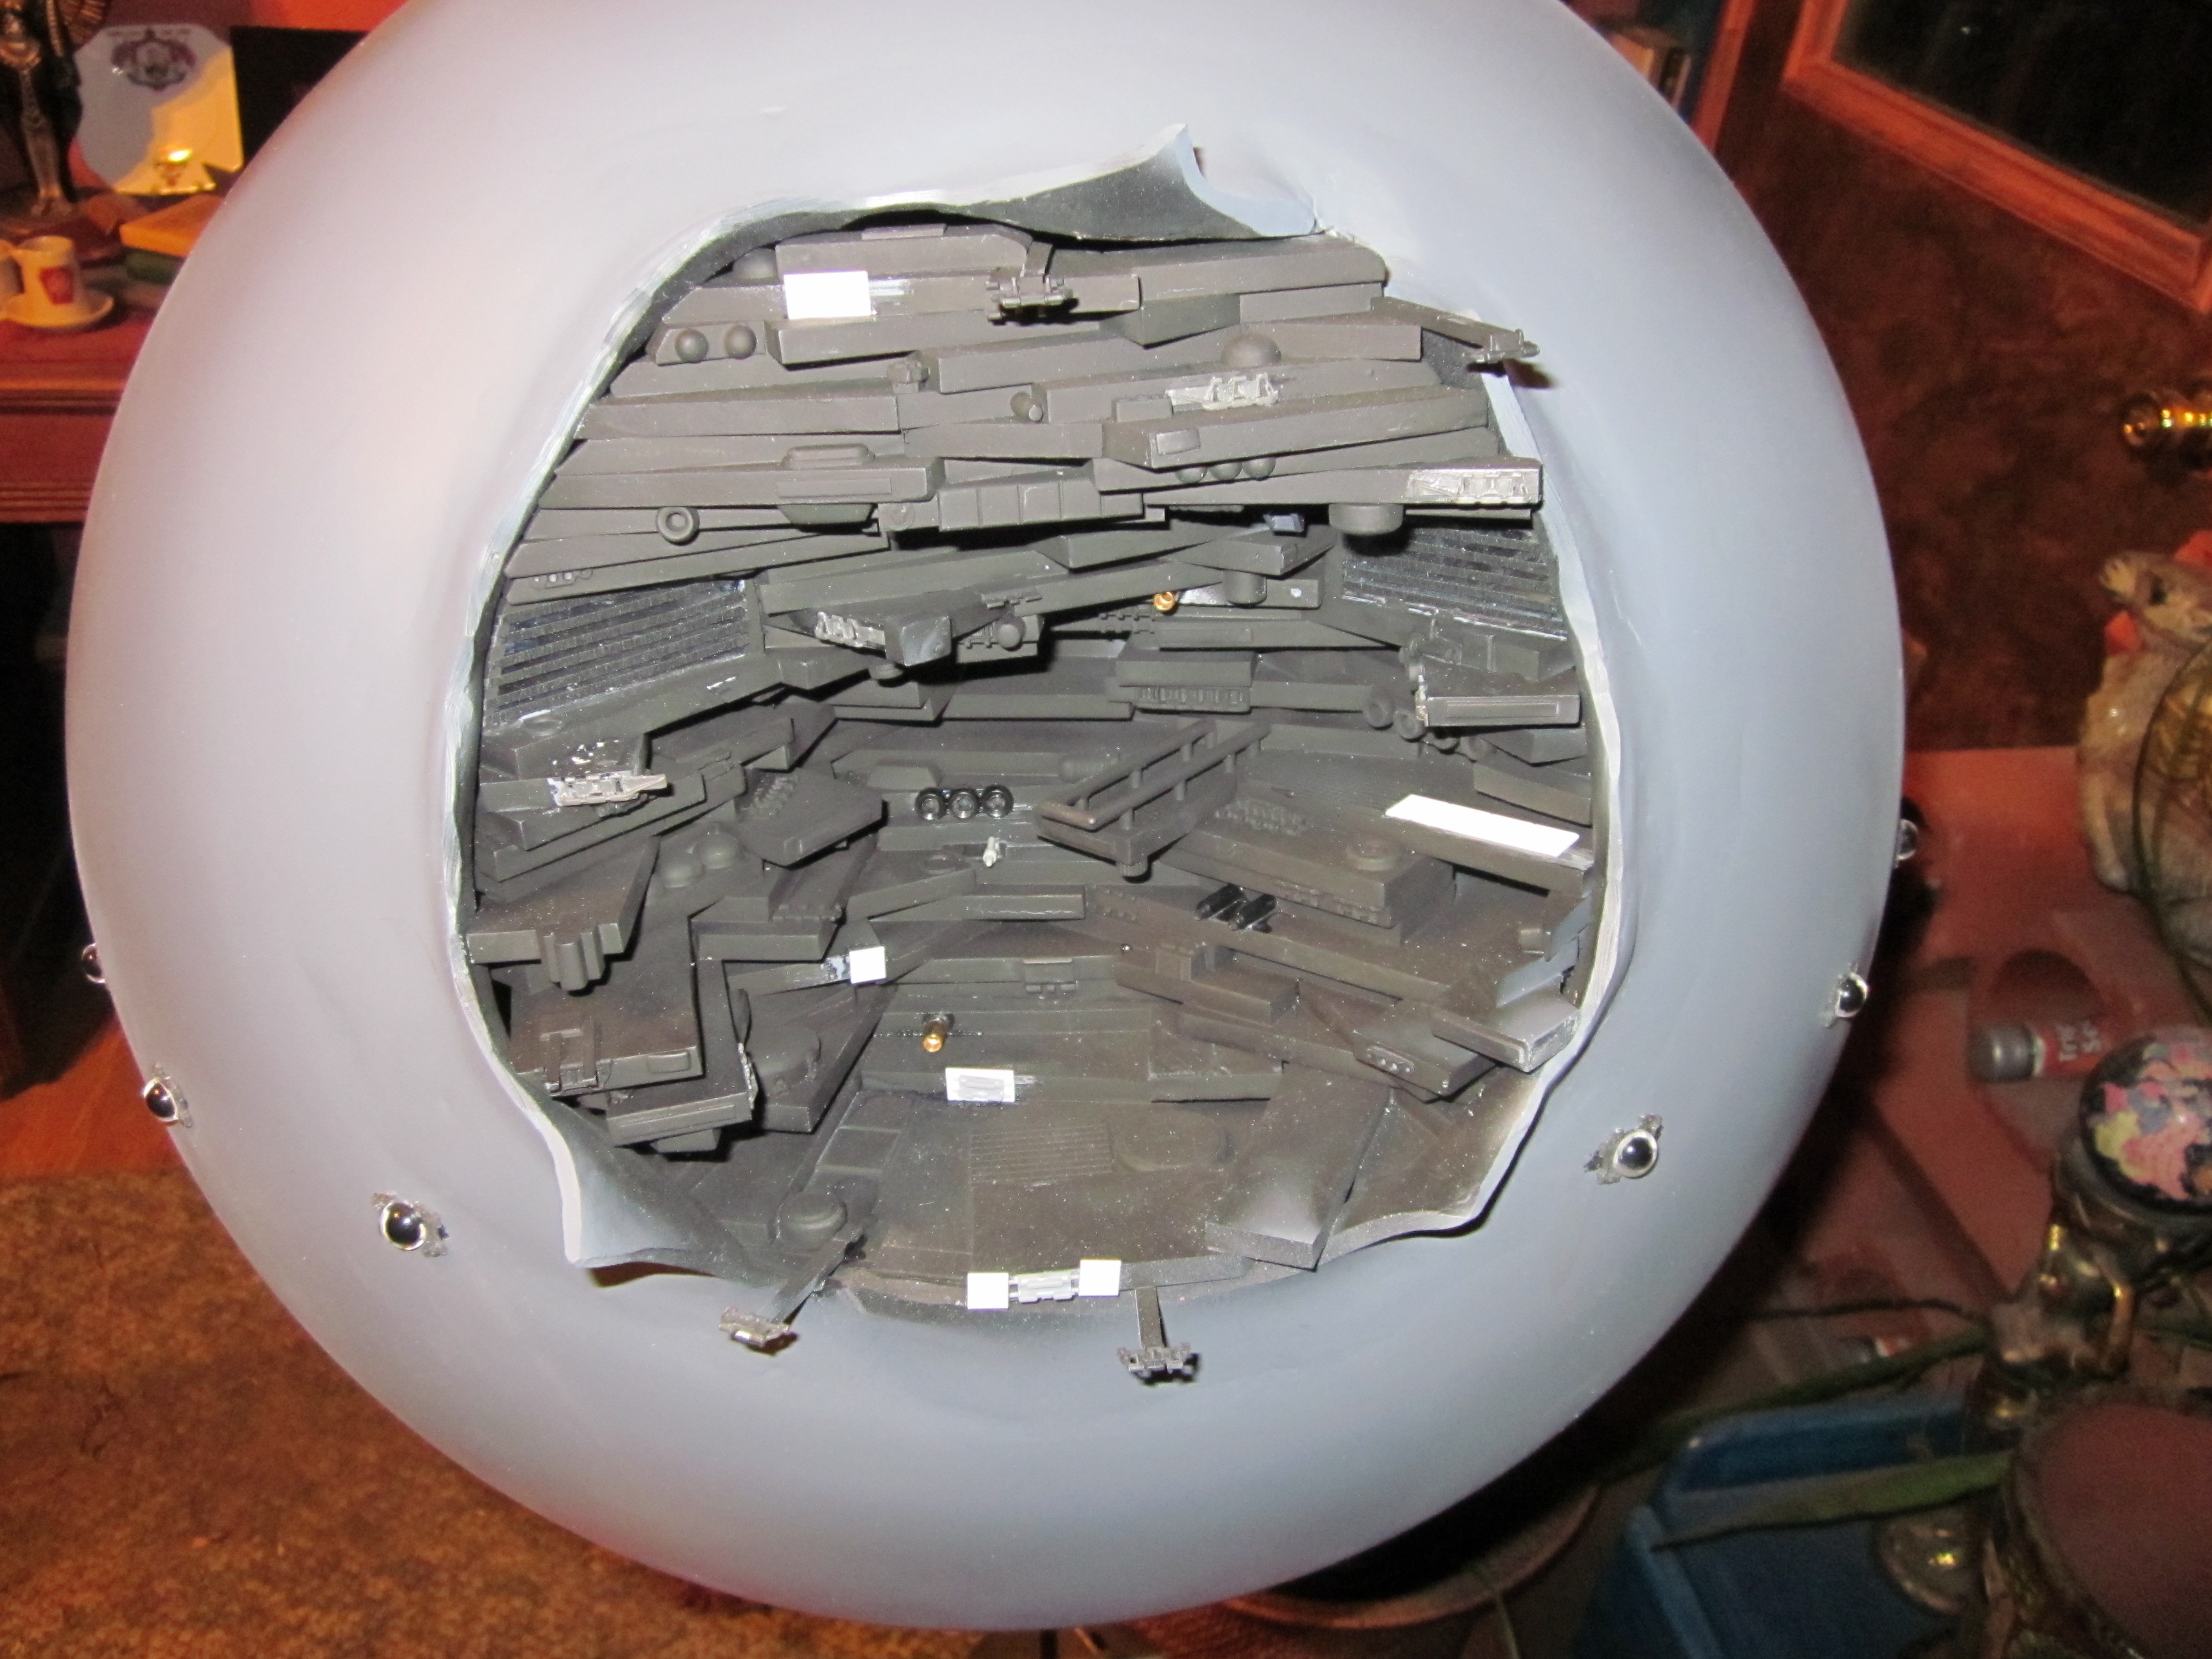
I put two layers down on the floor and then remembered that I had to leave access to the inside, to put lights and atleast two mounting holes.
So, I used the plexiglas blocks to build a concave shell
(beginning,
built, and
basecoated)
that I could push into the station, rotate sideways, and slip out.
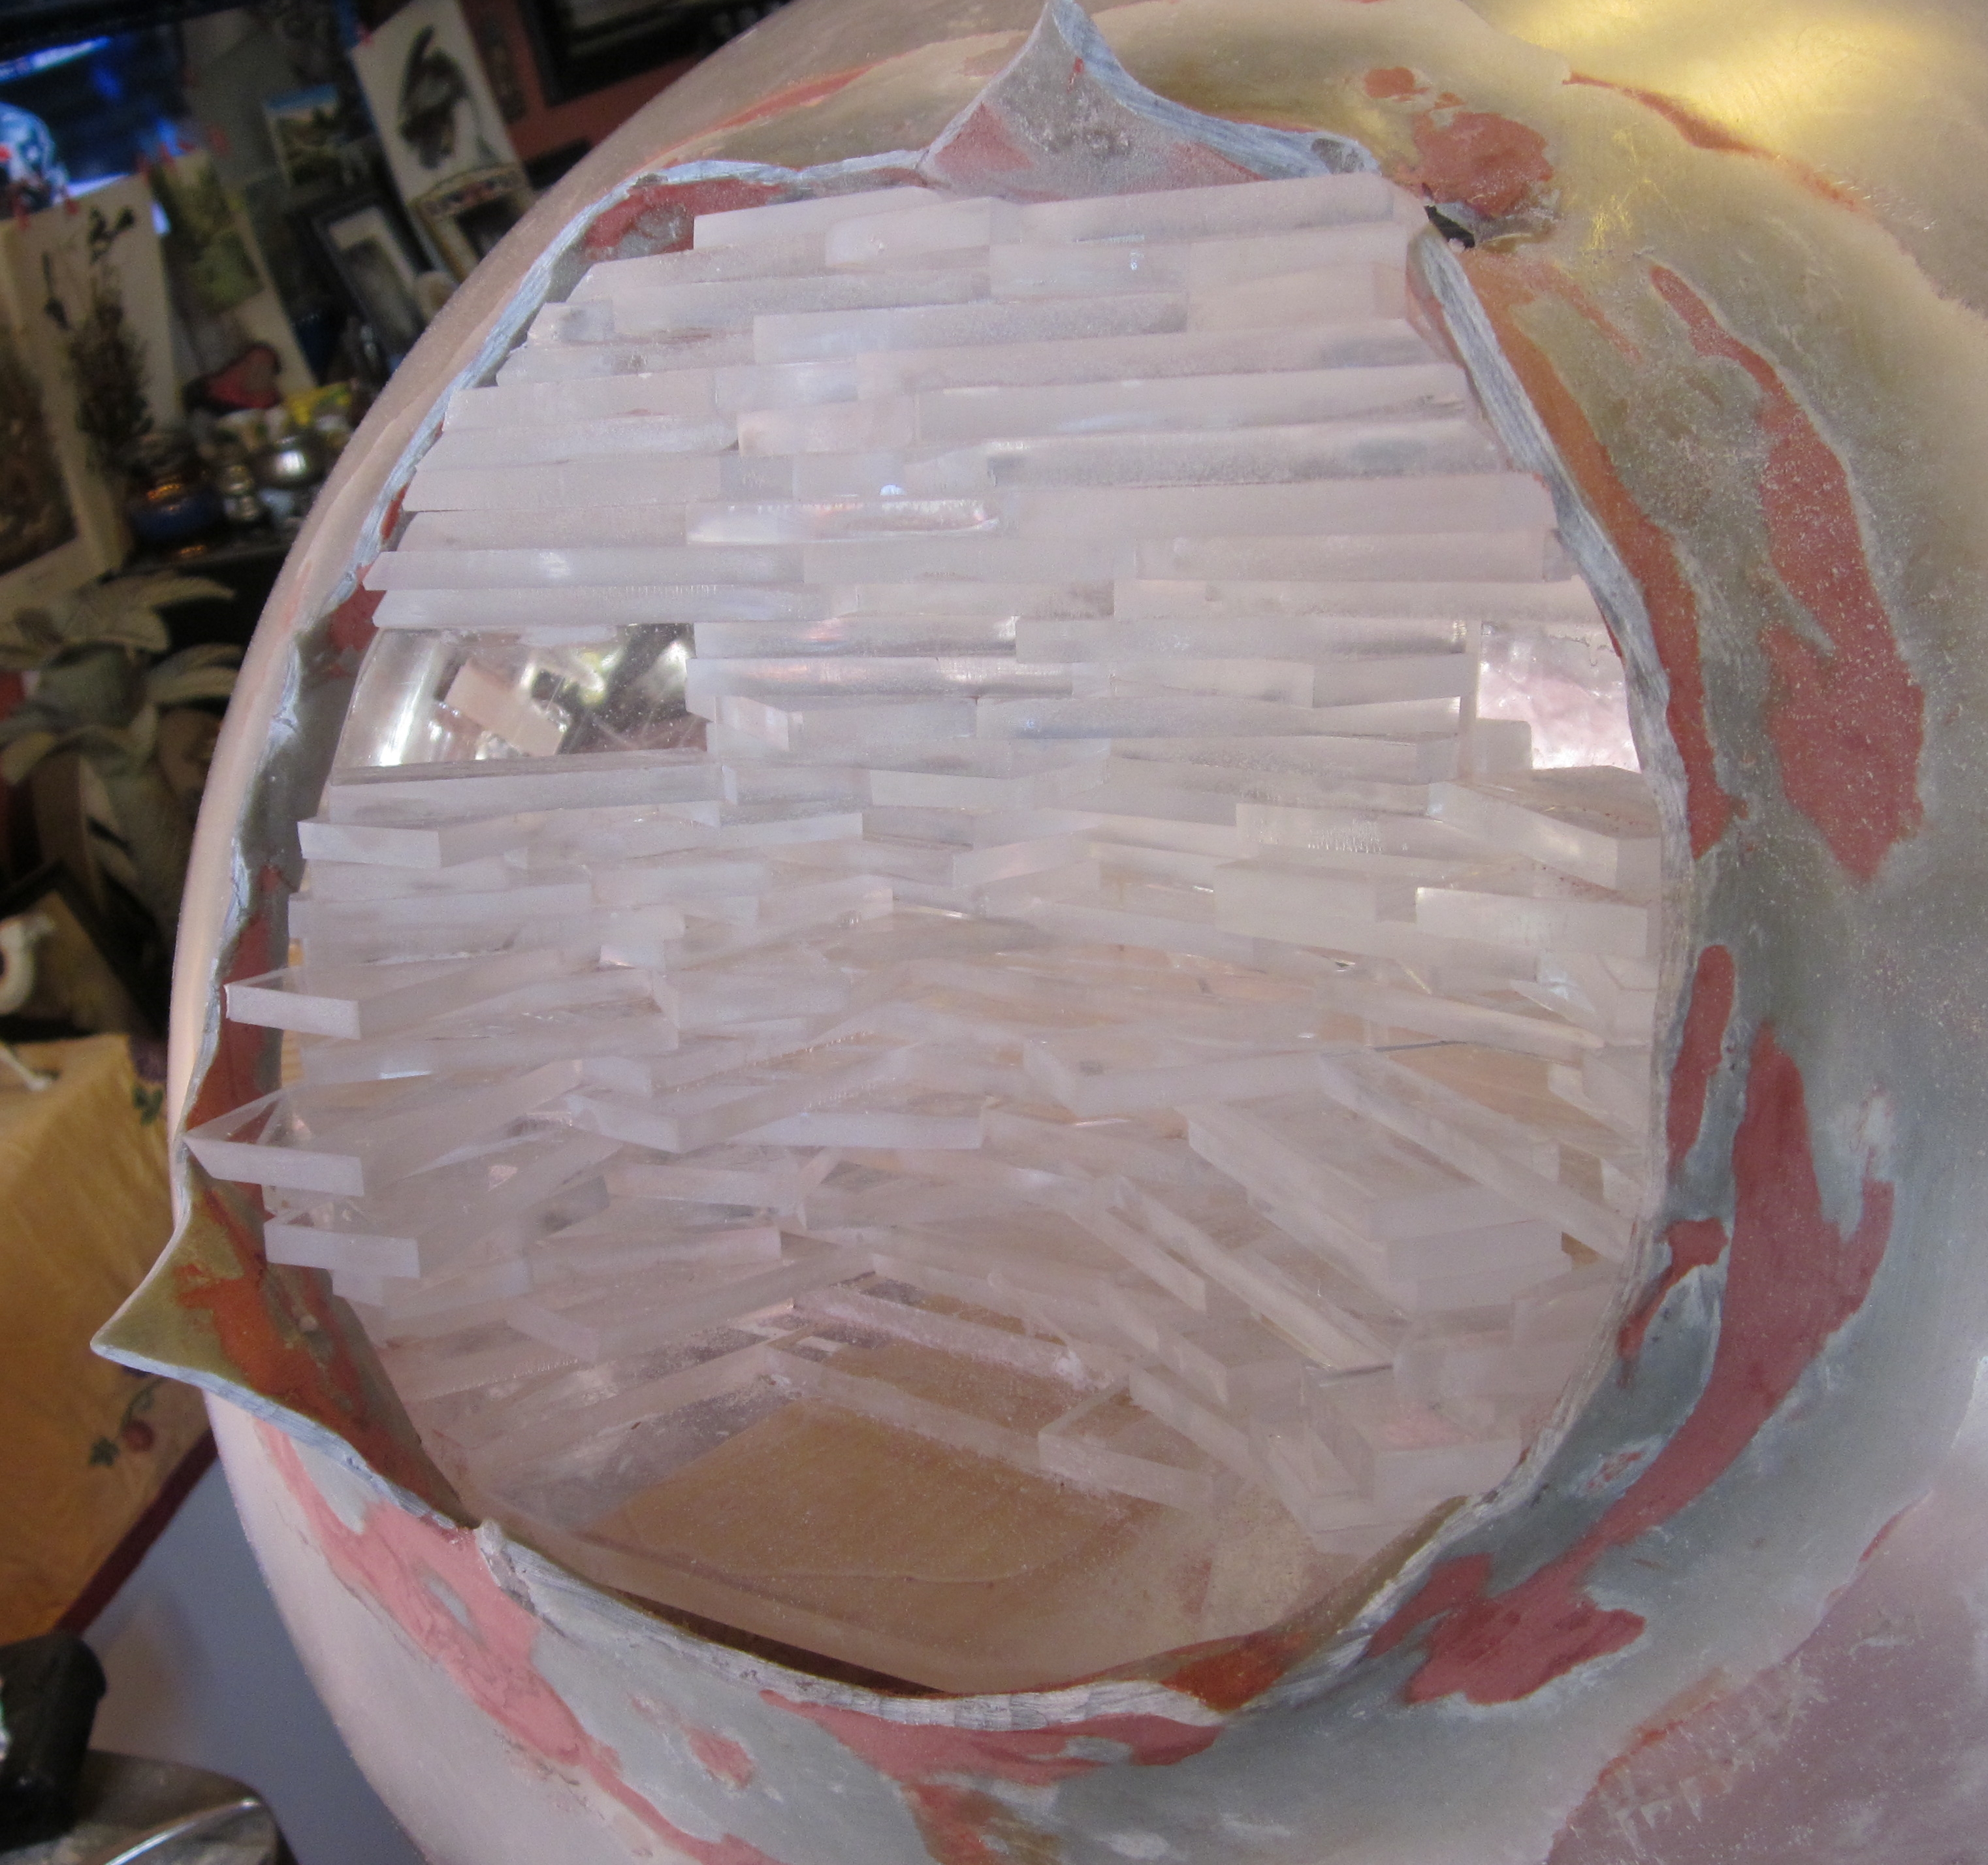
In hindsight, the resulting shape resembled a concave face, with a oblong mouth below two square eyes.
At this point I though that all the plexiglas would make the station pretty heavy, so I started drilling 1.5-inch holes in the wooden frame.
Oops.
When the cylindrical drill bit unexpectedly broke through and cracked the globe I discovered that it was not of the same thickness all over.
It was very thin opposite the opening.
Had to glue some Evergreen strips over the crack, dressing it up as external covered tunnels between additional weapons batteries.
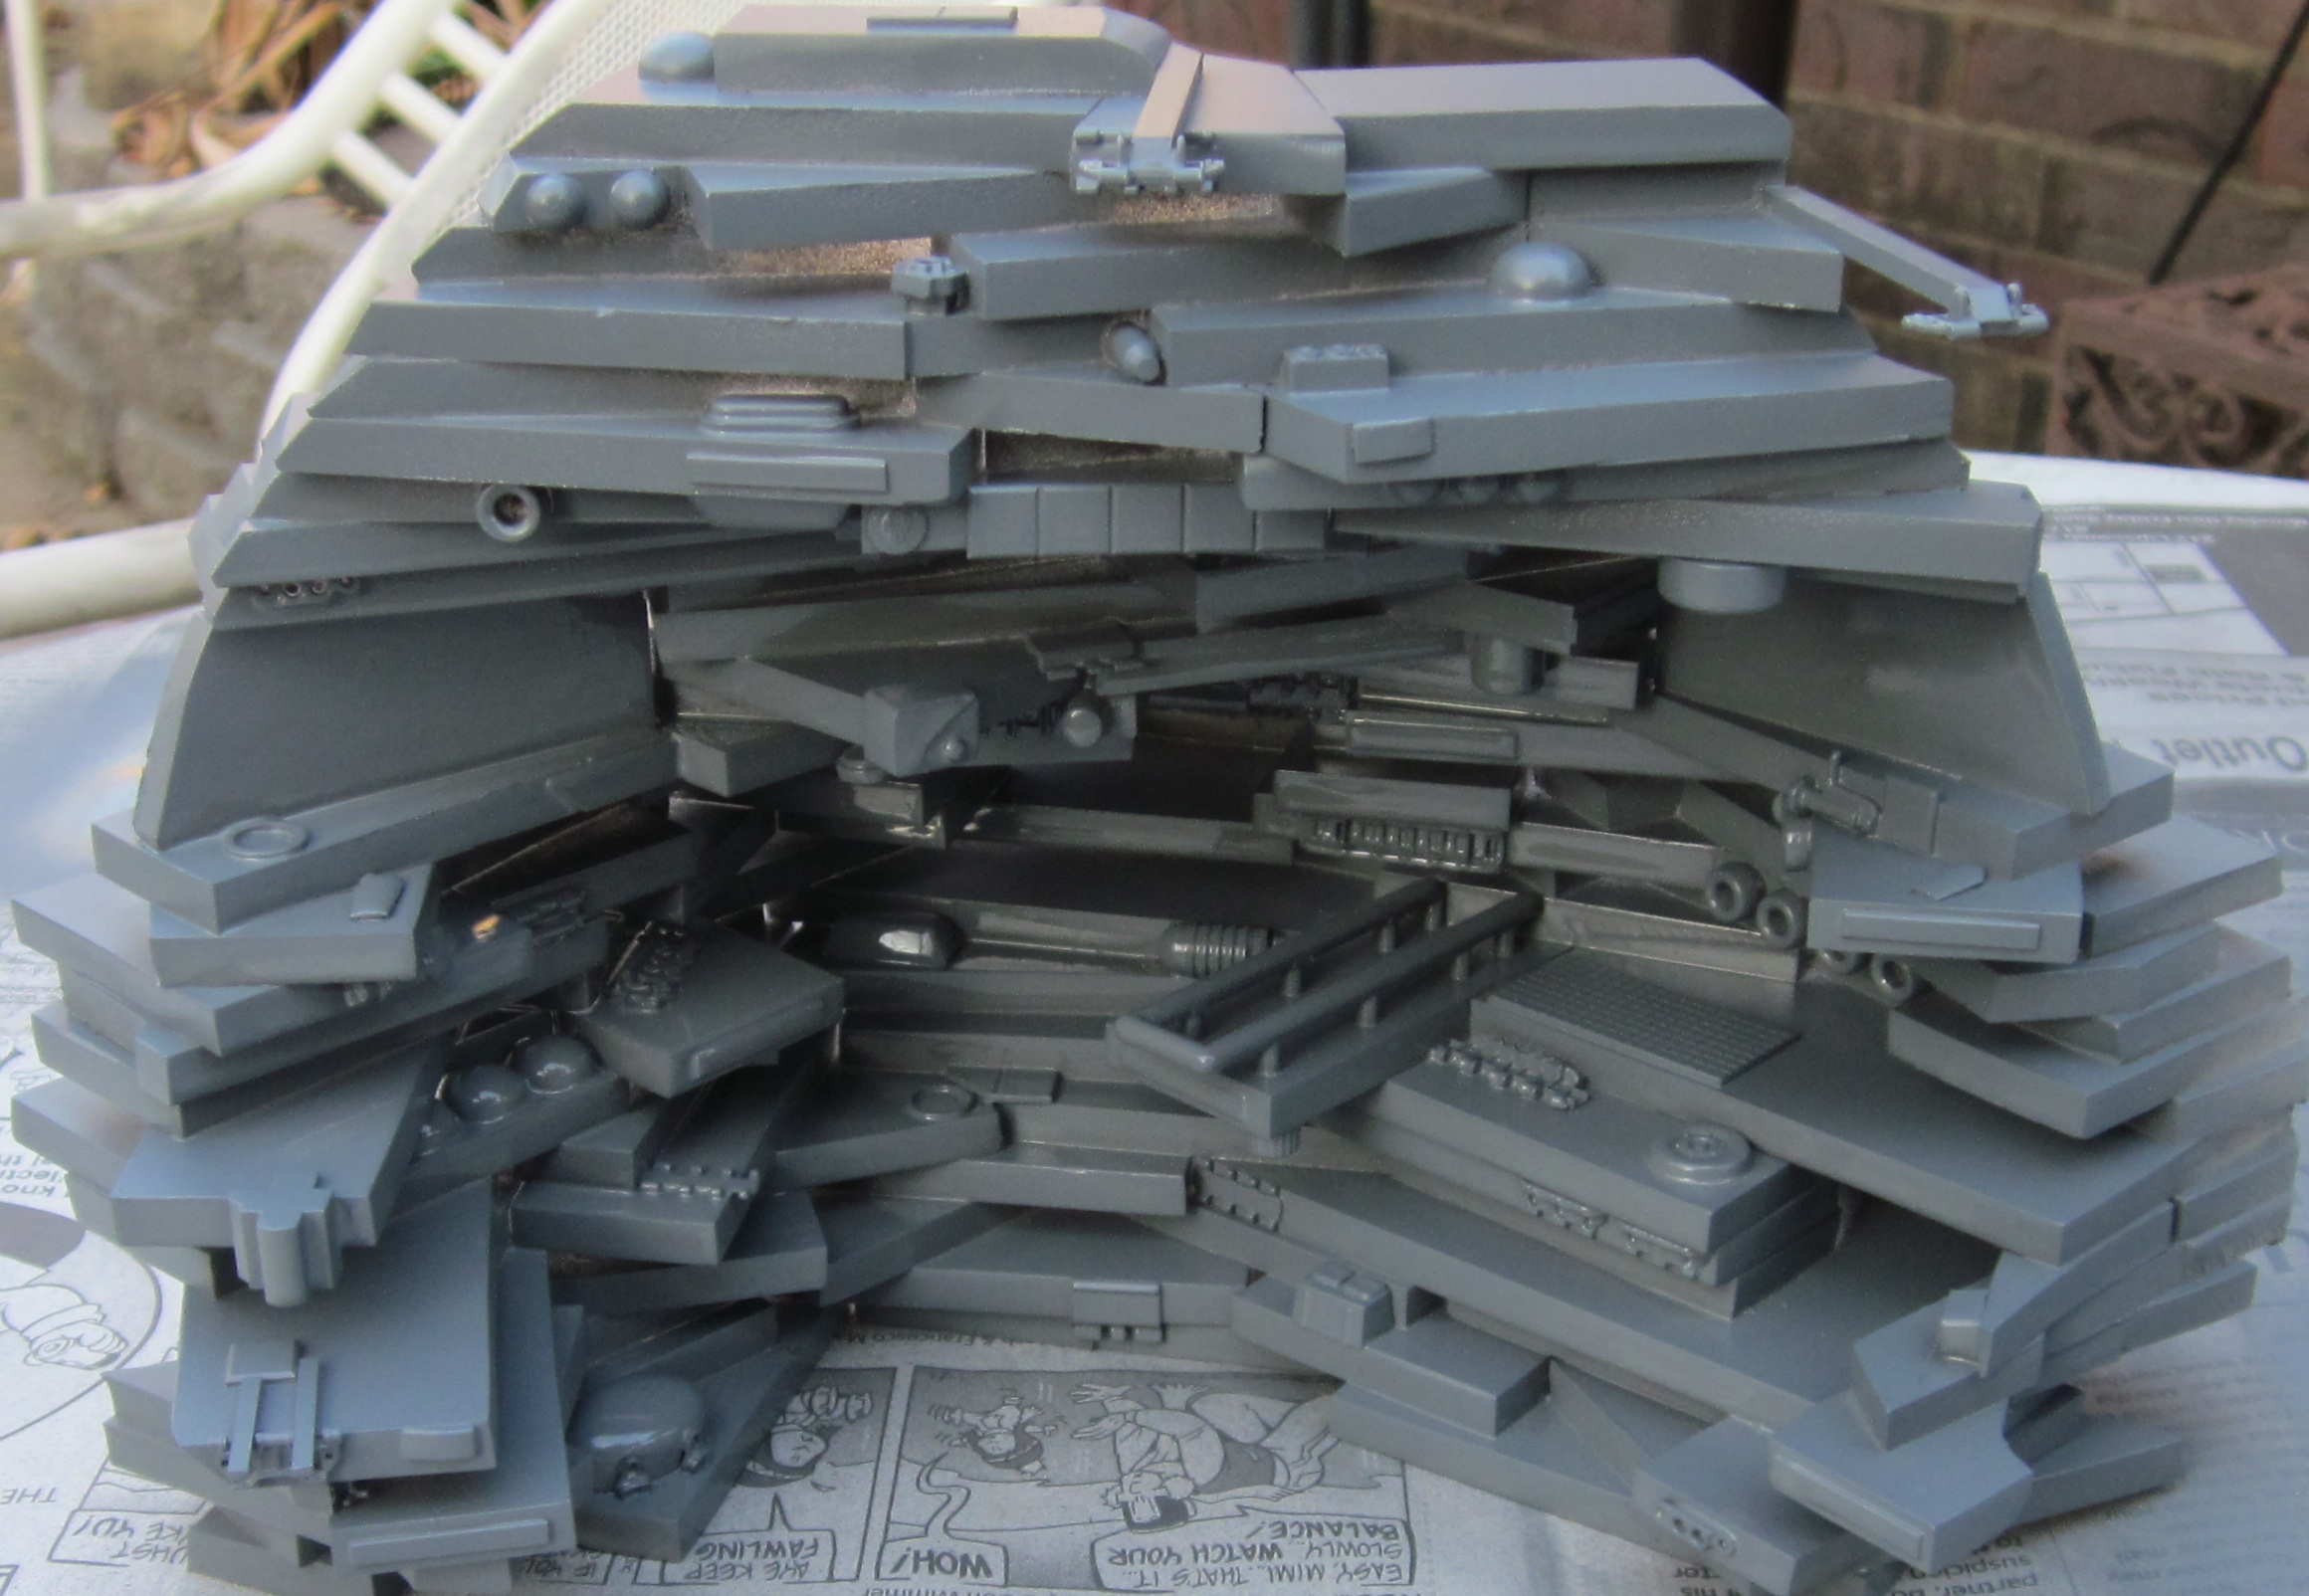
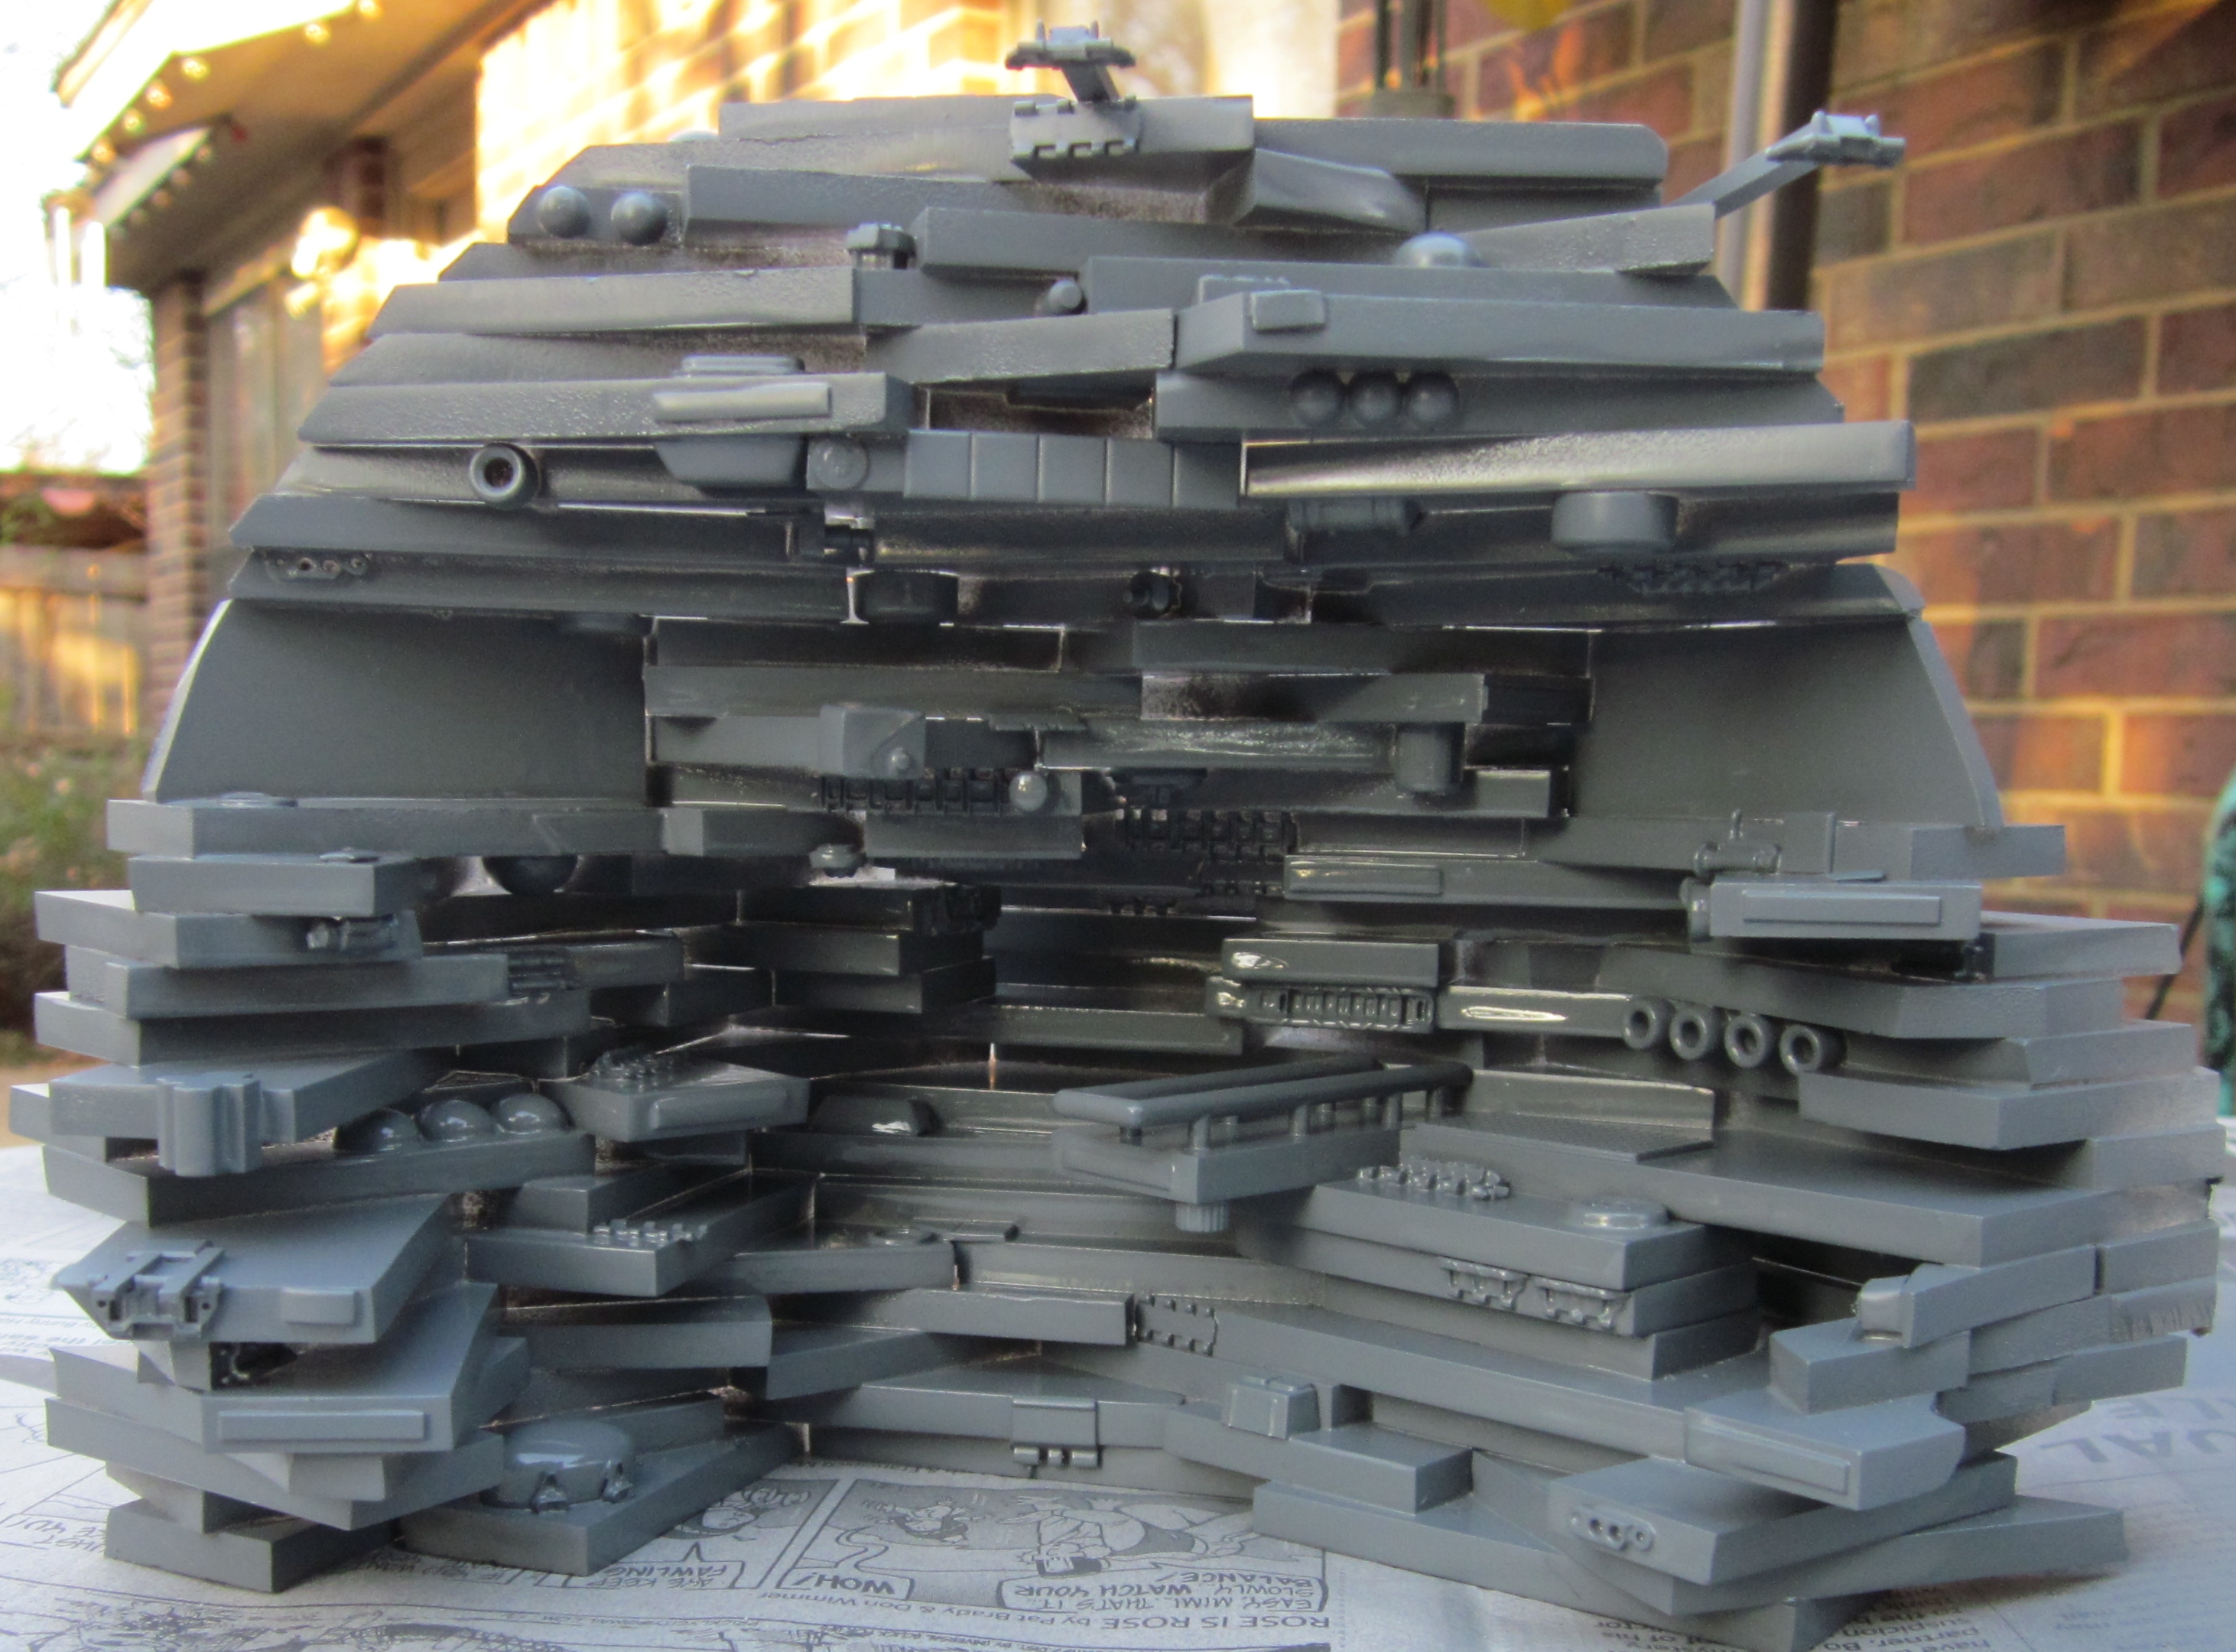
I added
little details
to the surfaces inside the station to help establish the scale (really big!) and to add interest,
then attacked the surface with a wood-burning iron to simulate a lot of battle-damage.
Painting started off easy - A large can of Krylon Sandable Primer.
Spraying the damage-gashes black with my airbrush was occasionally difficult, owing to the tight confines,
but not near as tedious as the light-gray dry-brushing.
And nowhere near as tedious as the six hours spent drilling window holes
through the paint
(another view).
Imagine how many weeks it would have taken to drill through the plexiglas for fiber-optic strands.
I wanted bright lights behind the plexiglas, but couldn't abide the heat of quartz or incandescents.
I thought to just throw-in a couple of strings of LED Christmas lights, but keeping them all aligned would be a pain.
Worse, providing a couple of holes for the 120v socket would destroy the scale of the outside of the station.
Consultation with my fellow Starship Modelers convinced me to try another approach.
Fortunately, this was The Year for cheap automotive after-market LED strips.
I only used less than half the strip, cutting it into four 16-inch strips, sticking them - and hot-melt gluing them - onto a curved white plastic sheet half-way into the globe.
I was relieved to find them bright enough to show-up in sunlight and, presumably, under movie lights.
And a 12-volt system meant I could power them with the second-smallest Radio Shack wall-wart.
Which in turn meant that I only needed a small hole for a small socket.
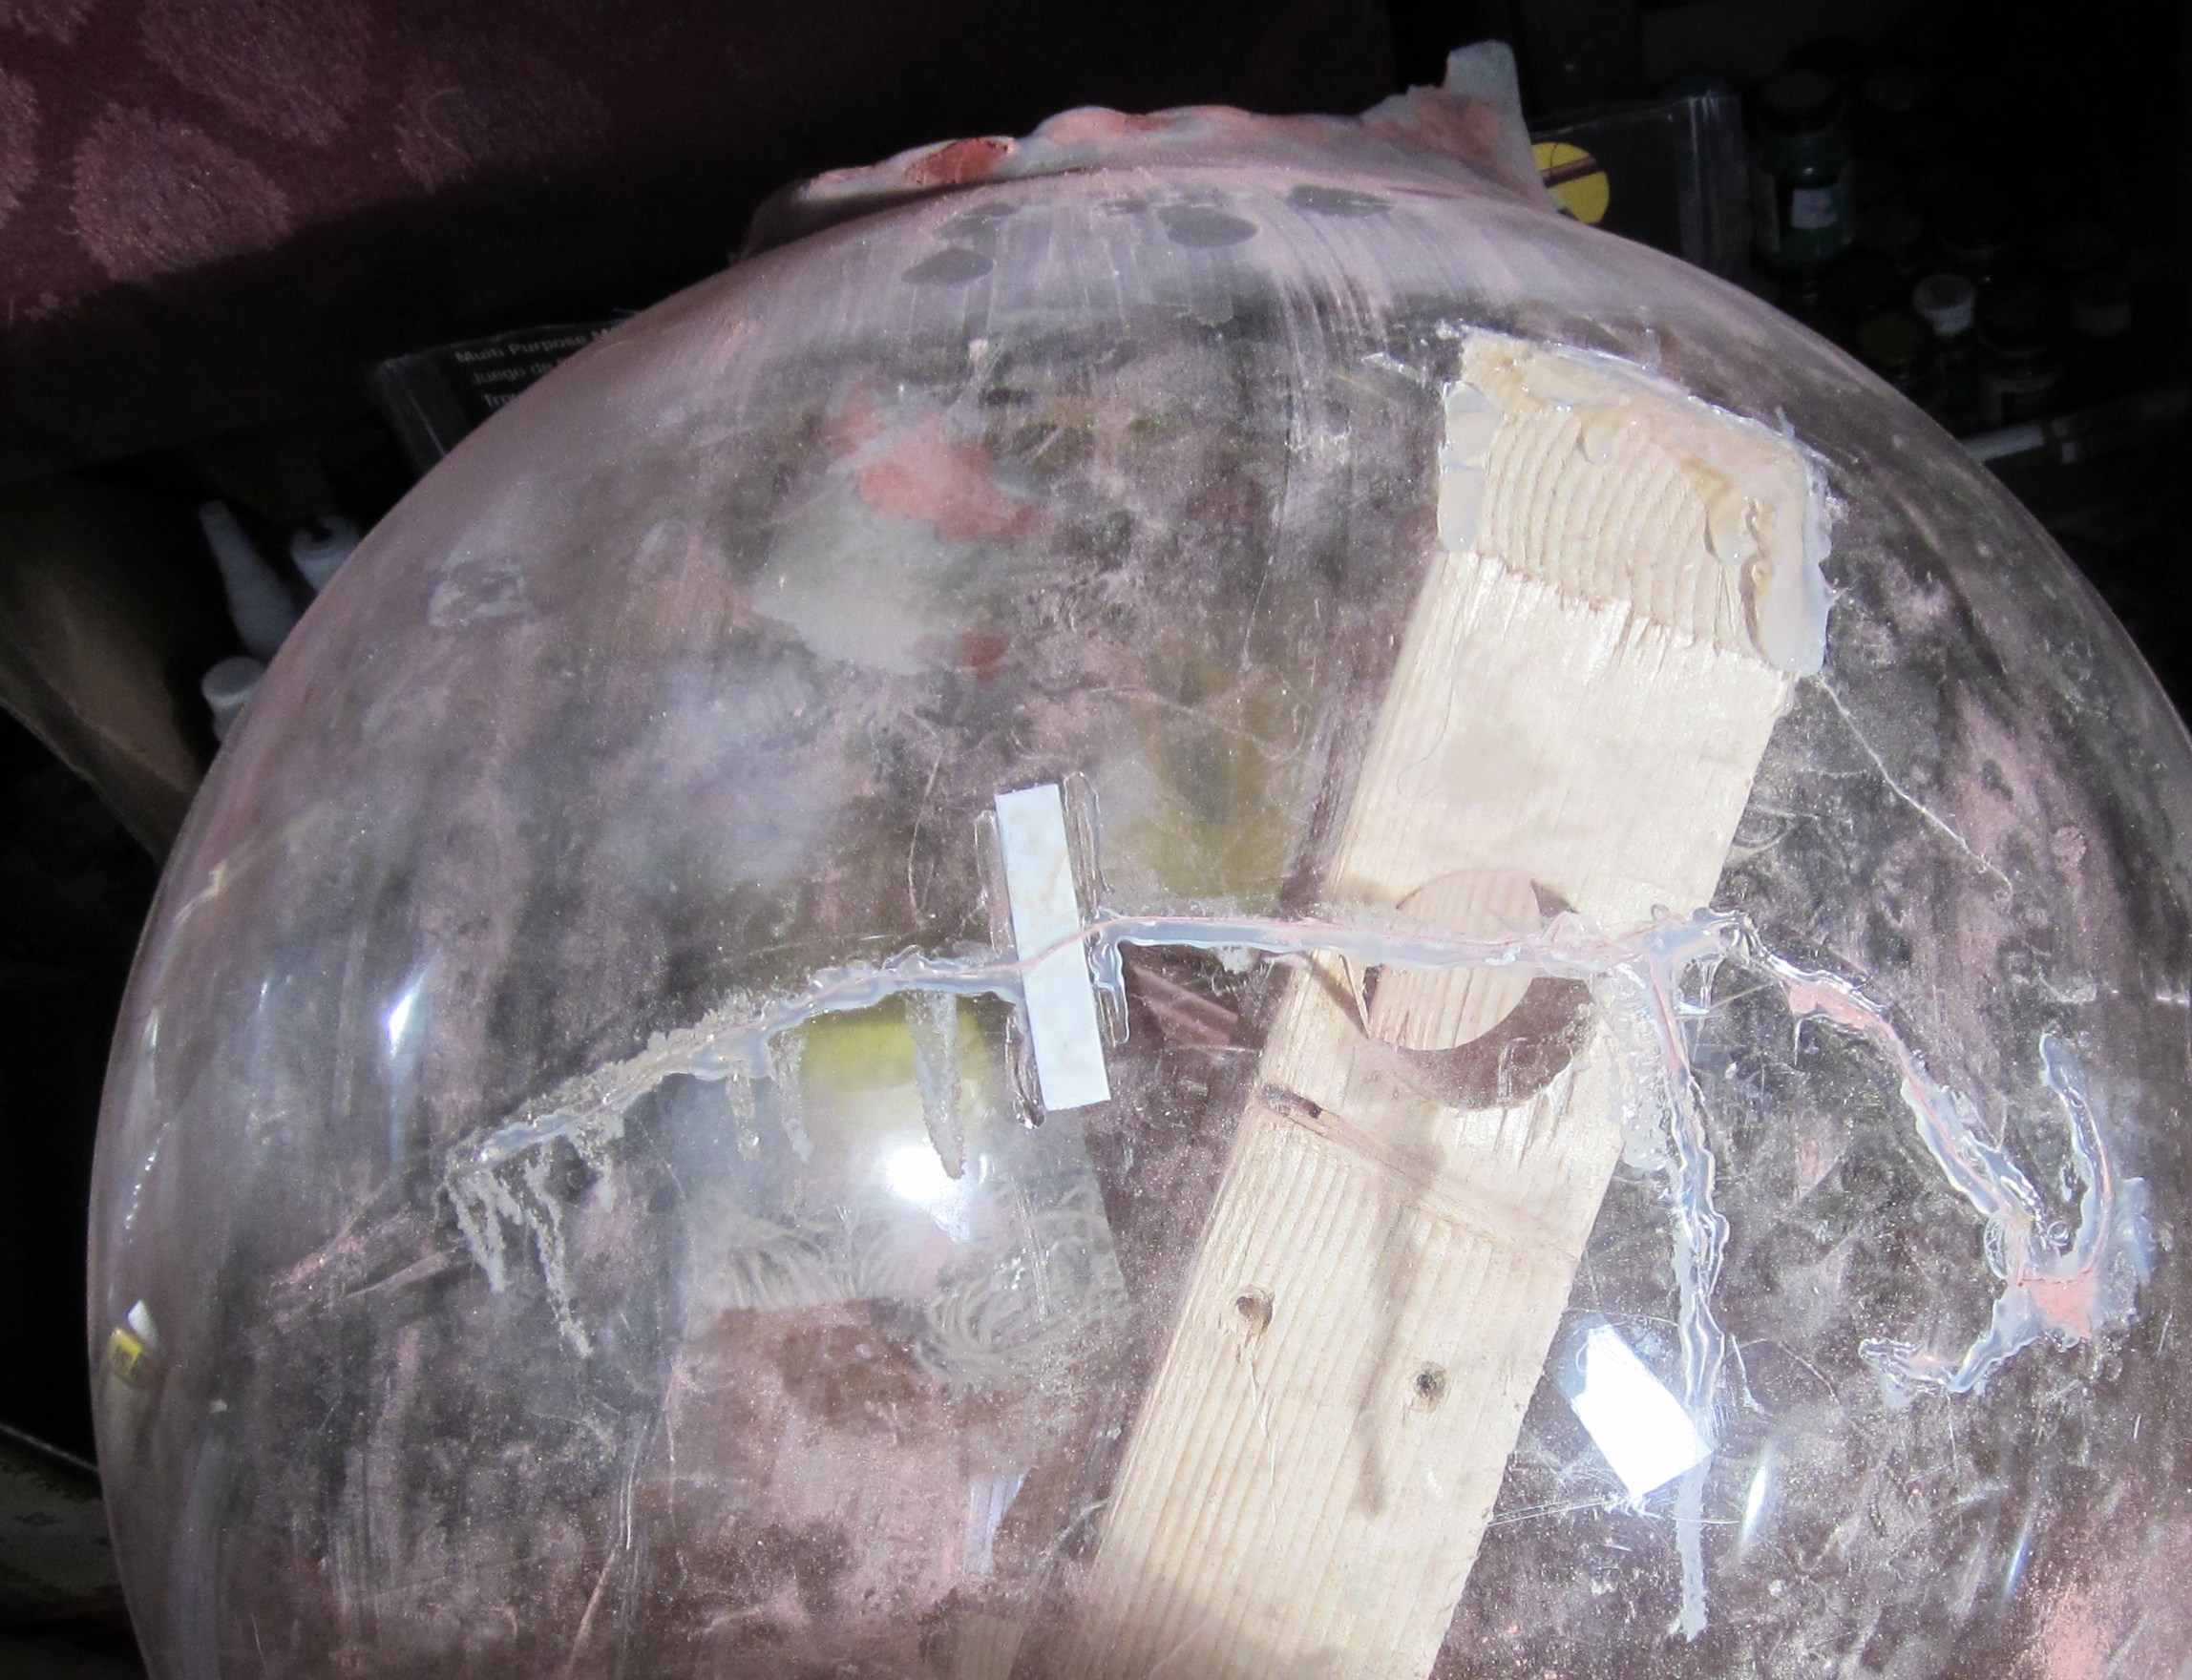
Each of the aformentioned power sockets were placed adjacent to the holes for the long threaded bolts.
The bolts would be anchored to a
T-bolt,
but it would be almost impossible to stick the bolt inside an find the T-bolt, so I inserted aluminum tubes to be guides.
A little sprayfoam inside to lock everything down and... Almost finished.
Making the interior "buildings" removable made it safer to ship the station without all that weight potentially cracking the globe as it was inevitably jostled,
but I didn't see the customer having all that good a time installing it.
And if the station was rotated back the shell could easily slip deeper in the station, perhaps even dislodging the lights.
So I permanently anchored the thitherto removable interior with a couple of pins drilled through the thick crater walls into the equally thick clear plexiglas.
I'm proud of how it looks, and of how bright the lighting is.
I just hope it survived the trip.
Maybe in a few years I'll build another one.


 all removable decks
basecoat
crater fully decked
crater putty 1
crater putty 2
deck beginning
first decks2
first decks
frame and bondo
half decked front2
half decked front
half decked side
interior frame
maw basecoat2
maw basecoat
maw completed construction
more parts added
oopsie
raw globe side
raw globe
removable decks
secondary mountpoint
torched
all removable decks
basecoat
crater fully decked
crater putty 1
crater putty 2
deck beginning
first decks2
first decks
frame and bondo
half decked front2
half decked front
half decked side
interior frame
maw basecoat2
maw basecoat
maw completed construction
more parts added
oopsie
raw globe side
raw globe
removable decks
secondary mountpoint
torched