


 bottom side
side top
top side aft
top side
aft top
orig
broken1
broken2
bottom side
side top
top side aft
top side
aft top
orig
broken1
broken2
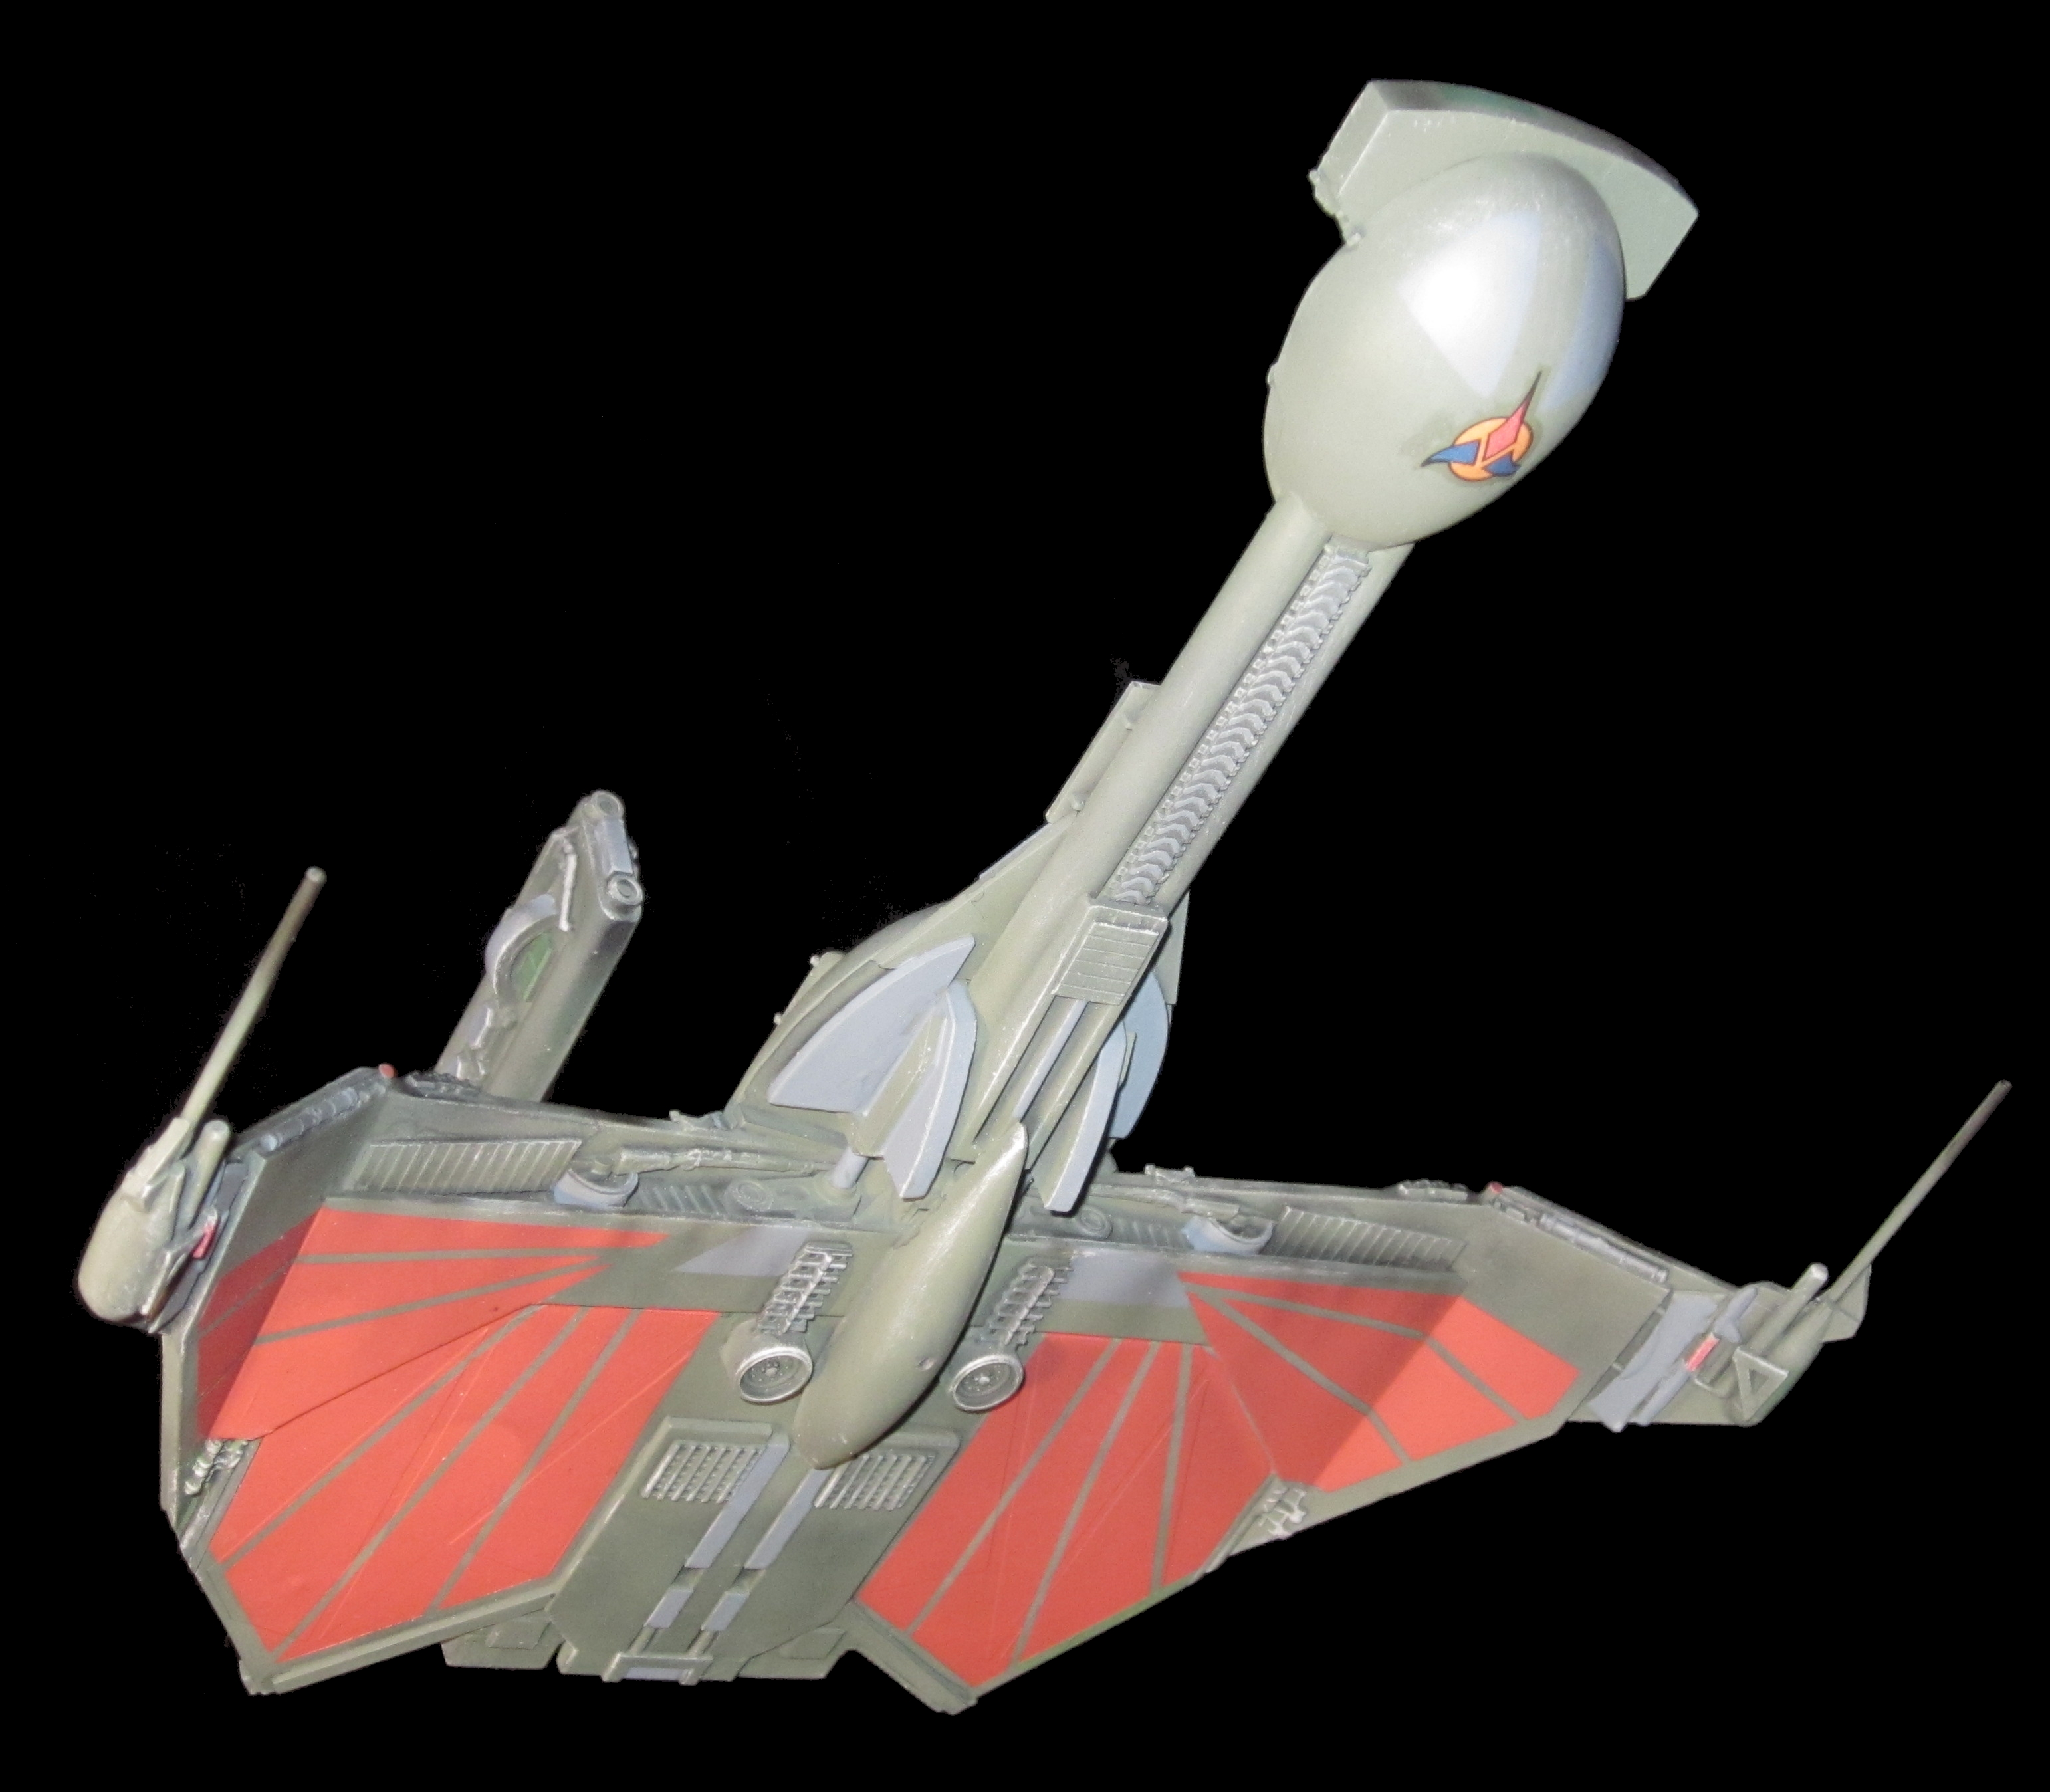
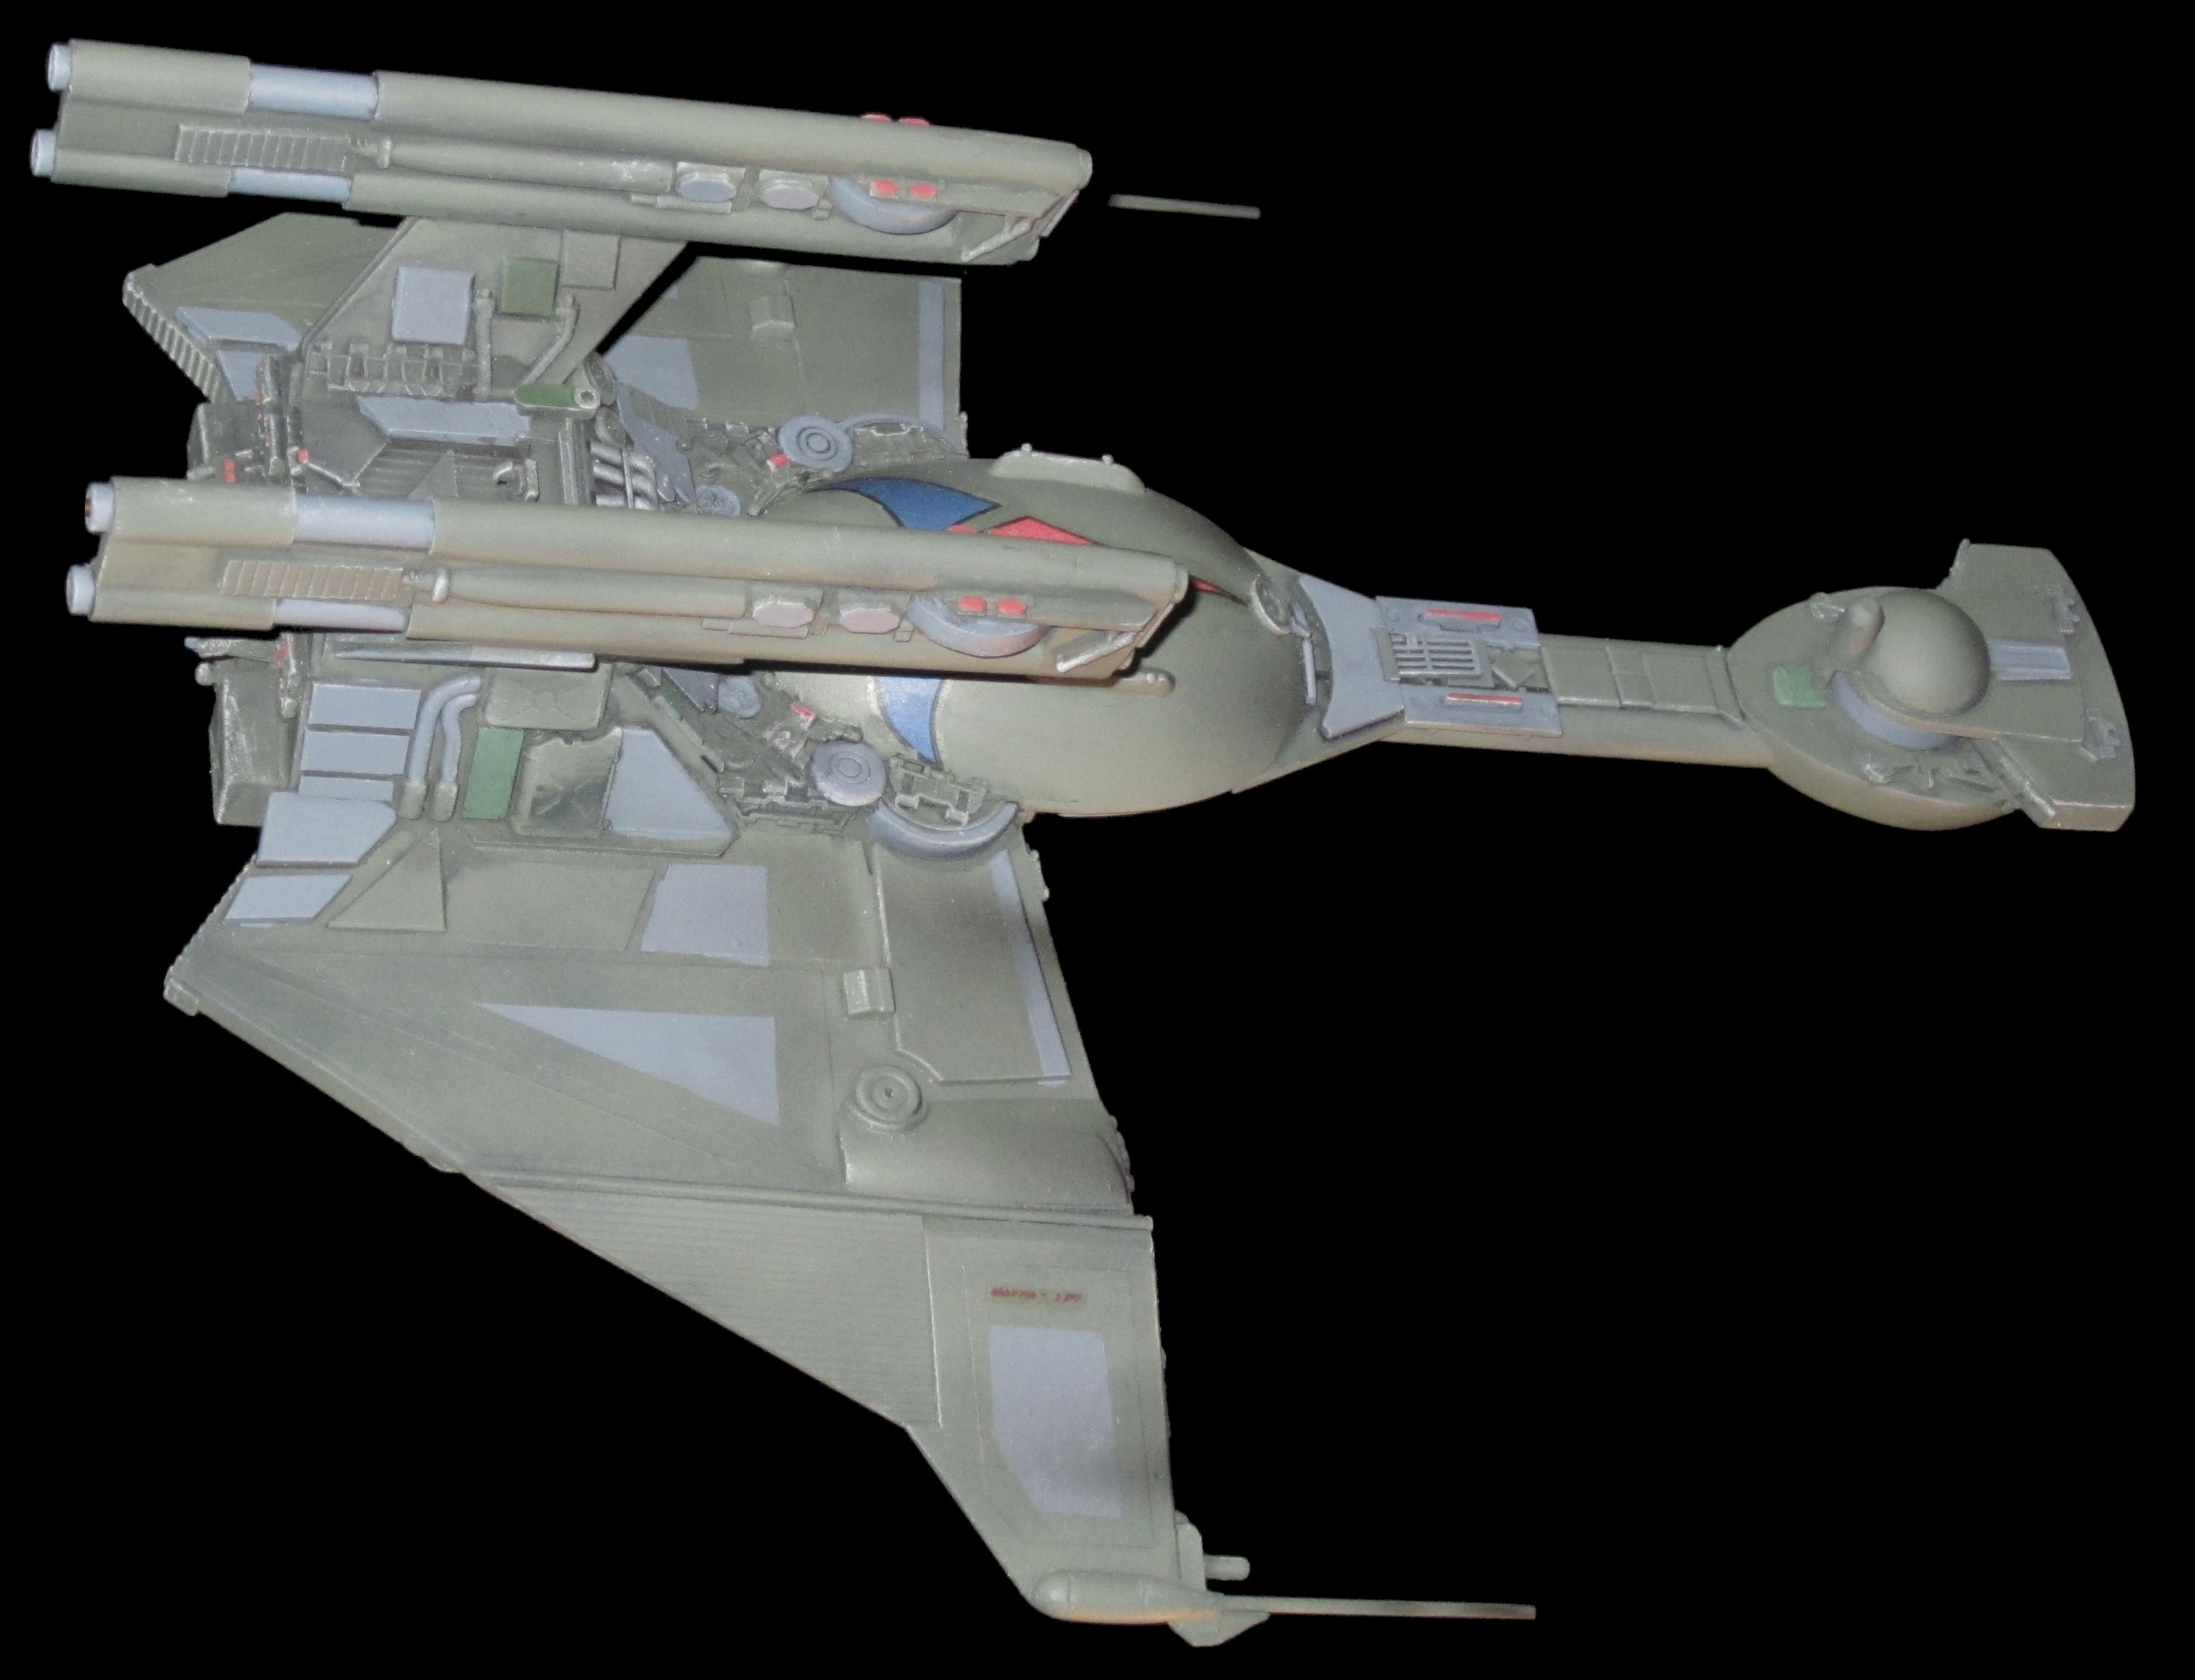
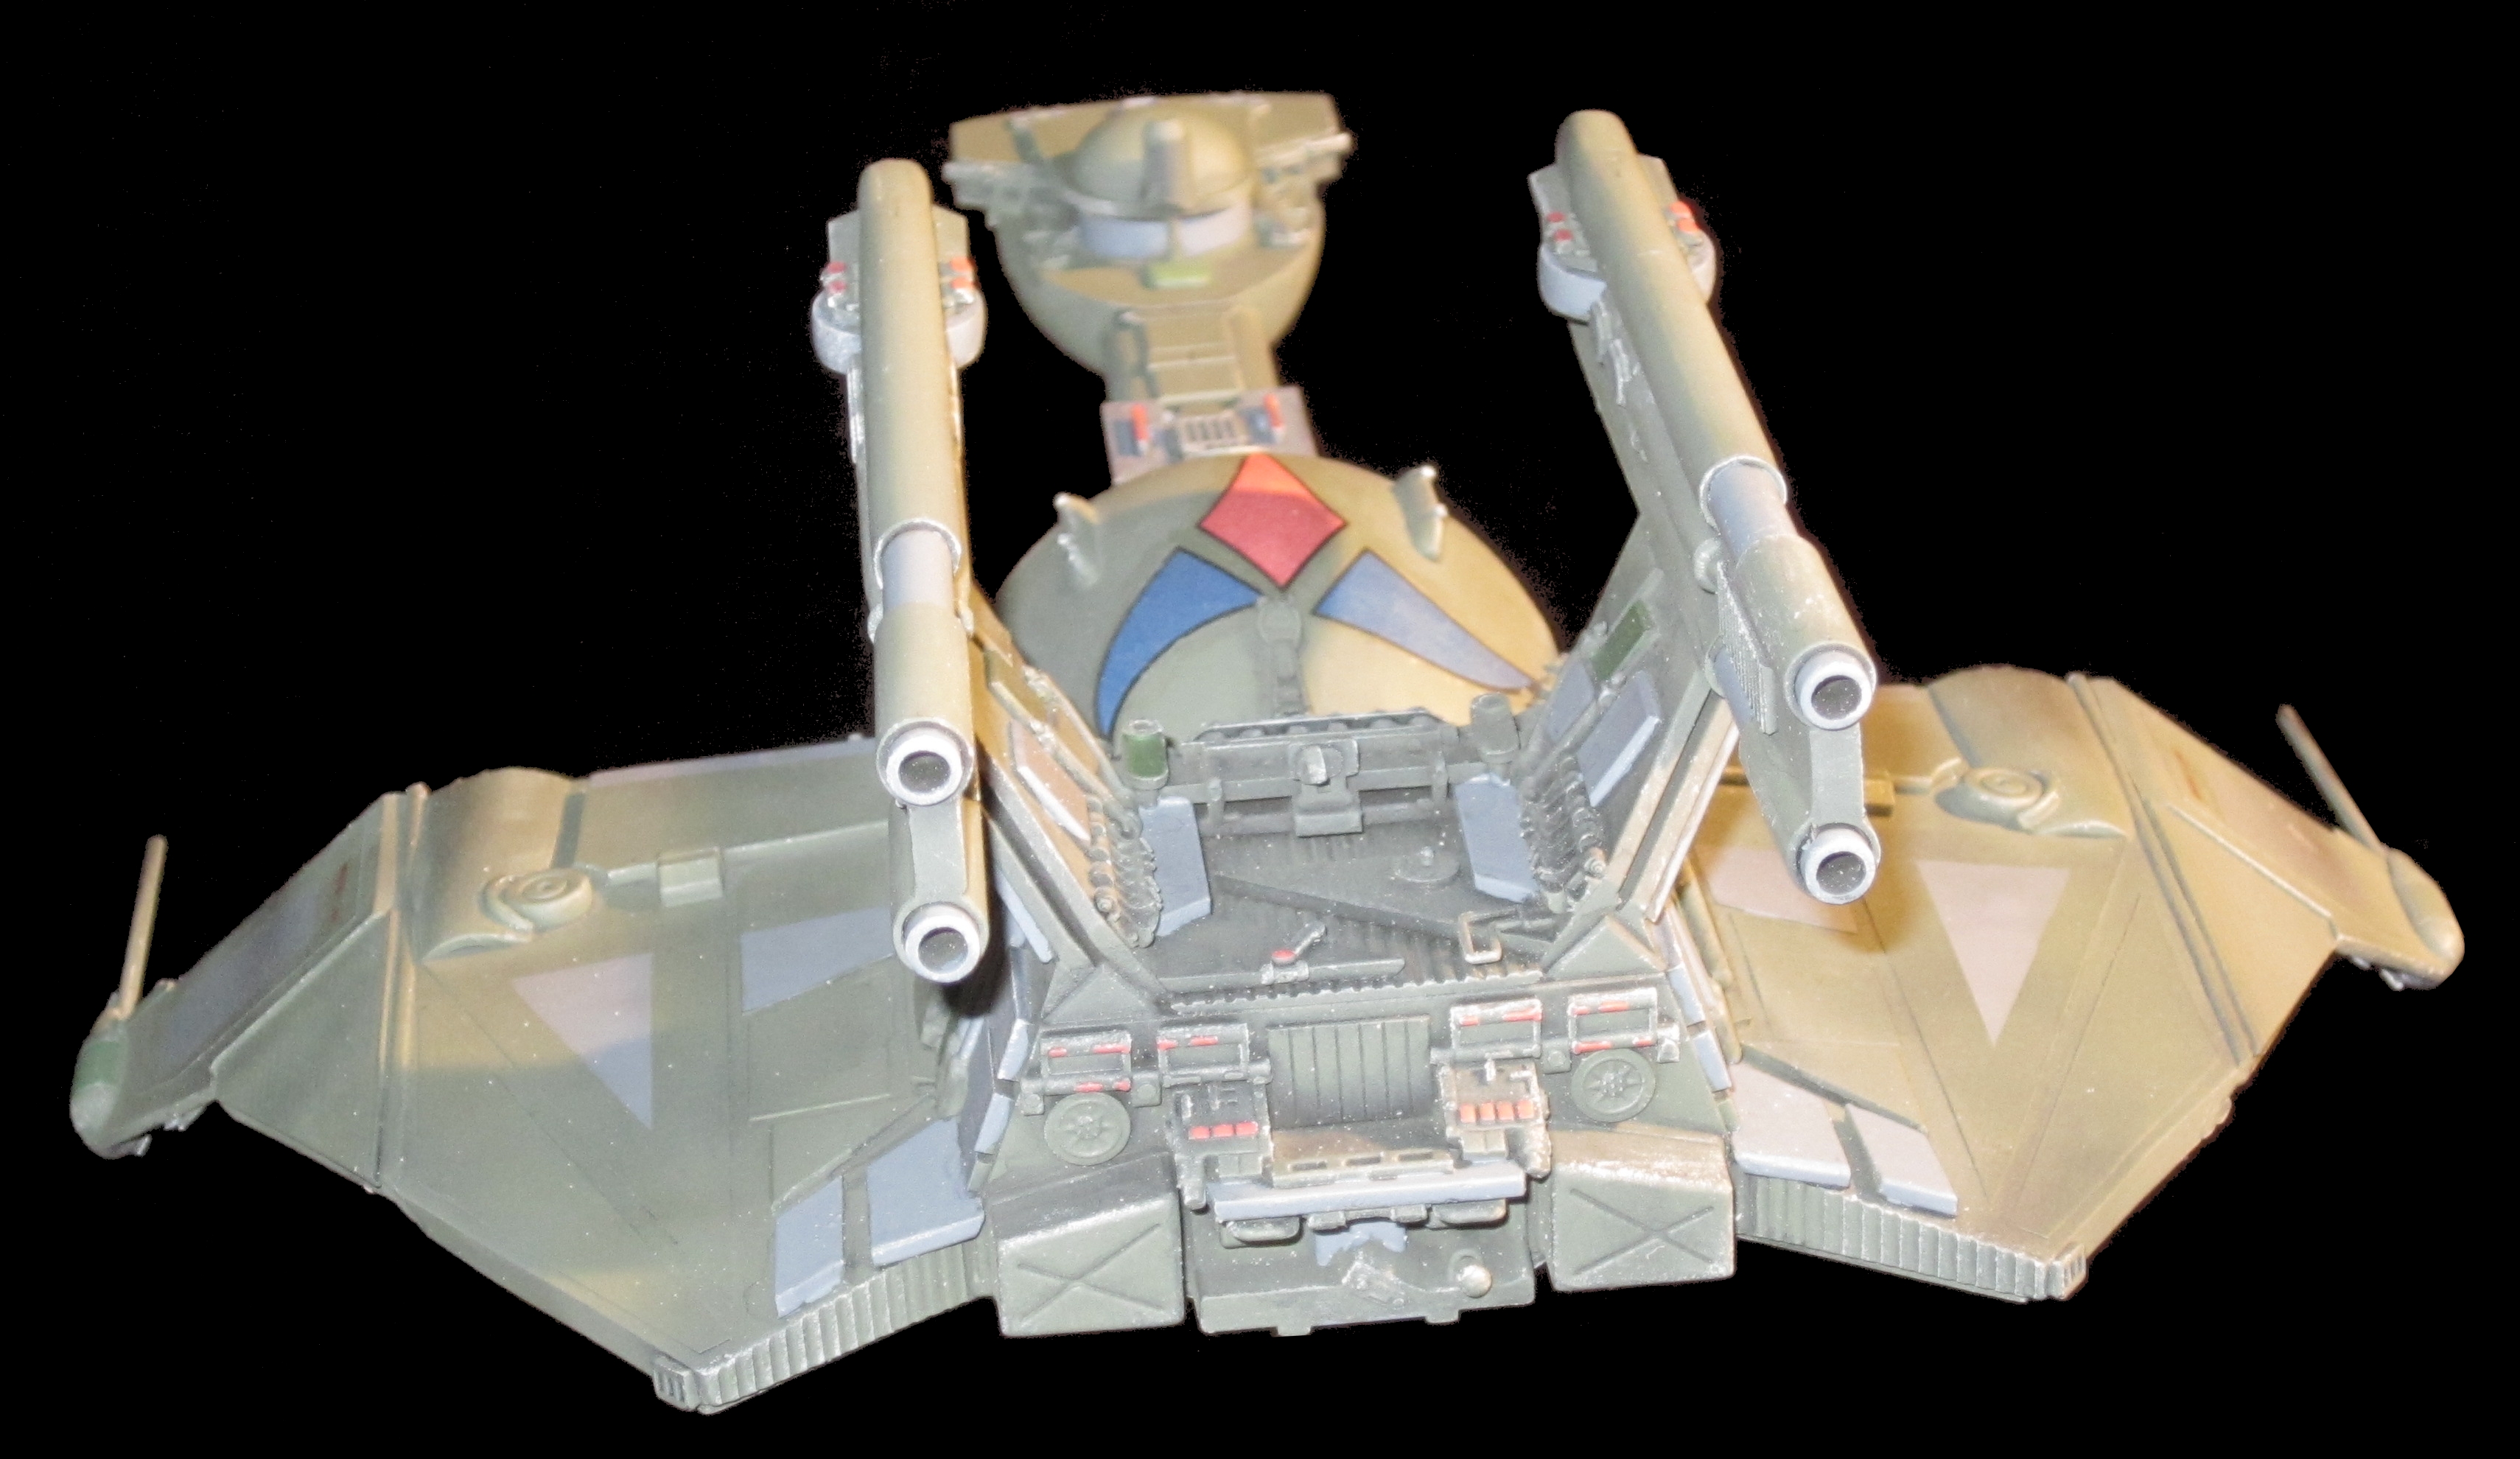
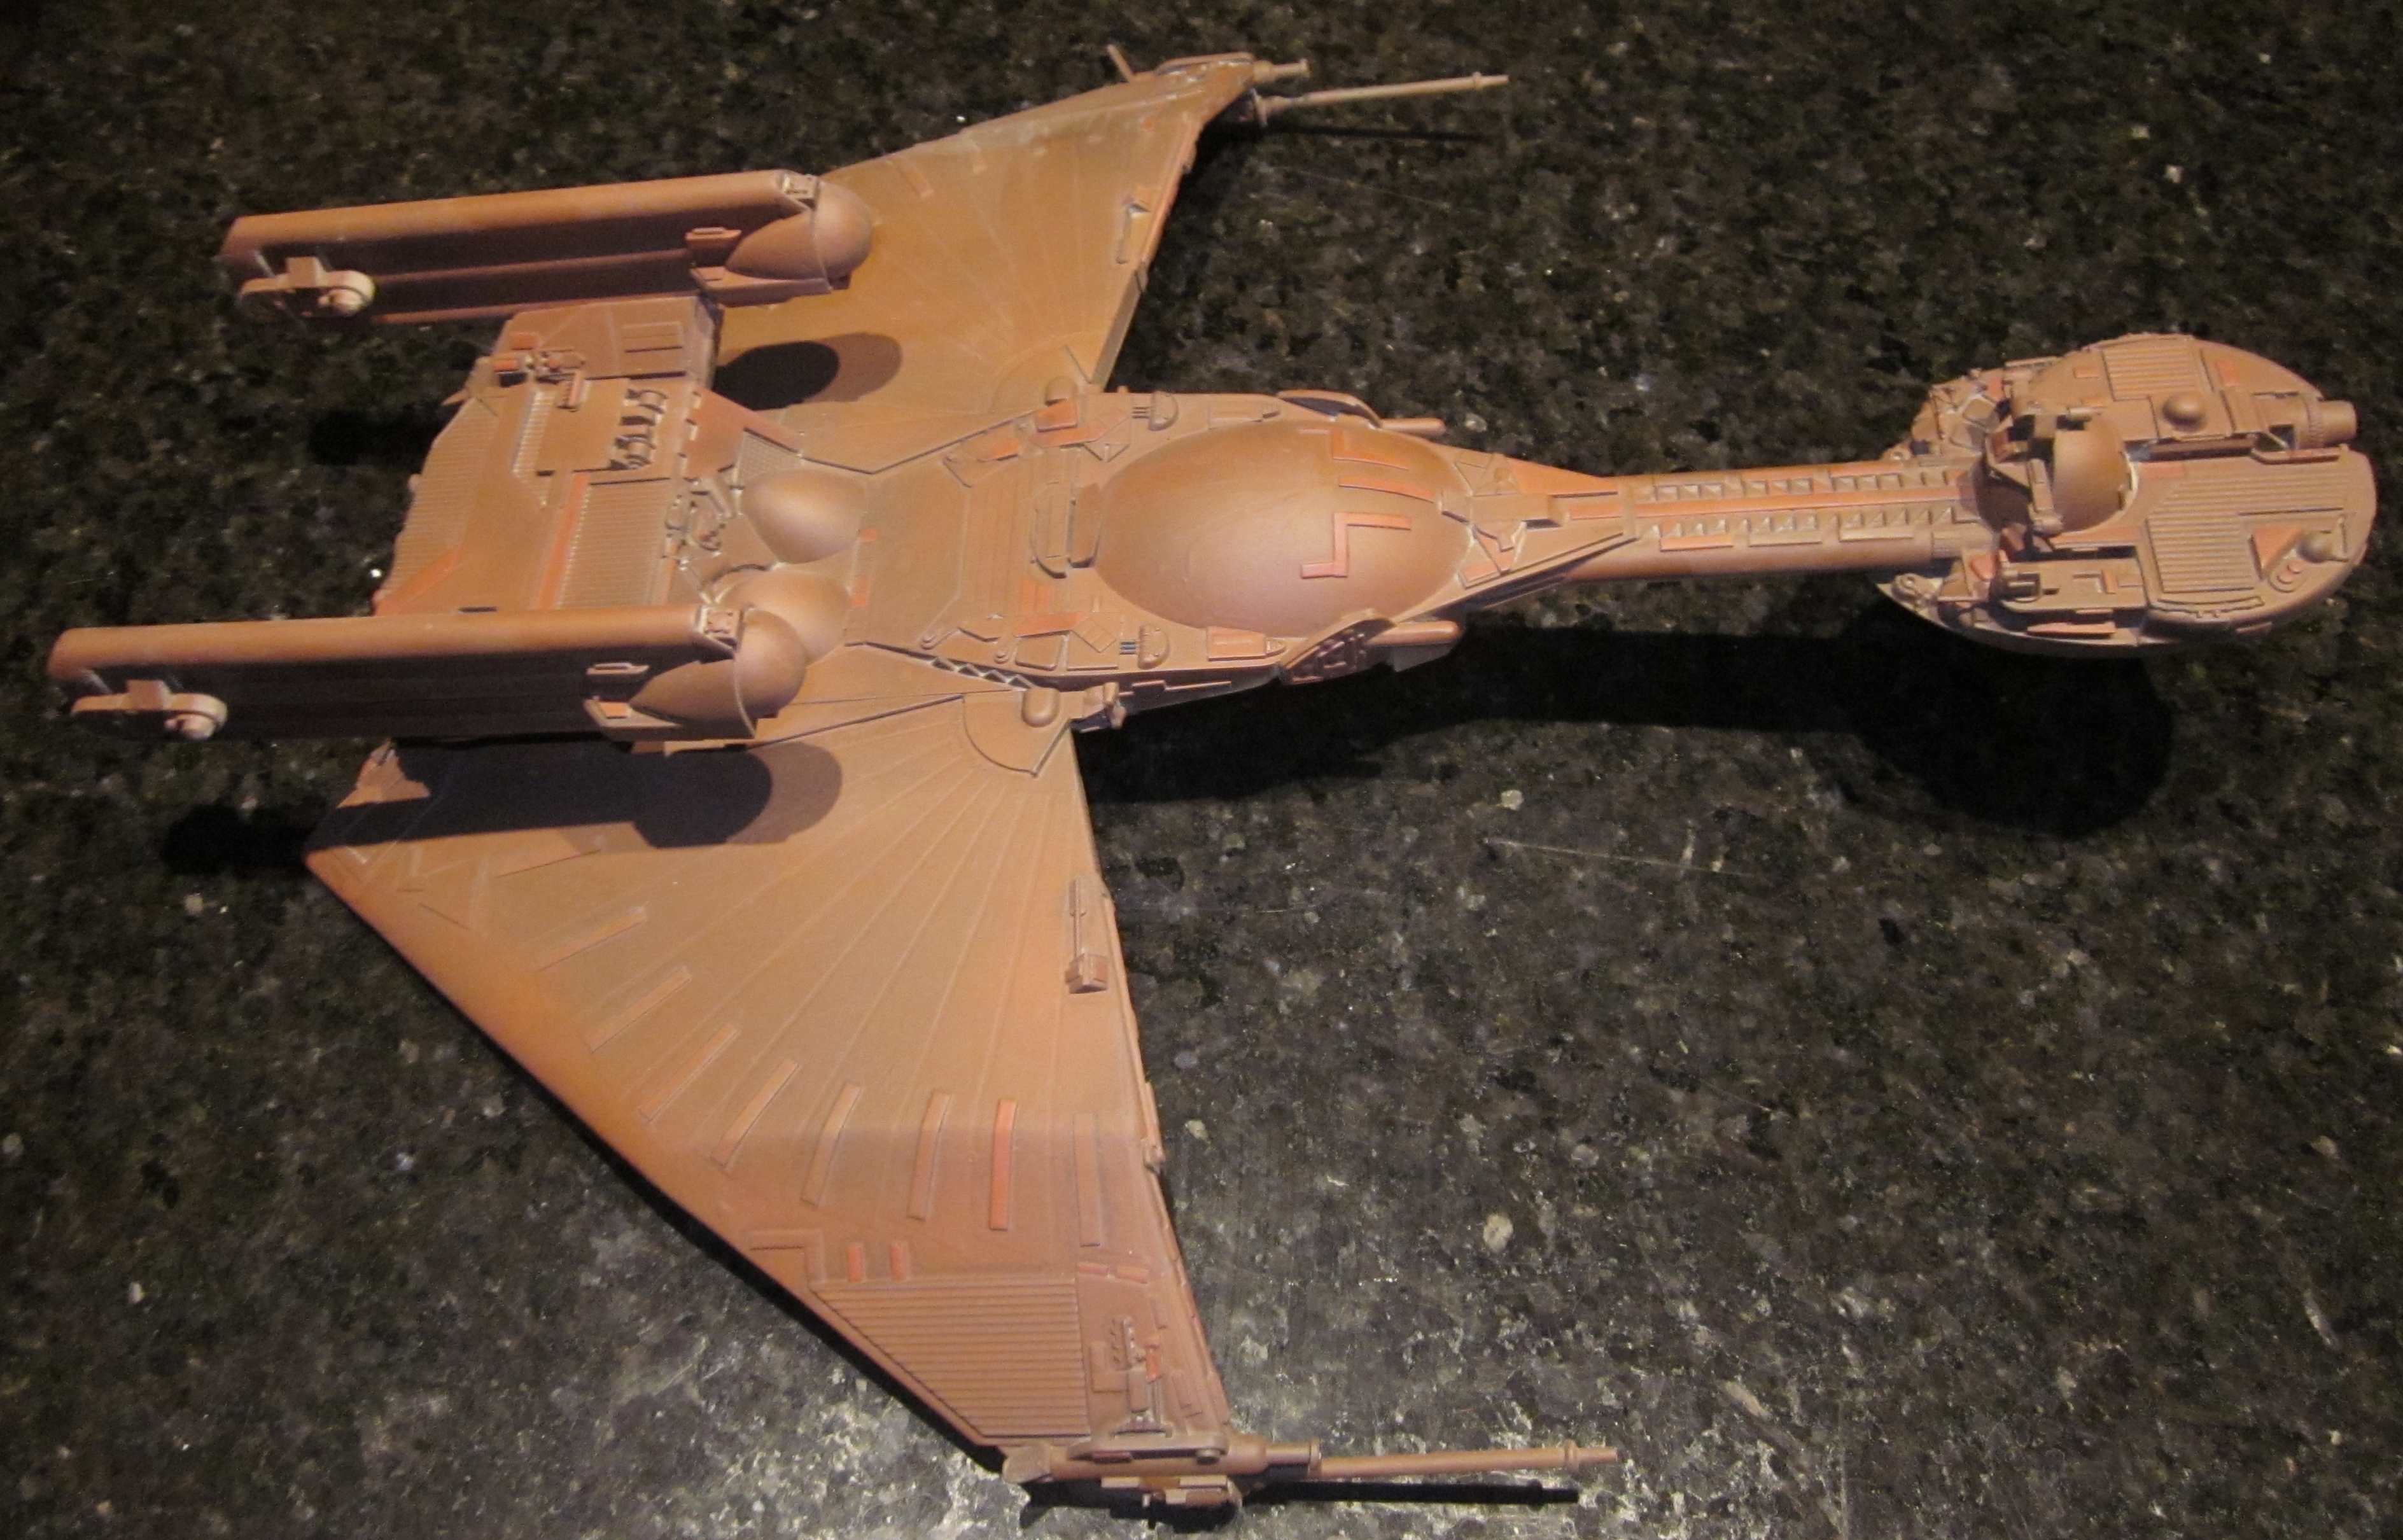
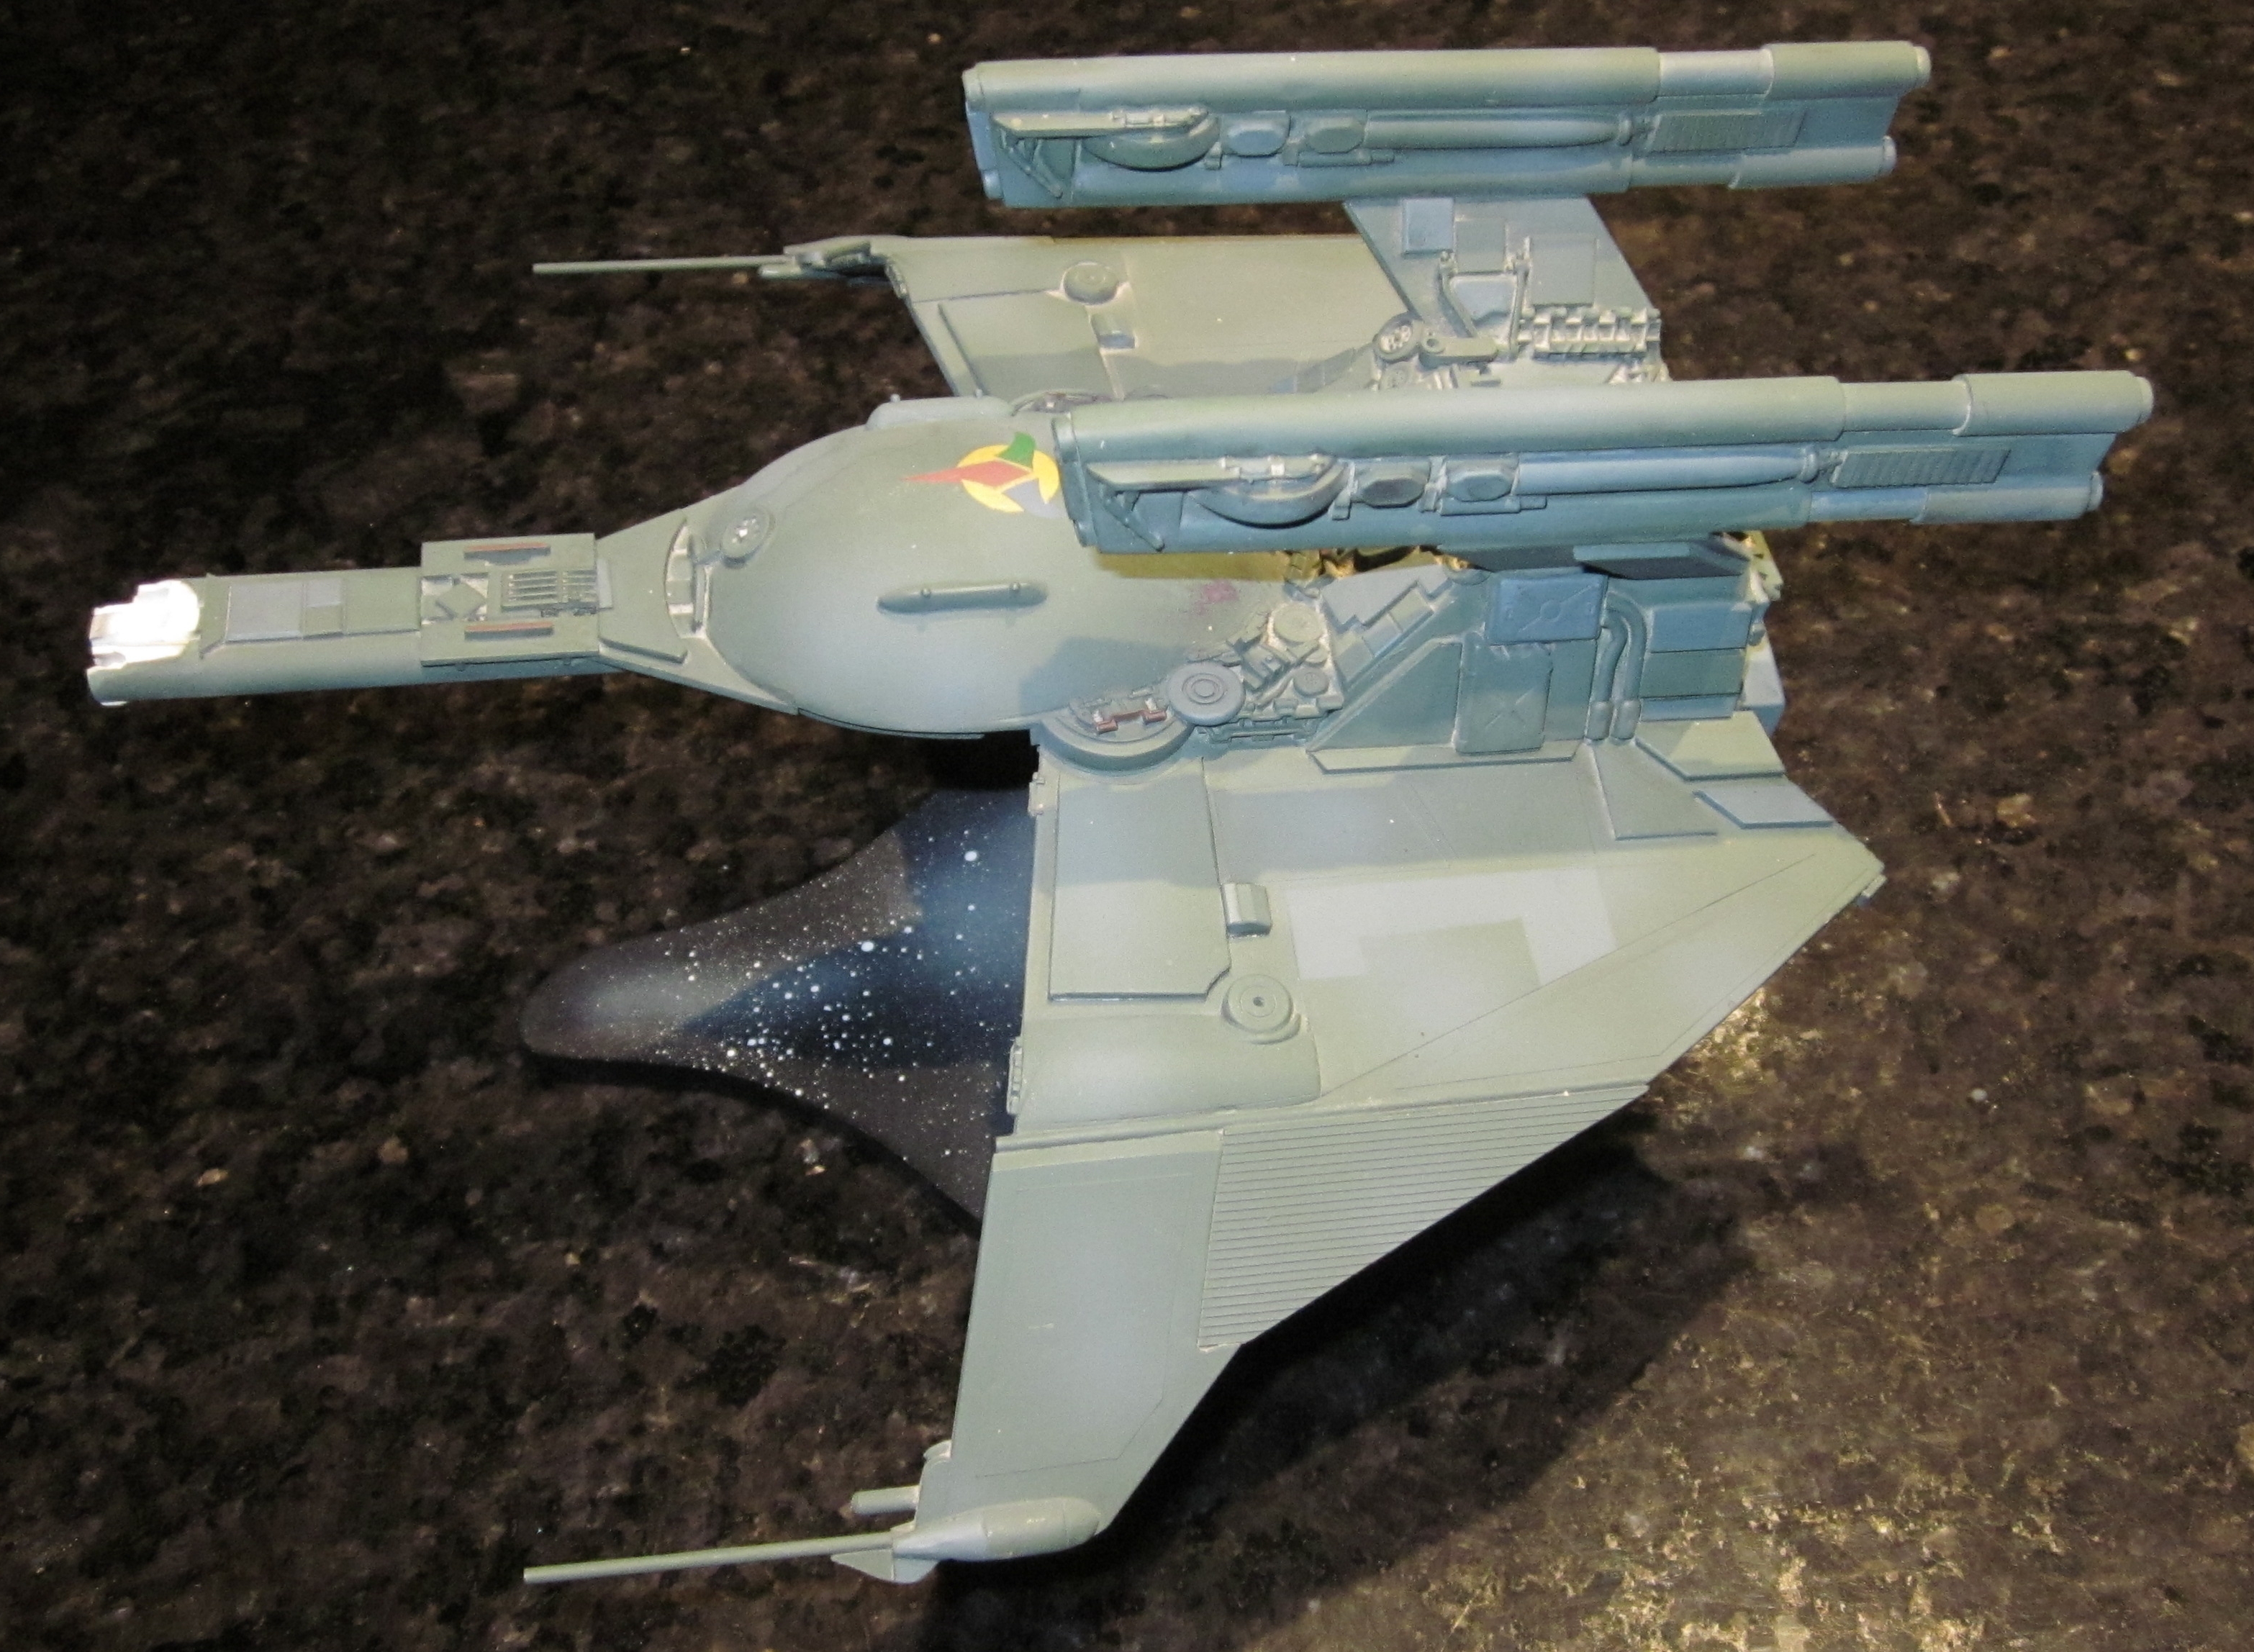
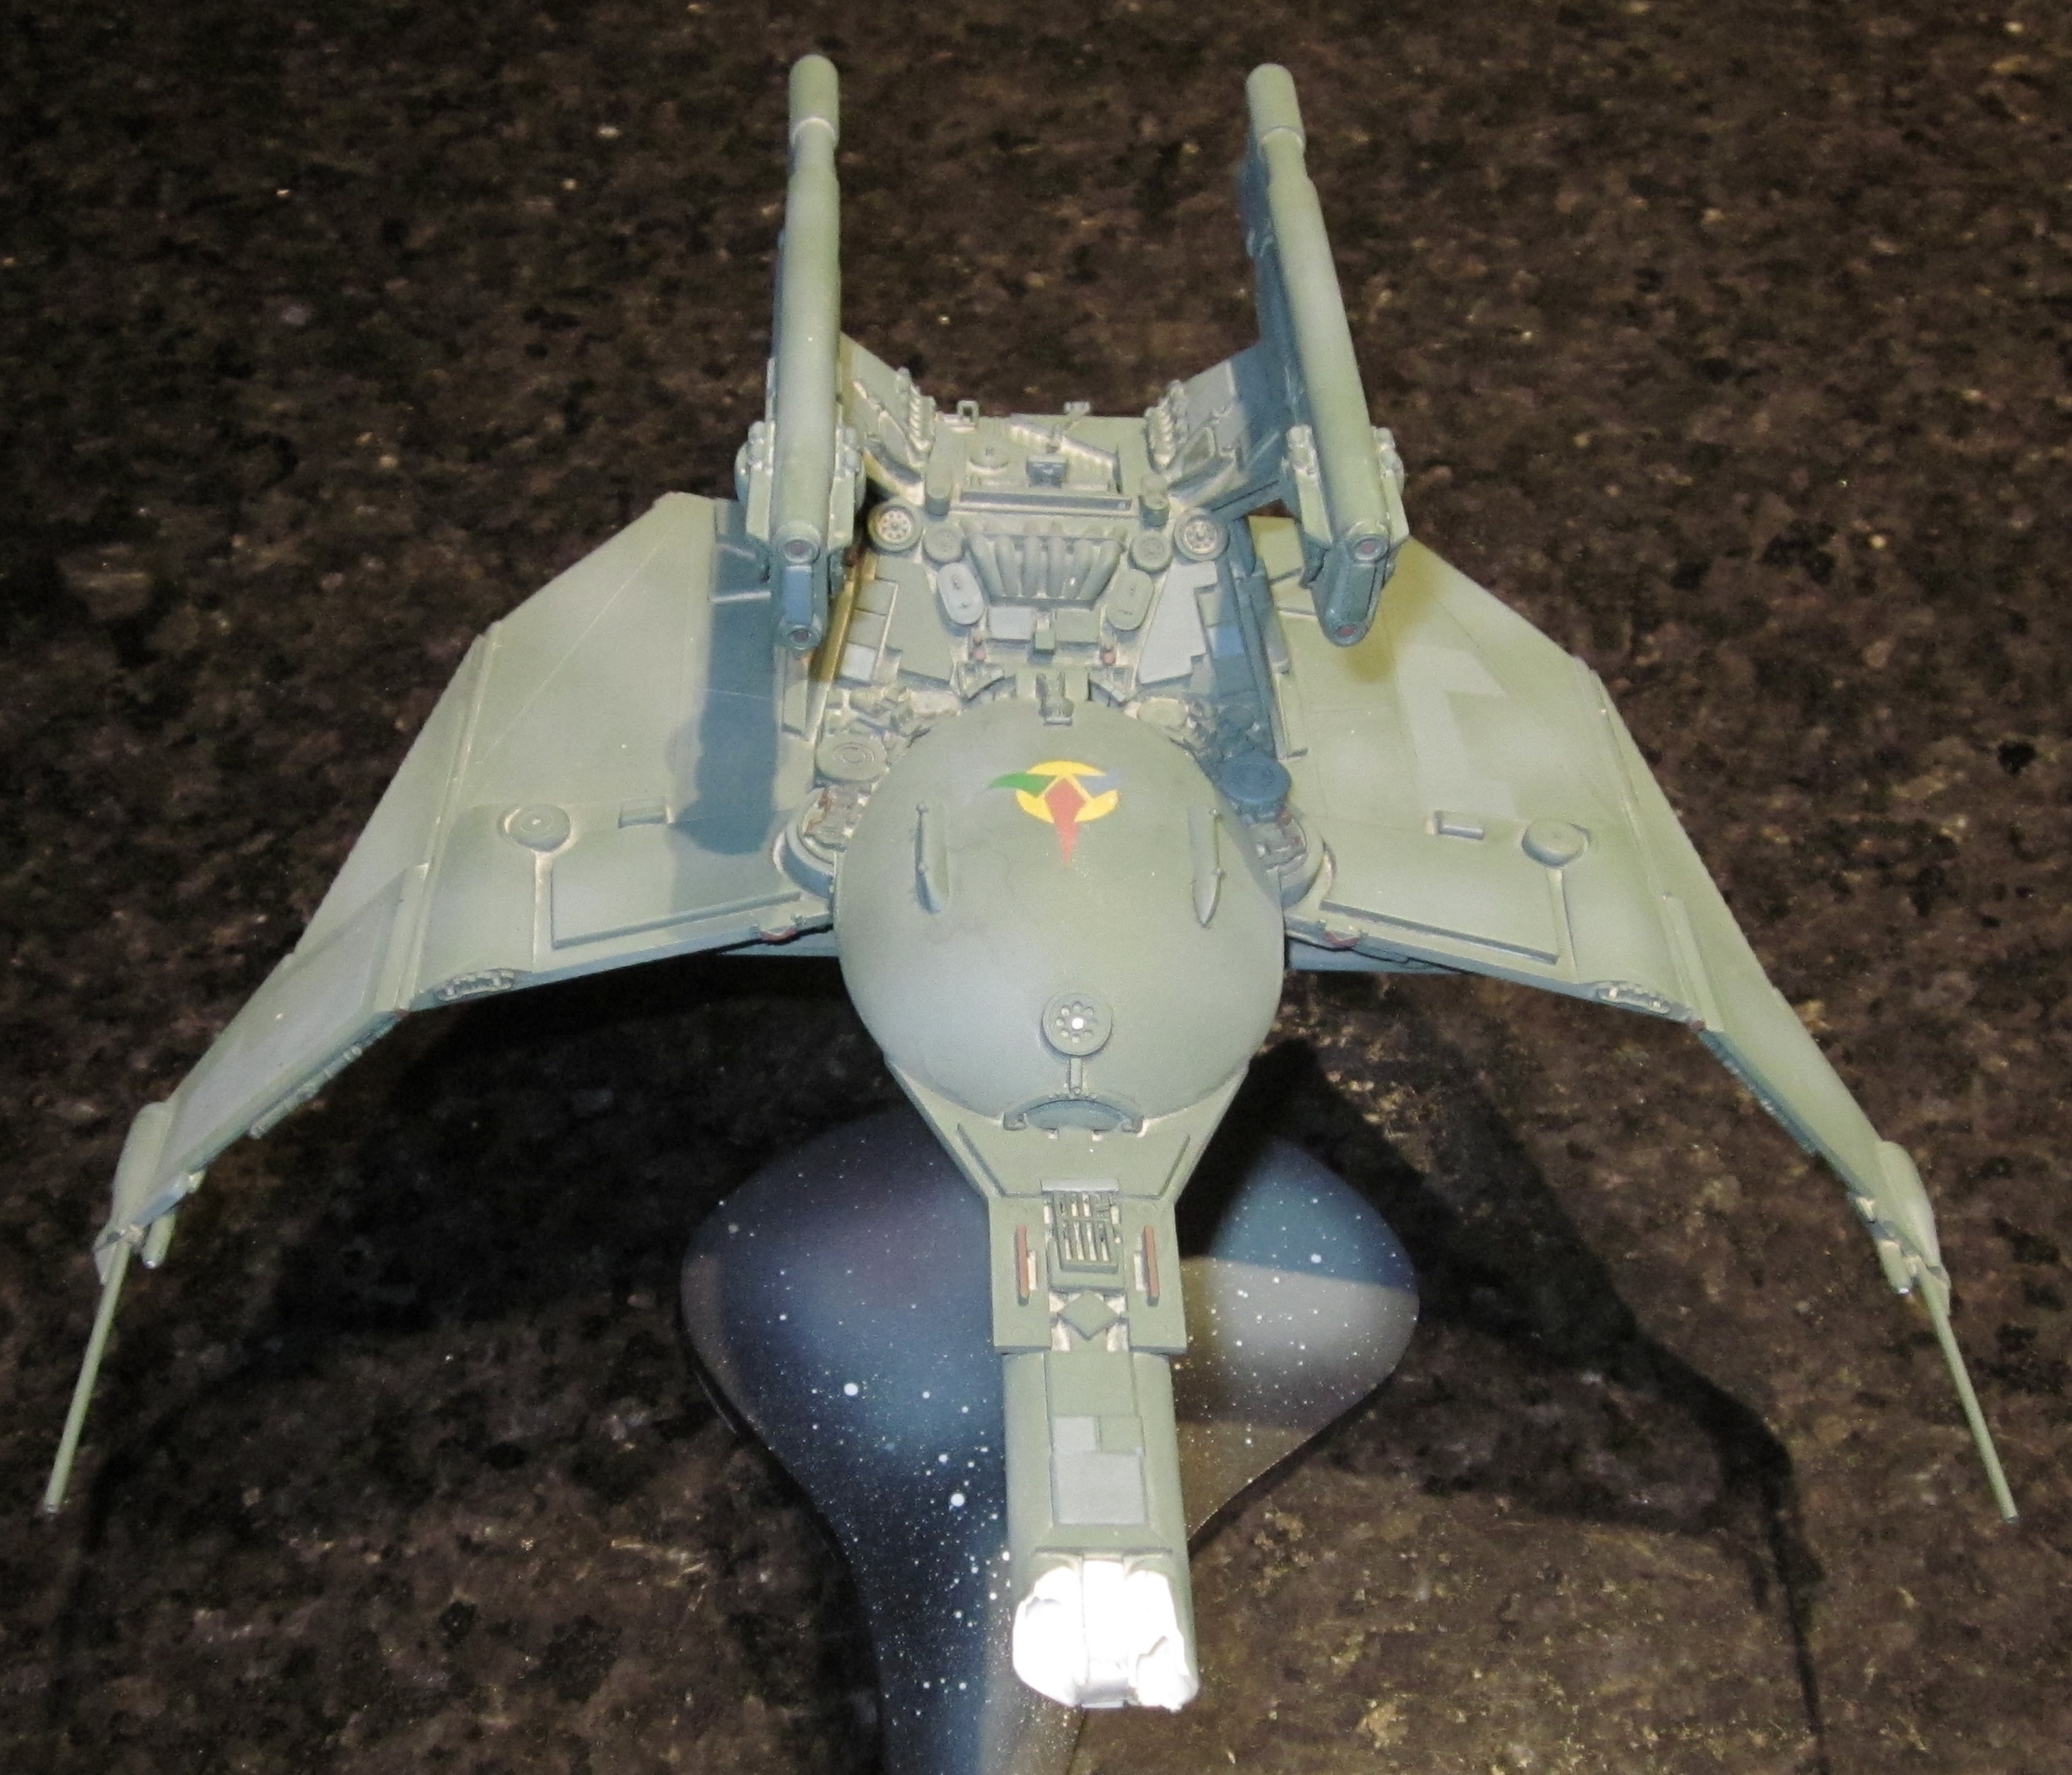
Back in the early 80's I ran across an article in a modelling magazine entitled something like "Update your Science Fiction Models". The author had taken the classic AMT Klingon ship, put the engines and their winglets on either side of the impulse engines atop the rear hull, replacing them with the wings from a Star Wars B-wing. I built my own using 1/32-scale F-4 Phantom wings. I liked it but it was huge. I built and sold two smaller all-scratchbuilt versions and a spare that I never sold until now.
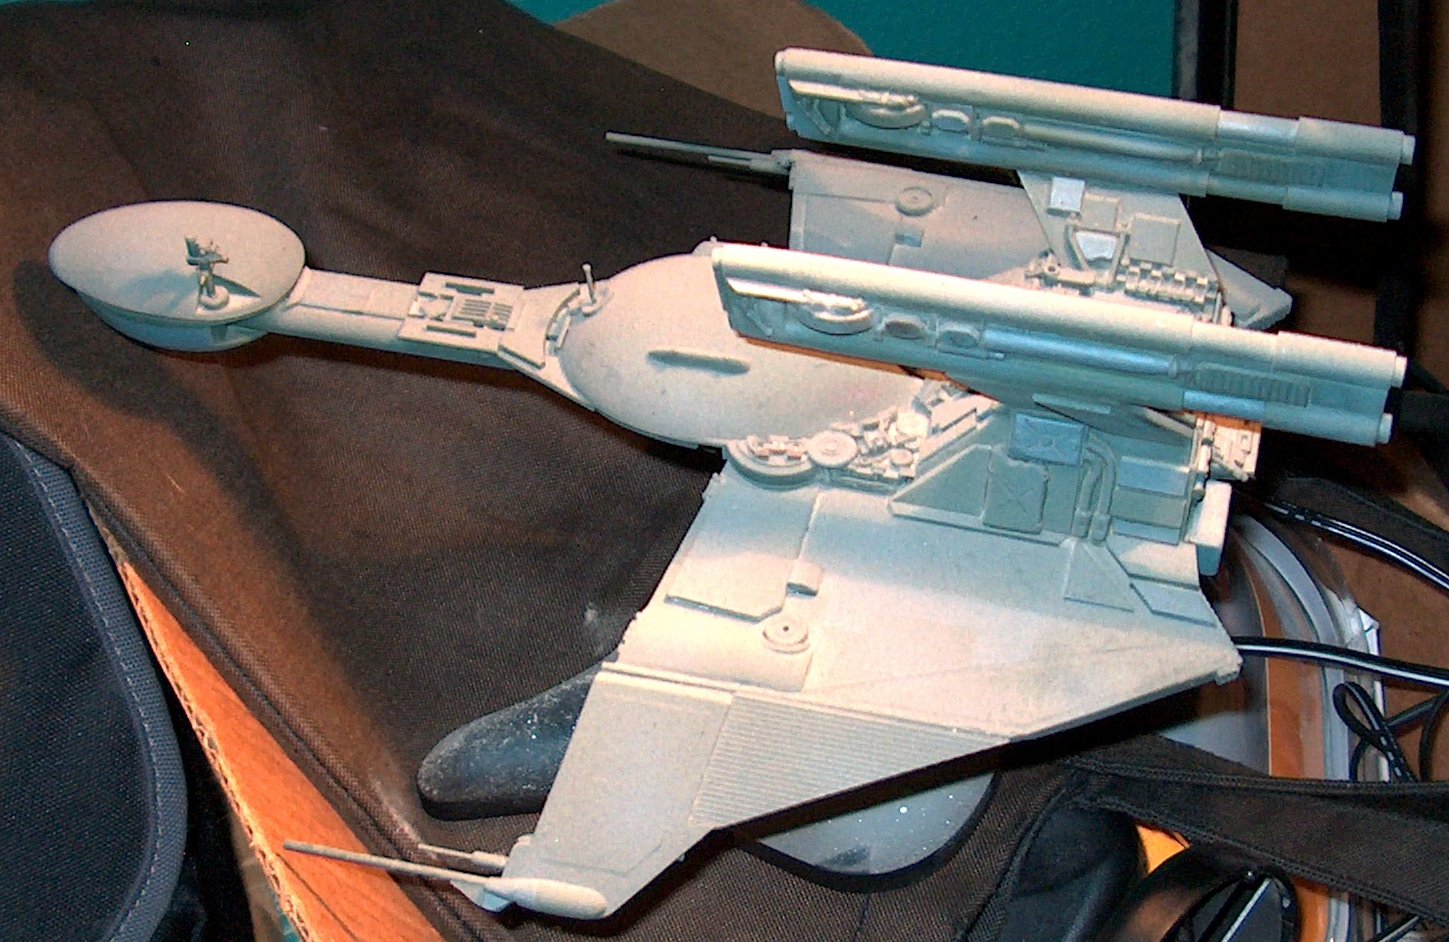
In recent years it had briefly taken flight and was not rescued until the dog had crunched it's head. While building a new head it was a kick to see how I used to detail models. I seemed to rely heavily on 1/72 Bandai armor kit parts back then. The wing panels were cut out of graph paper and all but soaked in Testor's liquid cement before being applied to styrene plasticard wing-shaped sheets.
I originally used dark-green with red "feathers", but this time I wanted something a little lighter, so I went with Sac Bomber Green with the odd details in Intermediate Blue and Floquil Depot Olive. I wanted the underwing "feathers" to be more orange than red so I went with Model Master RLM23 ROT in a pattern that completely ignored the existing panelling. I didn't have any classic Klingon decals so I used the rub-on ones from the "Undiscovered Country" ship kit. They weren't the right size. Worse, the glue had dried.
I'd bought a do-it-yourself rub-on decal kit and successfully used several years ago. The spray-on adhesive from the kit was still good! Now the oversized emblem could help me nicely decorate the mid-fuselage hump even more than the hand-painted ones had before.
It was fun studying one of my old models and seeing how I used to do things. Although my technique has changed, I wish my eyesight hadn't.