


 Donor kit
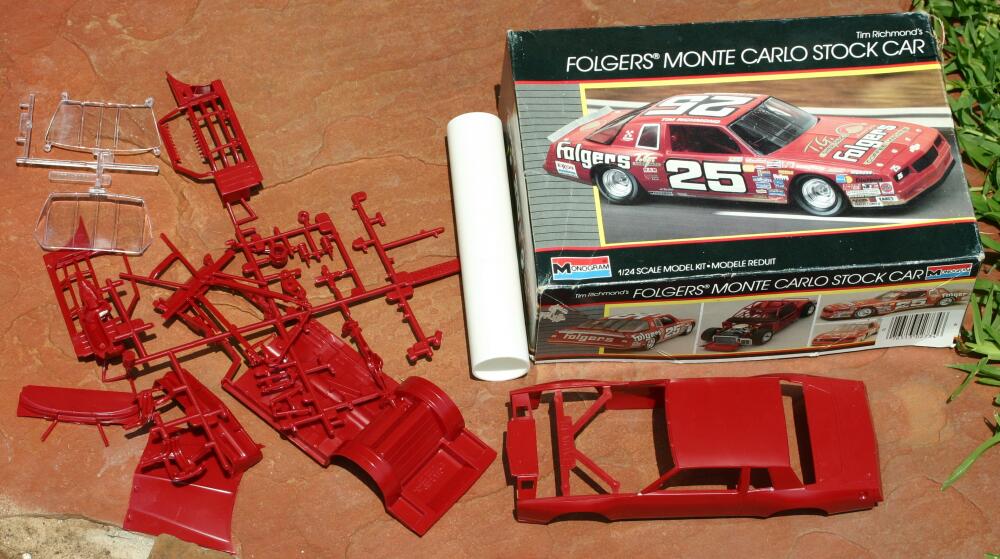
Major components
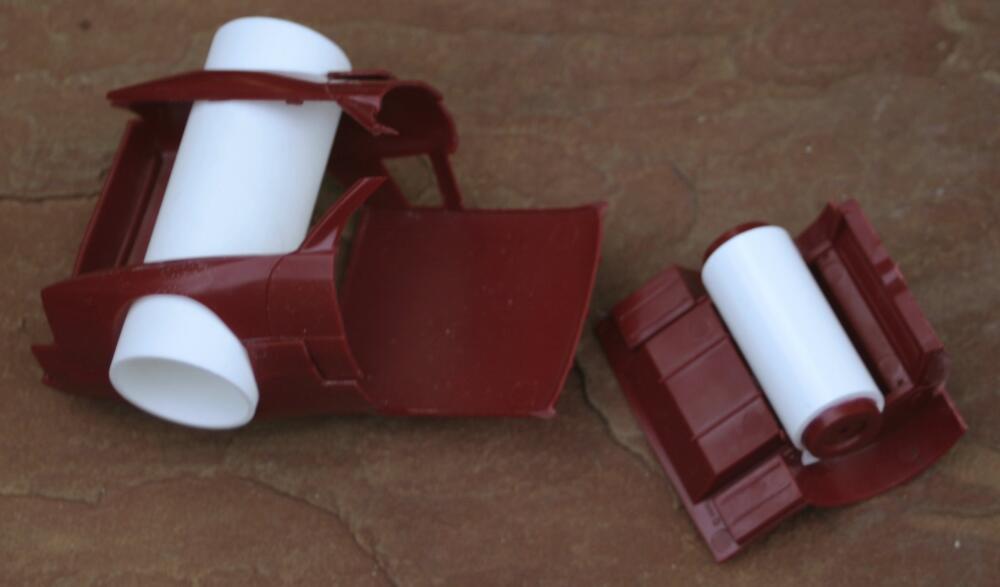
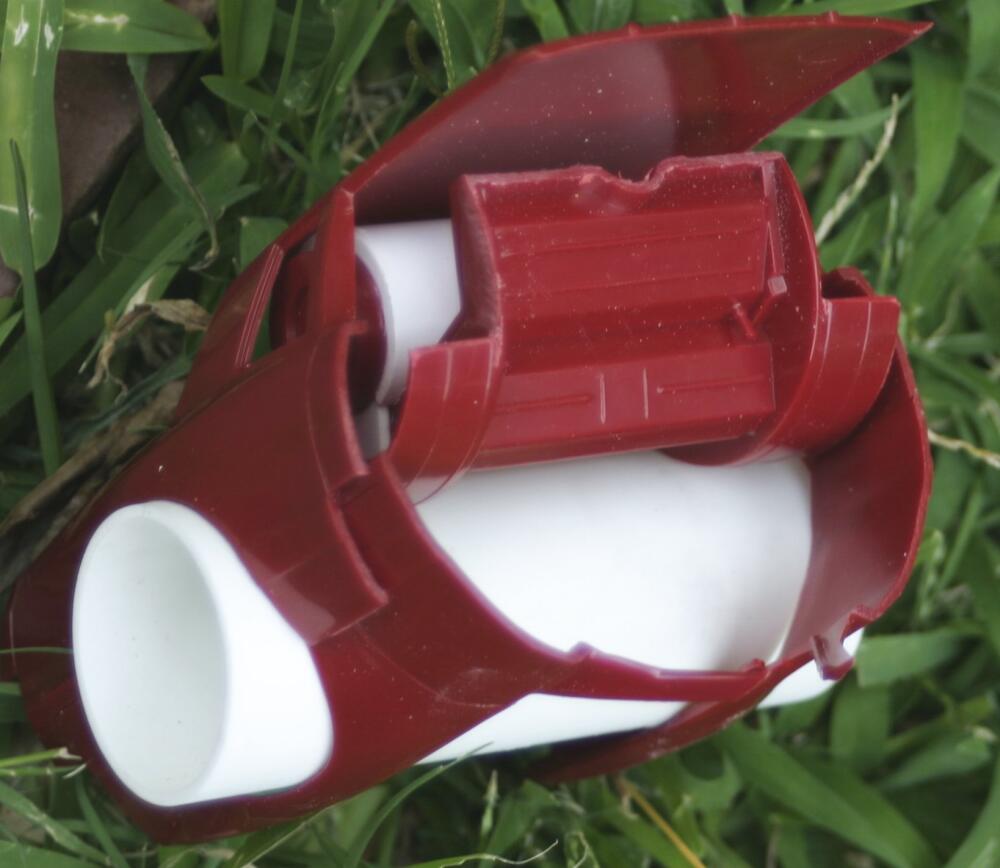
Basic mockup
Basic mockup
Best nose
Best nose, alas
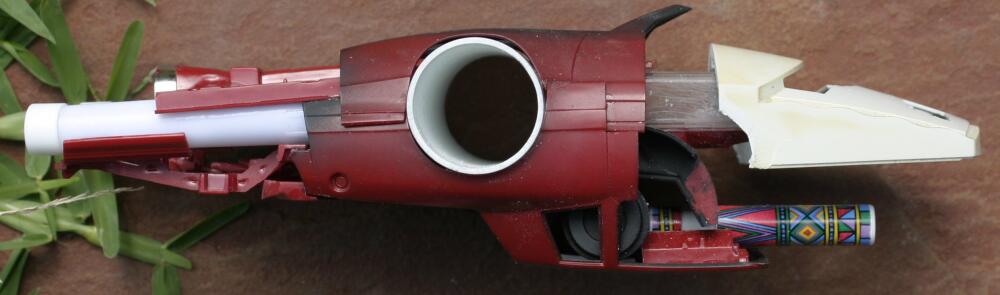
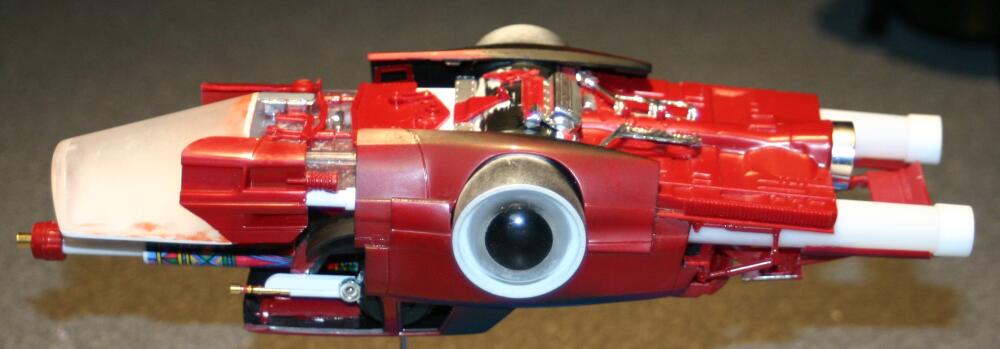
Nude side
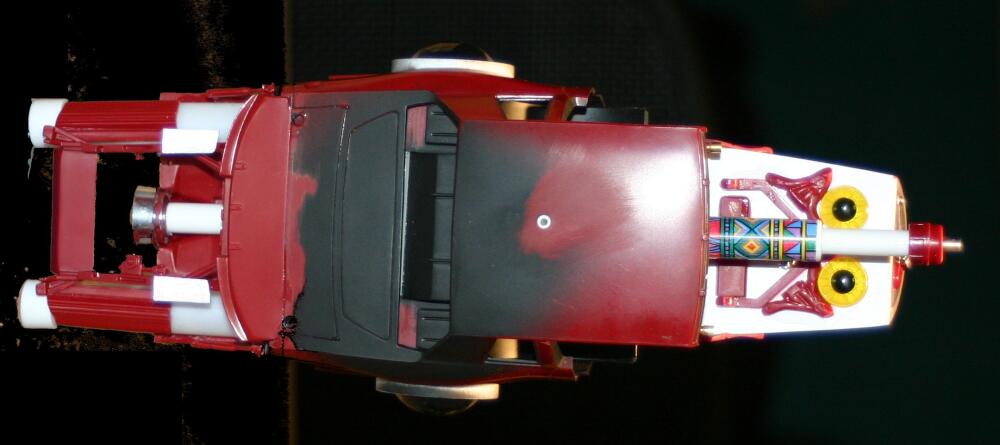
Nude top
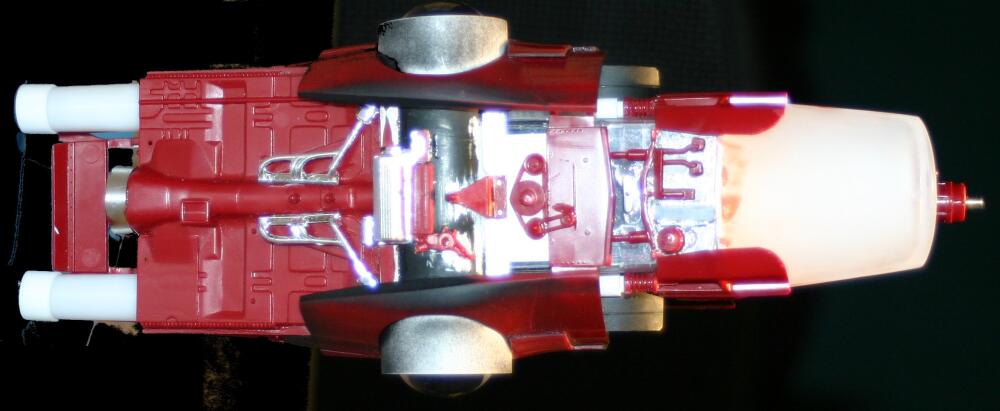
Nude right
Nude left
Nude bottom
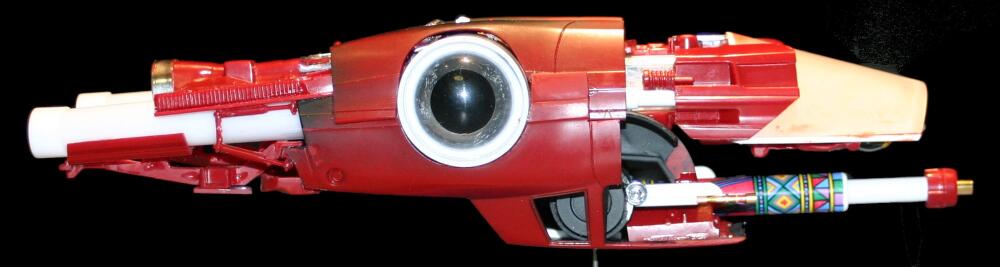
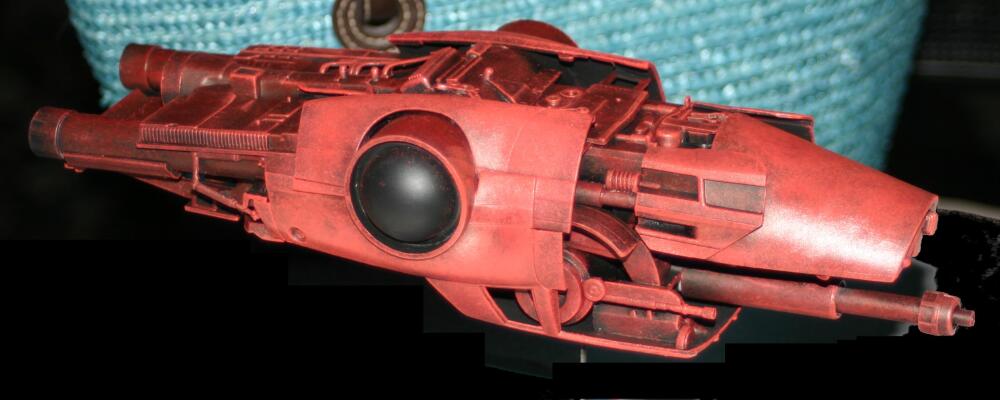
First coat of red
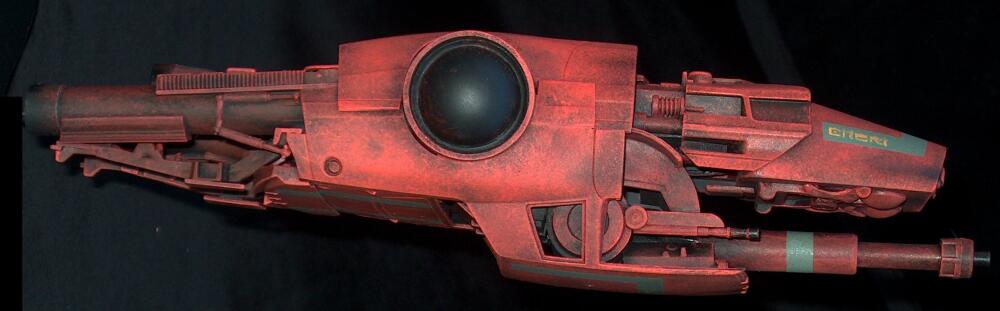
Second coat, light red
right3
Donor kitThe Awtoe Medium Fighter, code named "Cheri", features a fixed-mount medium-sized particle-beam cannon and a pair of high-cyclic-rate lasers in a compact package protected by layered armor, much like any other medium-class fighter. The difference is the distinctive technology - Paired mid-fuselage anti-gravity generators - That allows high maneuverability without the high observability of protruding wings or wave-guides. Cheri's also lack the inherent weakness of designs which depend on wing deployment or reconfiguration during flight or prior to landing or combat. The AG generators also enhance structural integrity and armor impenetrability, making a Cheri a first-choice fighter for any fleet.
I was intrigued, and no little bit intimidated, by the Iron Modeler competition at Wonderfest this year. Anymore, I just flat-out spend too much time looking at parts and handling them to see if they scream 'glue me here'. Could I build a ship in four hours? Hardly. But...
At the same time I was in conversation with a fellow SSM modeler whose kitbash I really admired, and who felt that no car kit could be kitbased into a spaceship. Not the already-half-a-spaceship AMTronic that Alfred Wong reworked with his usual beautiful results, but a regular car or, in my case, a stock-car, the closest I had to a regular car. I was also in a mood to completely finish a ship during the Fourth of July weekend. Ok, that's more than four hours, but for me, close enough. And, unlike the Reaver Fighter, I was going to use stuff from other kits, so long as I use all the parts from this car kit.
Were this the Wonderfest Iron Modeler contest I would have taken a car kit and the Enterprise engines and made a Warp Tug. Since I initially intended to use the frame and tube parts here, I might have still build a tug, but it would have been more of a 1/72 scale one than a 1/400.
My usual habit is to build everything into one piece, then paint it. I couldn't here because once put together I couldn't get at the interior parts, so I had to spray the parts black before final assembly. I still couldn't completly paint them some other color once it was all put together, but atleast the parts I couldn't get to weren't red or white.
Funny how things work out. The end that was suposed to be... The End... became the nose when I added a breathmint container, a pen cap, and a plastic test-tube. Added the car's floorboard to the back, and two cheap holiday whistles to be the basis for engines. Also funny how the intended frame over the engines and the test-tube sensor at the nose eventually disappeared.
I wanted to use a mouse body for the nose, but I felt patching the hole would have taken too much time. Ended-up doing just that and using it on another car. The nose I used was a barely conical measuring cup. Also, I hated to do it, but I removed the two ex-window mounts above the ship because they angled the wrong way. Overall, I wish I'd quickly found a way to make the car body half be the front, just because of its wonderful curve. Still, two days for construction for me is pretty fast. And I managed to use the wheel holes instead of covering them over. And for the first time in a while, I built a ship that didn't need wings to look interesting.
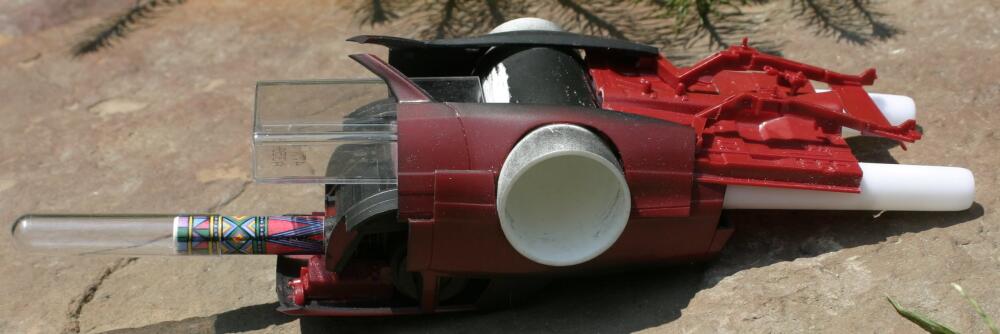
As I said, I knew going in that with so much of the interior visible but not accessible to painting, teh basecoat needed to be flat black, with the body color dry-brushed. The first coat was insignia red, same as the Apanok Reconnaissance Fighter - It's the technique that makes it look different. Dry-brushing allows more black to show through so it looks more like a rich brown than red, same as if I'd sprayed a wash of red over black. Second coat, just on the smooth surfaces, was RLM 23 ROT (SG), a light red. Using two colors in layers adds depth to the surface.
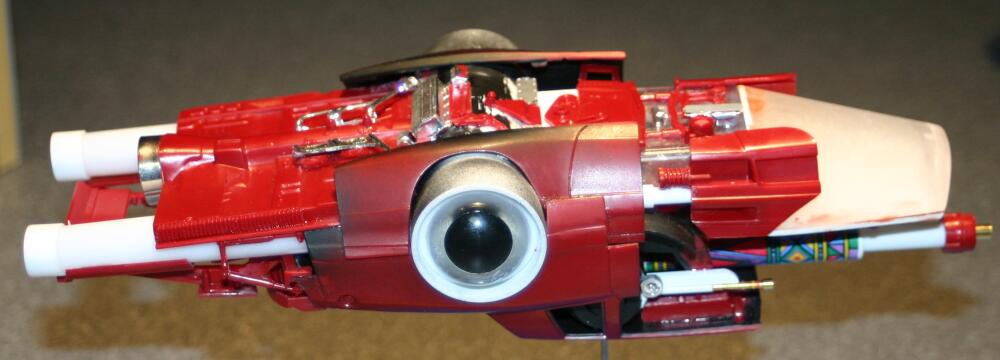
Then came the accent colors. Generally, they are supposed to contrast with the body, like the color of the pictured turquoise purse. Sometimes, though, too much contrast overpowers the color of the ship, hence the stripes of SAC Bomber Green. Determined, now to go more for blended instead of garish I still added some high-contrast color, but kept it tiny - yellow dry-transfer lettering from Archer Fine Transfers.
Dimensions: 10x4x2.5 inches